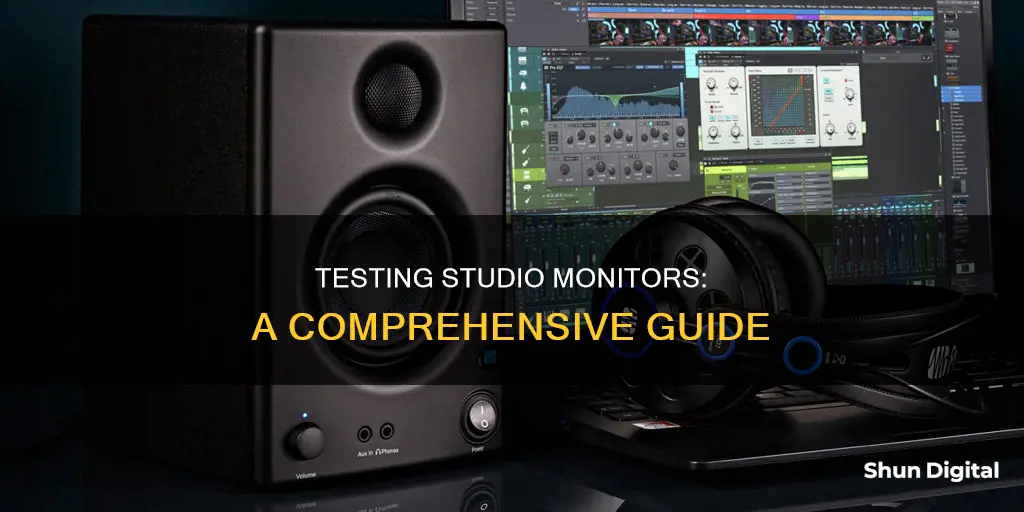
Testing studio monitors is an important part of the music production process. Studio monitors, or studio speakers, are designed to have a flat frequency response, meaning all frequencies are played at the same volume level. This accuracy is essential for mixing and mastering audio, ensuring that a track will sound good on any playback system. When testing studio monitors, it is crucial to consider their placement and listening position, as well as technical aspects such as amplifier configurations and wattage. The size of the studio monitor and the music genre are also important factors, with larger speakers typically suited for EDM and smaller speakers for more accurate midrange and high-frequency responses. When testing, it is recommended to use trusted mixes of music that are well known, allowing for a true representation of the sound to be heard.
| Characteristics | Values |
|---|---|
| Speaker configuration | 2-way, 2.5-way, 3-way |
| Tweeter type | Ribbon, silk dome, soft dome, kevlar, U-ART (Unique Accelerated Ribbon Tweeter) |
| Inputs | XLR, 1/4" TRS, RCA, 1/8" stereo auxiliary, 1/4" (6.35 mm) TRS, 3.5 mm |
| Digital connectivity | Yes, No |
| Driver size | 5", 6.5", 7", 8" |
| Amplifier | Active, passive |
| Amplifier configuration | Single-amp, bi-amp, tri-amp |
| Wattage | 50-75 watts per channel, 60 watts, 100 watts or more per channel |
| Budget | $200-$400, $400-$1,000, upwards of $1,000 per monitor |

Speaker calibration
The main purpose of speaker calibration is to ensure that a specific metered audio level in your DAW or on your mixer equals a predetermined SPL in your studio environment. Proper calibration can help reduce unwanted noise, minimize the risk of damage to your studio monitors and your ears, maximize the reference capabilities of different speaker types, and ensure you hear the audio as accurately as possible.
There are three reasons why you should calibrate your monitors:
- Create a Fixed Volume Level for Reference: If you fix to a level, your ears become used to that level and how that sounds in that specific environment.
- Present an Accurate Representation of Frequency Range: When mixing or mastering, you need to take into account the Fletcher-Munson curve. The chosen level for calibrating is one that gives the flattest response across all frequencies.
- Present an Accurate Stereo Image: Studio monitors are not created equal. If you set the volume control of both monitors to the same position, you may hear a difference in volume, resulting in an inaccurate stereo image.
To calibrate your studio monitors, follow these steps:
- Turn down the volume of your studio monitors.
- Set the output level of your audio interface to 0dB (unity).
- Set up a track in your DAW with a tone generator to output pink noise. Pink noise is a tone that consists of every frequency band at exactly the same level, making it ideal for speaker calibration. Set the level to -18dbfs or -20dbfs if you want more headroom.
- Use an SPL meter to measure the acoustic level or sound pressure level (SPL) from the mix position at seated ear height. Ensure the SPL meter has a C-weighted scale, which does not cut off lower and higher frequencies that humans cannot hear.
- Point the SPL meter at the sweet spot in the center of the speakers, where your head would typically be, at about the same level as your ears.
- Pan the pink noise to the right so it's only coming out of the right speaker.
- Turn up the volume knob on the back of the right speaker until the SPL meter reads 78-85 dB SPL, depending on your desired calibration level.
- Repeat the process with the left speaker.
- Play some music you are familiar with through your speakers and fine-tune the speaker placement until the sound is balanced, with a wide sweet spot for mixing.
Note: If 85 dB is too loud for your room, you can calibrate each speaker to 79 dB or a lower level that suits your space. The important thing is that both speakers are set to the same SPL level.
Hooking Up Your Helix: Monitor Connection Queries Answered
You may want to see also

Monitor placement
Studio monitors are usually placed on stands or a mixing console, with the listener seated a few feet away. The speakers should be positioned at the height of the listener's ears to achieve a relatively neutral listening environment. This ensures that the engineer hears the audio accurately.
The placement of studio monitors is crucial to achieving the desired sound quality. They should be directed towards the listener's ears to capture the direct sound waves effectively. If the speakers are pointed elsewhere, the sound may be distorted as it bounces off walls or other surfaces.
The size of the room and the music style also influence the placement of studio monitors. For instance, if you produce EDM, you will need a better low-frequency response, so a bigger driver size and a wider placement would be ideal.
Additionally, the listening distance is an important factor to consider. Nearfield monitors are designed for placement close to the listener's ears in a typical home studio, while midfield monitors should be placed further away in a larger room.
Lastly, the stands or pads used for the monitors are also essential. Isolation pads help reduce vibrations, while stands ensure the monitors are positioned at ear level and aimed at the listener.
Blind Spot Monitoring: A Necessary Feature for Your Next Car?
You may want to see also

Monitor size
When it comes to studio monitor size, there are a few key factors to consider: room size, music style, and low-end frequency reproduction.
The size of your room will dictate the size of your studio monitors. Smaller rooms, typically those under 16 square metres, will require smaller monitors to avoid muddling the sound with excessive low frequencies. In this case, near-field monitors are ideal as they are designed to be placed close to the listener. Conversely, larger rooms, spanning 25-40 square metres, will need larger monitors that can adequately fill the space and provide a reliable low-end response; mid-field monitors are recommended for such spaces.
The type of music you produce will also influence your choice of monitor size. If you work with electronic dance music (EDM), for example, you will need monitors that can reproduce stronger low-end frequencies, so a bigger woofer size would be more suitable. On the other hand, smaller woofers may offer better midrange and high-frequency response due to their ability to reproduce these frequencies more accurately.
When referring to studio monitor size, people typically mean the diameter of the woofer installed. The larger the woofer, the more low-end frequency it can reproduce. For example, the Yamaha HS5 studio monitor has a 5-inch woofer and can reproduce bass frequencies around 54Hz, whereas the Yamaha HS8 has an 8-inch woofer and can reproduce bass frequencies around 38Hz.
It's important to note that if you opt for larger monitors and have a small, untreated room, you risk activating room modes and encountering issues like phase cancellation and frequency shifts due to phasing and comb filtering. In this case, it's recommended to stick to studio monitors below 5 inches or invest in a pair of professional studio headphones.
Additionally, bigger monitors can be placed further away from the listener and tend to have a wider sweet spot range. They are also louder, making them a good choice if you have a large mixing console or studio desk setup.
In summary, when choosing the size of your studio monitors, carefully consider your room size, music style, and low-end frequency requirements to ensure optimal sound reproduction and avoid any unwanted acoustic issues.
Arcade Monitor Sizes: Understanding the Standard Screen Dimensions
You may want to see also

Amplifier configuration
The single-amp configuration is the simplest setup, typically found in computer speakers. In this configuration, the left and right speakers are powered by a single amplifier, which is integrated into one of the speakers. While this setup is less common for studio monitors, it is a good option for those who want a simple and straightforward solution.
The bi-amp configuration, on the other hand, offers greater control over the frequency response and more precise sound reproduction. In this setup, each studio monitor has two amplifier modules, with each driver having its own dedicated amplifier. This configuration is often used in professional studios where accuracy and detail are of utmost importance. While some 3-way speakers integrate two amplifier channels, with one powering the woofer and the other powering the midrange speaker and tweeter through a passive filter, this is not the ideal way to amplify 3-way systems.
The tri-amp configuration is the most advanced and complex of the three. In this setup, each driver in a 3-way speaker (woofer, midrange, and tweeter) has its own dedicated amplifier. This provides the ultimate control over the frequency response and allows for the most precise sound reproduction. Tri-amp configurations are typically used in high-end professional studios where the highest level of accuracy is required.
When choosing an amplifier configuration, it is important to consider the specific needs and requirements of your setup. For those who want a simple and easy-to-use solution, the single-amp configuration may be a good option. However, for those who require greater control and precision, the bi-amp or tri-amp configurations may be more suitable. It is also important to keep in mind that the size of the studio monitor driver and the music style you work with will also play a role in determining the best amplifier configuration for your needs.
Finding Speakers in Monitors: Uncovering Audio Secrets
You may want to see also

Wattage
For those just starting out with studio monitors or working in a small to medium-sized room, a wattage of 50-75 watts per channel is a good starting point. This will typically provide enough sound pressure without distortion. If you require more volume or are working in a larger commercial studio, consider monitors with a higher wattage, such as 100 watts or more per channel.
When testing studio monitors for wattage, it is important to ensure that the monitors can produce the desired sound pressure level without any distortion. If you need higher volume levels or more headroom, consider opting for monitors with a higher wattage rating. Additionally, the size of the room and the music style you work with should also be considered when determining the appropriate wattage for your studio monitors.
It is worth noting that the wattage of a studio monitor refers to its power rating and how much electrical power it can handle and produce as sound. A higher wattage generally corresponds to higher sound levels. Studio monitors with higher wattage also tend to have more headroom, allowing them to handle sudden spikes in volume without distorting.
In summary, when testing studio monitors for wattage, consider your room size, desired volume levels, and the type of music you work with. Opt for monitors that provide adequate sound pressure without distortion, and remember that quality and wattage do not always correlate directly.
Ankle Monitors: What They Record and What They Don't
You may want to see also


