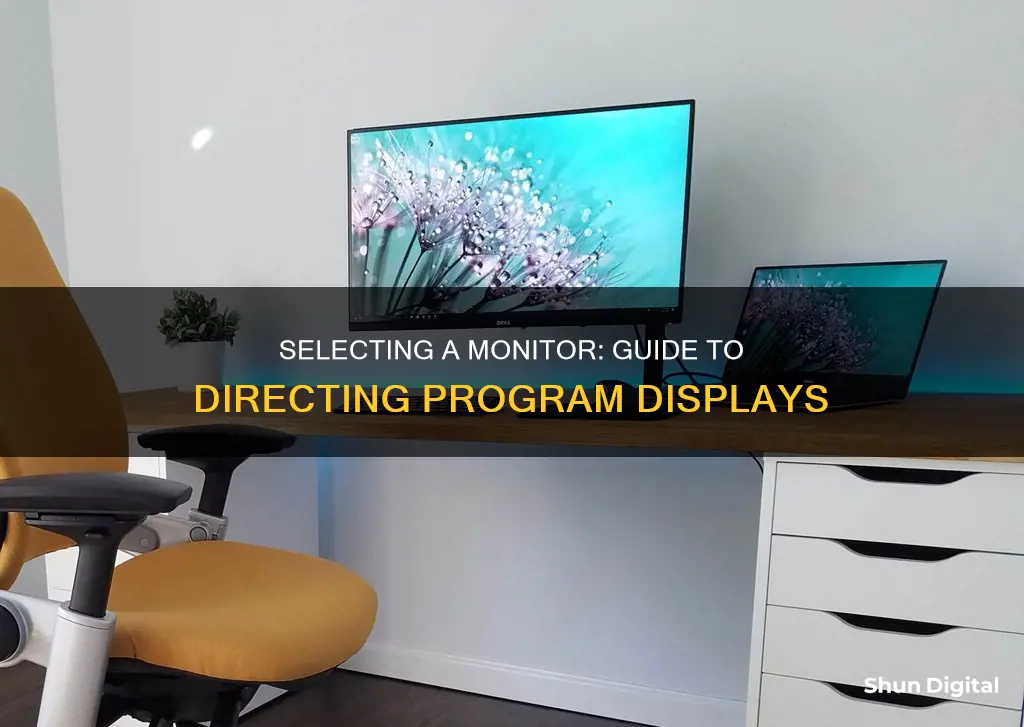
Using multiple monitors is a great way to increase productivity and optimise workflow efficiency. However, most programs open on the primary monitor by default, which can be frustrating if you want a specific app to always open on your second monitor.
There are several ways to force a program to open on a specific monitor. One simple way is to move the program to the desired monitor, resize the window, and then close and reopen the program. This usually causes the program to reopen on the chosen monitor. Another method involves using keyboard shortcuts. On Windows, you can press Windows + Shift + Left Arrow to open a program on the monitor to the left, and Windows + Shift + Right Arrow to open a program on the monitor to the right.
If you want to make a monitor your primary display, you can do so by going to Windows Settings > Display > Multiple Displays, and selecting Make this my main display.
| Characteristics | Values |
|---|---|
| Method | Drag and drop |
| Keyboard shortcuts | |
| Change the main display | |
| Utilize the extend option | |
| Restart and re-plug the system | |
| Update display drivers | |
| Switch primary monitors | |
| Third-party solutions |
What You'll Learn

Drag and drop the program to the desired monitor
If you have a multi-monitor setup, you can drag and drop a program onto your desired monitor to set it as the default display for that program. Here is a step-by-step guide:
Step 1: Launch the Program
To start, open the program that you want to move to a specific monitor.
Step 2: Drag and Drop the Program
Use your cursor to drag the program window to the monitor where you want it to open. If you are unable to drag the window, try restoring the window to its previous size before dragging it. To do this, click the “Restore” button in the upper-right corner of the window.
Step 3: Resize the Window (Optional)
Once the program window is on the desired monitor, you can resize it if needed. Click the "Restore Down" icon to reduce the size of the window by half, and then drag the corners of the window to adjust its size.
Step 4: Close the Program
After resizing the window (if necessary), close the program by clicking the "X" or "Close" button.
Step 5: Launch the Program Again
Now, when you launch the program, it should open on the specific monitor you selected. If you want to change the default monitor for the program, simply repeat the process and drag the program to the new desired monitor.
Additional Tips:
- If you are unable to drag windows between monitors, make sure that "Extend Mode" is enabled. You can enable this by pressing Windows key + P and selecting "Extend" from the display options.
- You can also use keyboard shortcuts to move windows between monitors. For example, pressing Windows key + Shift + Left Arrow will move the active window to the monitor on the left, and Windows key + Shift + Right Arrow will move it to the monitor on the right.
- If you want to set a specific monitor as your primary display, you can do so in your display settings. For Windows, go to Settings > System > Display, choose the monitor you want to set as primary, and tick the "Make this my main display" checkbox.
Battery-Sapping Security Apps: Monitor Your Usage
You may want to see also

Use keyboard shortcuts
If you want to open a program on a specific monitor using keyboard shortcuts, you can follow these steps:
Firstly, launch the program you wish to open on a specific monitor. Then, press the following keyboard shortcut: Windows + Shift + Left Arrow to open the program on the monitor to the left, or press Windows + Shift + Right Arrow to open the program on the monitor to the right.
Next, reduce the size of the program window by half. You can do this by clicking the "Restore Down" button and dragging the window's corner inward.
Finally, close the program. The next time you launch the program, it will open by default on your chosen monitor.
You can also use the keyboard shortcut Windows + Left or Right Arrow to move a program window from one monitor to another without having to drag it with your mouse.
Additionally, you can use the keyboard shortcut Windows + Shift + Up Arrow to maximise the window vertically, or Windows + Up Arrow to maximise the window, or undo minimisation. Similarly, Windows + Down Arrow minimises the window and switches focus to the previously opened application.
Ultimate Guide to Hooking Up Multiple Monitors
You may want to see also

Change the main display
Changing the main display on a Windows system is a straightforward process. Here's a step-by-step guide on how to do it:
Step 1: Access Display Settings
To begin, you need to access your display settings. On Windows, you can do this by right-clicking on your desktop and selecting "Display Settings" from the menu that appears. Alternatively, you can use the keyboard shortcut Win + I to open the Windows Settings app, and then select "Display" from the options.
Step 2: Select Your Desired Monitor
In the display settings, you will see a section called "Multiple Displays." Here, you will see your available monitors listed as numbered boxes. Each box represents a monitor, for example, box "1" corresponds to the left monitor, and box "2" to the right monitor. Click on the numbered box that you want to set as your main display.
Step 3: Make the Monitor Your Main Display
After selecting your desired monitor, you need to make it your primary display. To do this, simply check the box that says "Make this my main display." This will set the selected monitor as your primary display. If you have multiple monitors, the others will automatically become secondary displays.
Step 4: Confirm the Changes
Once you've made your selection and checked the "Make this my main display" box, your changes should be applied immediately. However, it's always a good idea to confirm that they have taken effect. Simply close the settings window by clicking the "X" in the top-right corner, or by using the keyboard shortcut Alt + F4.
Now, your selected monitor should be set as the main display. You can test this by opening a program or app and seeing which monitor it launches on. If you ever need to change the main display again, simply repeat these steps and select a different monitor in step 2.
Additional Tips:
If you're still having issues with programs opening on the correct monitor, here are a few additional tips to try:
- Restart and Re-plug Your System: Sometimes, a simple restart can fix display issues. Shut down your system, unplug all devices, and then plug everything back in and turn on your monitors and computer.
- Use the "Extend" Option: Press Windows + P to access the "Extend" option, which allows you to enable extend mode on each monitor for easier navigation.
- Update Your Display Drivers: Outdated display drivers can cause issues with multiple monitors. Update them by pressing Win + X, clicking "Device Manager," expanding the "Display Adapters" section, and then right-clicking on your primary display adapter to select "Update Driver."
Aligning Monitor Backgrounds: Size Harmony for Your Display
You may want to see also

Utilise the 'Extend' option
If you're using multiple monitors, you can enable the extend mode on each monitor for easy navigation. This will allow you to move applications from one display to another.
Here's how to utilise the Extend option:
For Windows
- Press the Windows + P buttons.
- Click on "Extend".
- Repeat these steps on all the monitors before opening a program on a different monitor.
For Mac
- Right-click on an empty area of the desktop.
- Choose Display Settings.
- Scroll down to the Multiple displays area.
- Select "Extend these displays".
For Intel Graphics
- Open the Intel Graphics Command Center.
- Navigate to the Display tab.
- Click the More options icon on the primary display (in the Connected Displays window).
- Click Extend to select which display you would like to extend to.
- (Optional) Re-arrange the displays according to your configuration.
- (Optional) Set a display as the primary display by clicking the More options icon and selecting "Make Display Primary".
- Click Apply to save changes.
Monitoring Home Wi-Fi Data Usage: Tips for Beginners
You may want to see also

Restart and re-plug your system
If you are still facing issues with launching programs on multi-monitor displays, you can try restarting and re-plugging your system. To do this, shut down and unplug all of the devices. Afterward, plug everything back in, turn on all of your monitors and computers, and see if this fixes the issues. Additionally, connect all of the monitors with an HDMI cable for faster connectivity.
This solution is recommended by Microsoft as a troubleshooting step when facing issues with external monitor connections in Windows 10. It is also suggested when your setup has been working well but suddenly stops functioning.
LCD TV Monitors: Key Components Explained
You may want to see also
Frequently asked questions
Launch the program, drag and drop it to the desired monitor, then click the "Restore Down" icon to reduce the window size by half. Press the "X" button and close the window. Now, whenever you launch the program, it will open on the specific monitor.
Go to Windows Settings by pressing Win + I. From there, select Display. In the "Multiple Display" section, select your desired monitor, then check the box "Make this my main display."
Yes, DisplayFusion is a third-party application that lets you force apps to run on specific monitors.


