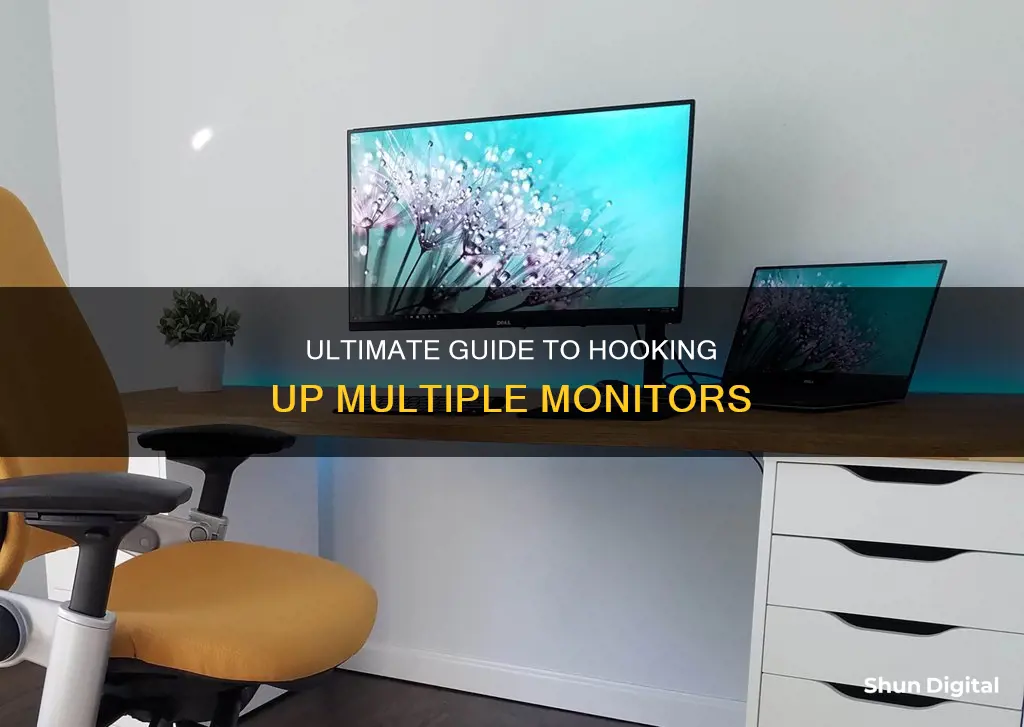
Setting up an additional monitor to your laptop or PC can be a great way to add extra screen space and keep your windows organised. It can also be useful for gamers who want to play their favourite titles on a bigger, faster, and more vibrant screen. Luckily, the process is relatively simple and only requires a few steps. In this article, we will outline the process of setting up an additional monitor, the different types of cables you may need, and the benefits of having a dual-monitor setup.
What You'll Learn

Identify the right cable
Identifying the right cable to hook up your monitor is a crucial step in setting up your display. Here are some detailed instructions to help you choose the correct cable:
Identify the Ports on Your Devices:
Start by checking the ports available on your computer and monitor. Common ports on desktops include VGA (Video Graphics Array), HDMI (High-Definition Multimedia Interface), DVI (Digital Visual Interface), DisplayPort, and USB-C. Laptops often have limited options like Thunderbolt, USB-A, or HDMI. Knowing the ports you have is essential for choosing the right cable.
Match the Cable to the Ports:
Once you've identified the ports, you'll need a cable that matches. For example, if your monitor and computer both have VGA connections, use a VGA cable. If they both have HDMI ports, use an HDMI cable. This is the easiest scenario, as you simply need a cable that fits the available ports.
Use Adapters or Converters:
If your monitor and computer have different ports, you may need an adapter or converter. For instance, if your monitor has a VGA connection and your laptop has HDMI, you'll need an adapter to connect the two. Adapters are readily available to convert between different port types.
Consider Cable Length:
When choosing a cable, consider the distance between your computer and the monitor. Ensure the cable is long enough to comfortably reach between the two devices. This is particularly important if you need to use adapters, as each additional adapter can reduce the effective length of the cable.
Check for Compatibility:
Always verify compatibility when selecting cables and adapters. Check the specifications of your computer's graphics card and the monitor's input capabilities. This is especially important if you're aiming for specific resolutions or refresh rates. Incompatible cables can lead to display issues or reduced performance.
Choose HDMI for Audio and Video:
If you want to transmit both audio and video using a single cable, HDMI is your best option. HDMI cables support standard, enhanced, and high-definition video output, as well as audio. DisplayPort and USB-C are also good options for high-quality audio and video transmission.
VGA and DVI for Older Devices:
If you're connecting to older devices, you may need to use legacy ports like VGA or DVI. VGA was the standard before HDMI and is still found on older equipment. DVI ports were commonly used alongside VGA and HDMI on older monitors and can be useful for specific applications, although they don't carry audio.
Remember, selecting the right cable is essential for a stable and seamless connection between your monitor and computer. By following these instructions and considering your specific needs, you can make an informed decision and enjoy a smooth display setup.
Monitoring Data Usage: Control Your Router's Data Consumption
You may want to see also

Connect the monitor to a power source
To connect your monitor to a power source, you will need to identify the type of power cable required. Most monitors require at least two cables: one for power and one for data. The power cable connects to an electrical outlet and provides electricity to the monitor. The data cable transmits the picture signal (data) from your computer to the display.
The power cable is typically the one that resembles a "kettle lead", with a figure-of-eight connector. This cable simply plugs into the monitor and a power outlet. Ensure that the monitor is switched off before connecting the power cable.
If your monitor uses an AC adapter, a cable may go from the monitor to the AC adapter, which then plugs into the wall.
Once the power cable is connected, you can turn on the monitor. The power button is often found on the middle or right side of the front or bottom edge of the monitor.
Monitoring Social Media Usage: Strategies for Parents and Educators
You may want to see also

Connect the monitor to your device
Connecting your monitor to your device is a straightforward process, but the specific steps will depend on the type of device and monitor you have. Here is a detailed guide to help you through the process:
Identify the Ports and Cables:
First, you need to identify the ports on your device and monitor. Common ports include HDMI, DisplayPort, VGA, USB-C, Thunderbolt, and DVI. Your device and monitor may have different ports, so make sure to check both.
Choose the Right Cable:
Select a cable that is compatible with the ports on your device and monitor. For example, if your device has an HDMI port and your monitor has a DisplayPort, you will need an HDMI-to-DisplayPort adapter.
Connect the Cable:
Once you have the correct cable, connect one end to your device and the other end to your monitor. Ensure that the cable is securely plugged into both.
Power the Monitor:
Connect the power cable from the monitor to a power outlet or power strip. Some newer monitors may use an AC adapter instead of a power cable. Make sure the monitor is turned on by locating the power button, typically on the front, bottom, or side of the monitor.
Set Up Display Preferences:
After connecting the monitor, you will need to configure your display settings. On Windows, right-click on your desktop and select "Display Settings." From there, you can choose how you want to use your displays, such as duplicating or extending your desktop across multiple displays.
On a Mac, open System Preferences and select "Displays" to choose your display settings. You can then click "Arrangement" to adjust the locations of your displays relative to each other and select whether you want to mirror or extend your desktop.
Troubleshooting:
If your device does not automatically detect the monitor, ensure that all cables are securely connected and that the monitor is powered on. You may also need to select the correct input source on the monitor. If you're using a Mac, try holding down the "Option" key and clicking "Detect Displays."
Additionally, if your device and monitor have different ports, you may need to purchase an adapter. Common adapters include HDMI-to-DisplayPort, DisplayPort-to-VGA, and USB-C-to-HDMI.
By following these steps, you should be able to successfully connect your monitor to your device and configure your display settings to meet your needs.
Matte LCD Monitor: Cleaning Tips for Perfect Clarity
You may want to see also

Check your display settings
Once you've connected your monitor to your laptop or PC, you'll need to check your display settings to ensure everything is working as it should.
Windows
If you're using a Windows laptop or PC, right-click on your desktop screen and select "Display Settings". In the "Multiple Displays" section, you can choose how you want to use your displays. You can either duplicate the displays (show the same image on both screens), extend the displays (increase your desktop across both displays), or show the image on only one display. Once you've made your selection, click "Apply" or "Keep Changes".
If your PC doesn't automatically detect your new monitor, you can manually detect it by pressing the Windows logo key + P to select a display option. Then, select "Start", followed by "Settings", "System", and "Display". Your PC should then detect your monitor and show your desktop. If not, select "Multiple Displays" and then "Detect".
MacOS
If you're using a Mac, open "System Preferences" and select "Displays" to choose your display settings. To use your monitor as an extended desktop, click "Arrangement" to see your current display arrangement. Click and drag the display boxes to adjust their locations in relation to one another. To make one display your primary screen, simply drag and drop the white rectangle at the top of the current primary display onto the display of your choosing. To mirror your desktop onto the second display, click "Arrangement" and select the "Mirror Displays" checkbox.
Troubleshooting
If your laptop or PC doesn't detect your monitor, there are a few things you can try. First, make sure that your laptop is charged and turned on, and that the video cable is securely plugged into both the laptop and the monitor. Check that you've selected the correct input source on your monitor. If you're using a USB-C adapter or a dock, ensure that it has power if required. Try disconnecting the cables and plugging them back in, and make sure that any extra-long HDMI cords are plugged into the correct device. Restart your computer, and check your cable and adapters for any damage.
Monitoring Rogers Internet Usage: Tips for Staying Informed
You may want to see also

Adjust your display settings
Now that you've connected your monitor, you can adjust your display settings to suit your preferences.
On a Windows PC, right-click on your desktop screen and select "Display Settings". In the "Multiple displays" section, you can choose from the following options:
- "Duplicate these displays" – This will show the same image on both your laptop and monitor screens.
- "Extend these displays" – This will increase your desktop across both displays, giving you more screen space.
- "Show only on 1" or "Show only on 2" – This will show the image only on the selected display, allowing you to turn one screen off while using the other.
Once you've made your selection, click "Apply" and then "Keep Changes".
For Mac users, open System Preferences and select "Displays" to adjust your settings. To use your monitor as an extended desktop, click "Arrangement" and drag the display boxes to adjust their locations in relation to one another. The primary display will be indicated by a white rectangle at the top. You can drag and drop this onto any of the other displays to change the primary display.
If you want to mirror your desktop onto the second display, click "Arrangement" and select the "Mirror Displays" checkbox.
You can also adjust the resolution of your displays. It's recommended to use the suggested resolution to get the most out of your displays. However, if you're a gamer or want to watch high-quality videos, you may want to opt for a higher resolution if your monitor supports it.
Additionally, you can fine-tune your display settings by calibrating your monitor to adjust colours and brightness for optimal viewing. You can also adjust the height, tilt, and swivel of your monitor for improved ergonomics and perfect posture.
Monitoring Marijuana Usage: A Comprehensive American Overview
You may want to see also
Frequently asked questions
First, identify the types of ports on your laptop. Common ports include HDMI, DisplayPort, VGA, Thunderbolt (for Apple devices), and USB-C. Once you've identified the port, you can purchase the appropriate cable to connect your laptop to the monitor. After connecting the monitor, you may need to adjust your display settings to extend or duplicate the display.
Ensure that your cables are connected properly to the monitor. If your laptop is not recognising the monitor, try restarting your laptop, checking that the correct input source is selected on the monitor, or using a different cable.
The cable you use will depend on the type of ports available on your laptop and monitor. HDMI is the most common type of video connection, but other options include USB, VGA, DisplayPort, and DVI.
Yes, it is possible to connect multiple monitors to a laptop, depending on the laptop's capabilities. Some laptops have multiple video output ports, allowing for direct connections to multiple monitors. If your laptop only has a single video output, you can use devices like USB docking stations or display adapters to add additional monitors.


