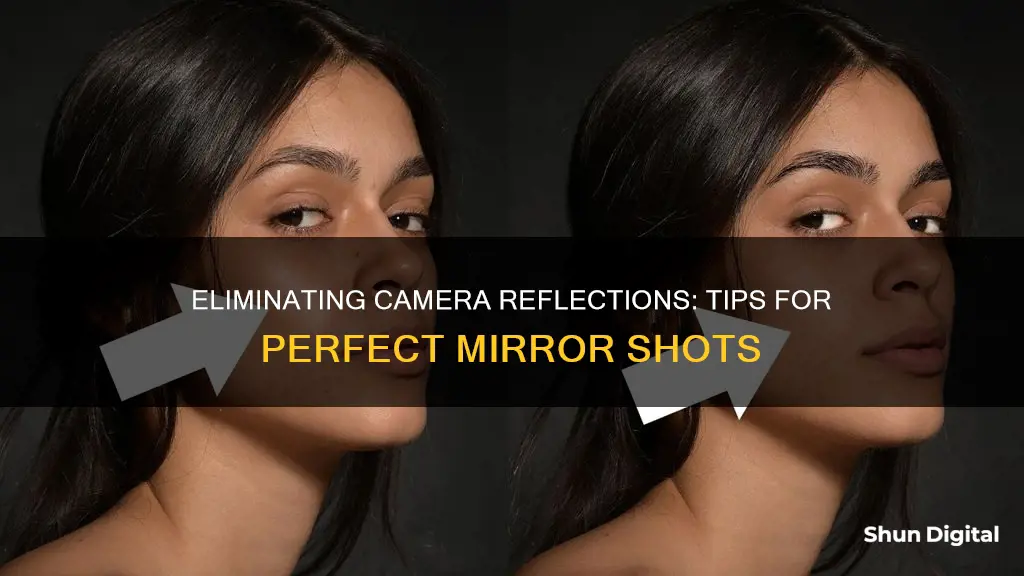
Reflections and glare can ruin a perfect shot, but there are ways to avoid and remove them. Reflections can be avoided by blocking the light, moving the lights, adjusting the subject or camera, and using a longer lens. Reflections can be removed with the use of photo editing software, such as PhotoDirector, Adobe Photoshop, AniEraser, Snapseed, and Fotor.
| Characteristics | Values |
|---|---|
| Photo Editing Software | PhotoDirector, MyEdit, Adobe Photoshop, AniEraser, Snapseed, Fotor |
| Photo Editing Techniques | Lasso Tool, AI-powered glare removal, Clone Stamp Tool, Healing Tool, Magic Eraser, Levels Adjustment, Curves Adjustment |
| Photo Editing Platforms | Windows, Mac, iOS, Android |
| Camera Accessories | Polarizing Filter, Soft Rubber Lens Hood |
What You'll Learn

Use a polarizing filter on your camera
Using a polarizing filter on your camera is a great way to avoid reflections in your photographs. Polarizing filters are typically used in front of a camera lens to reduce reflections, haze, and increase colour saturation. They are especially useful for landscape, cityscape, and architecture photographers, but they are also commonly used for other types of photography.
Polarizing filters come in two types: linear and circular. Linear polarizers have a single polarizing layer, which causes issues with the autofocusing and metering technology of DSLR cameras. Circular polarizers (CPLs), on the other hand, have an additional quarter-wave layer that repolarizes the light, making it safe to use with any digital camera. While CPLs are more expensive, they do provide better performance.
When using a polarizing filter, it is important to get the right type for your camera. Older, linear polarizers are not suitable for digital cameras as they interfere with autofocus systems. Instead, opt for a newer, circular polarizer. Additionally, make sure that your camera is not focusing on the reflection rather than the object behind it. To avoid this, set the focus when the polarizing effect is strongest, rather than when you can see glare on the glass.
Another thing to keep in mind is that some reflections may be too strong to be completely removed, such as bright light sources or sunlight patterns. Reflections in mirrors also cannot be removed using polarizing filters, as they are only effective on light glancing off surfaces at an angle.
By using a polarizing filter and following these tips, you can effectively reduce reflections in your photographs and achieve the desired results.
Removing Camera Burn-In: A Guide for Android Users
You may want to see also

Shoot through a hole in a piece of black velvet
Shooting through a hole in a piece of black velvet is an effective way to remove reflections from your photographs. Here are some detailed instructions to help you achieve the best results:
Choose the Right Type of Fabric
Select a black velvet fabric that is as dark and non-reflective as possible. Avoid polyester, as it tends to have a reflective sheen. Instead, opt for a natural fibre like cotton, with a very fine weave to minimise the visibility of the weave itself.
Prepare Your Setup
Ensure the velvet is draped uniformly without any folds or wrinkles, as these will reflect light and show up as lighter patches in your photos. Use a piece of thin glass or clear plastic to elevate your subject and prevent it from resting directly on the velvet. This is especially important for small subjects like insects, as the fabric's texture will be visible otherwise.
Position Your Lighting
Use diffused side lights and experiment with different positions to minimise reflections on the glass. You can also use a backlight, but this is optional and can be turned off if it creates unwanted reflections. For best results, use a combination of lights and adjust their positions through trial and error.
Final Tips
Keep the glass clean, as any smudges or dirt will show up against the black background. If you're shooting through glass, get as close to it as possible and eliminate light from behind by shielding your lens with your hand or a dark shirt. When shooting through a windshield, consider covering the dashboard with black velvet or another non-reflective material to prevent reflections.
By following these steps, you should be able to effectively remove reflections from your photographs when shooting through a hole in a piece of black velvet.
Connecting Your Vivitar Camera to PC: A Guide
You may want to see also

Move the lights further from the subject
Moving the lights further from the subject is a simple yet effective way to reduce reflections in your photographs. This technique is particularly useful when dealing with specular reflections, which occur on smooth and shiny surfaces.
When lights are positioned closer to the subject, the angle of incidence—the angle at which the light rays strike the surface—is larger, resulting in a higher intensity of reflected light. This can cause unwanted glare and affect the overall exposure of your image.
By increasing the distance between the lights and the subject, you decrease the angle of incidence. This, in turn, reduces the amount of light that bounces off the surface, lessening the intensity of the reflection. With this technique, you can better control the lighting in your scene and avoid overexposing certain areas.
It's important to note that moving the lights farther away will require adjustments to your camera settings, such as aperture and ISO, to compensate for the reduced light intensity. Additionally, this technique may not be as effective for diffuse reflections, which are typically caused by rough surfaces that reflect light in multiple directions.
In conclusion, moving the lights further from the subject is a useful strategy for reducing reflections, especially on smooth and shiny surfaces. However, it should be paired with the appropriate camera settings to ensure a well-exposed photograph.
Watching Camera Footage on PC: Easy Steps to Follow
You may want to see also

Adjust the subject or camera
Adjusting the subject or camera can be an effective strategy to prevent reflections from appearing in your photographs. Here are some tips to achieve this:
- Rotate the subject: Slightly rotating or tilting the subject can change the angle of reflection and ensure that the camera is not within the reflective field of broad, flat surfaces. This simple adjustment can help eliminate unwanted reflections and create a more desirable composition.
- Reposition the camera: Moving the camera, even slightly, can make a significant difference in reducing reflections. Try experimenting with different positions and angles to find the optimal setup that minimises the appearance of the camera in the reflection.
- Increase the distance: Moving the camera farther away from the subject can reduce the size of any reflection. This is especially effective when using a longer lens, as it allows you to maintain the desired framing while reducing the impact of reflections.
- Use barriers: By strategically placing barriers, such as black velvet or other light-blocking materials, you can prevent stray light from hitting the camera. This technique helps to eliminate reflections by controlling the light paths and reducing the amount of light that bounces off the camera.
- Adjust lighting: If possible, move the lights or well-lit surfaces further away from the subject. This adjustment can change the angle of reflection and reduce the intensity of light hitting the camera, minimising its appearance in reflections.
By implementing these adjustments to the subject or camera setup, you can effectively reduce or eliminate unwanted reflections in your photographs.
Classic Multi-Camera Sitcoms: TV's Longest-Running Shows
You may want to see also

Use a longer lens
Using a longer lens is an effective strategy to minimise or eliminate unwanted reflections of the camera in your photographs. This technique is particularly useful when dealing with reflective surfaces such as water, glass, or polished objects. By opting for a lens with a longer focal length, you can physically distance the camera from the subject while still capturing the desired shot. This increased distance plays a dual role in reducing reflections.
Firstly, the greater distance between the camera and the subject results in a smaller reflection. Secondly, the amount of light hitting the camera is reduced, leading to a less intense and noticeable reflected image. This technique can be especially beneficial when working with highly reflective surfaces that tend to act as mirrors, such as broad, flat surfaces.
In addition to reducing reflections, using a longer lens also offers the advantage of minimising the amount of stray light that bounces around the room and eventually reaches the camera. This can be further enhanced by strategically positioning barriers or using a light box to control the lighting conditions.
It's important to note that while a longer lens can help reduce reflections, it's equally crucial to consider other factors that may contribute to unwanted reflections. For example, the positioning of lights or well-lit surfaces in close proximity to the subject can directly illuminate the camera. Therefore, adjusting the lighting setup or slightly repositioning the subject or camera can also aid in reducing reflections.
In summary, using a longer lens is a valuable technique to reduce reflections of the camera in your photographs. It allows you to increase the distance between the camera and the subject, resulting in smaller and less intense reflections. Additionally, it helps minimise stray light and gives you more control over the lighting conditions. Combining this technique with thoughtful lighting setup and minor adjustments to the subject or camera positioning can further enhance your results in eliminating unwanted reflections.
Unraveling Your Camera's Clicks: A Quick Guide to Check Counts
You may want to see also
Frequently asked questions
Try to block the light source or move it further away from the subject. Adjust the angle of the subject or camera, or use a longer lens to minimise the reflection.
PhotoDirector is a popular app for removing glare and reflections from photos. It's available on iOS and Android devices and offers AI-powered glare removal. Other options include Adobe Photoshop, Snapseed, Fotor, and AniEraser.
Download the app, import your photo, tap "Tools", select the "Removal" tool, manually adjust the removal area, and save your edited photo.
Open your image in Photoshop, select the "Lasso Tool", draw a circle around the reflection, right-click and choose "Fill", and select "Content-Aware" from the drop-down menu.


