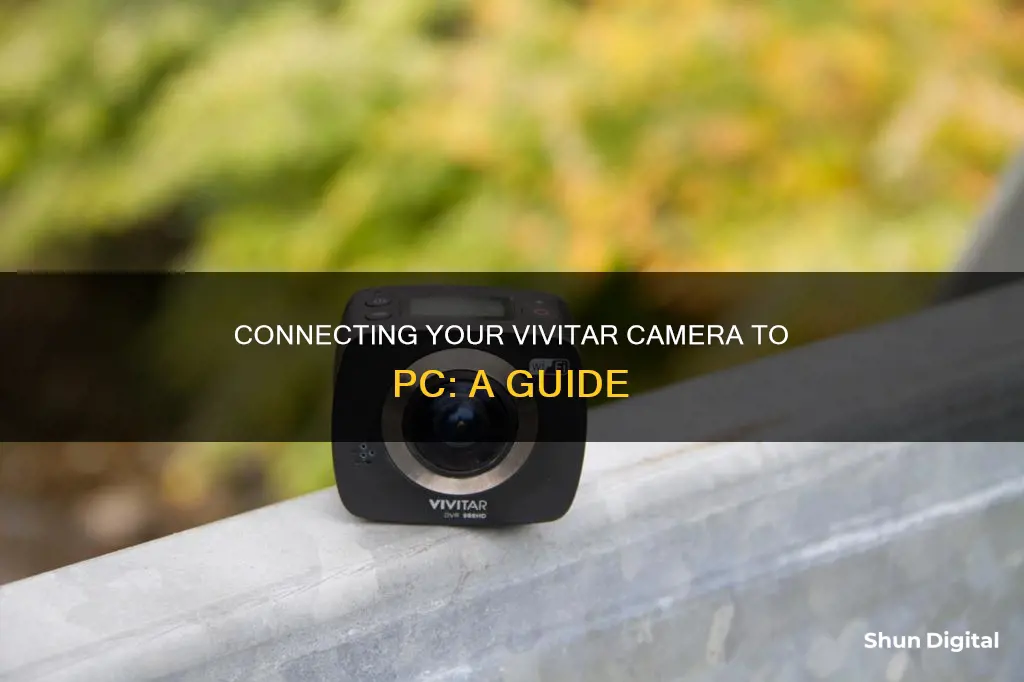
If you want to see your Vivitar camera on your PC, you will need to install the correct software. Vivitar provides the Vivitar Experience Image Manager software on a CD that comes with the camera. You can also download the software from the Vivitar website. Once the software is installed, you can connect your camera to your PC using the USB cable that came with the camera. You can then turn on your camera and open the Vivitar Experience Image Manager software to view your photos.
| Characteristics | Values |
|---|---|
| Camera model | Vivitar ViviCam 7025, Vivitar Vivicam 10, Vivitar Mini Digital Camera, Vivitar Vivicam F526 |
| Connection to computer | USB cable |
| Software | ArcSoft PhotoImpression, Vivitar Experience Image Manager, Google Picasa 3.6 |
| Software installation | Insert the installation CD into your CD-ROM drive, open the application's CD/DVD drive and click on "Setup.bat" to launch the installer |
| Software installation (Mac) | Click the icon to install the Vivitar Experience Image Manager |
| Software installation (no CD-ROM) | Call the customer service number on the Vivitar website to request a replacement CD |
What You'll Learn

Connecting the camera to the computer
There are a few ways to connect your Vivitar camera to your computer.
Using a USB Cable
- Ensure your computer is on.
- Turn on your camera. This can usually be done using a dial near the top of the camera.
- Plug the small end of the camera's USB cable into the camera. The port for this may be hidden under a plastic flap, which may say something like "Video Out".
- Plug the other end of the USB cable into a USB port on your computer. The hollow side of the USB connector should be facing upwards.
- Wait for your camera's drivers to install. If it's your first time connecting the camera, this may take a few minutes.
- Double-click "My Computer".
- Double-click your camera's name, which should appear under the "Devices and Drives" section.
- Double-click your camera's storage folder. This is often called DCIM, and there may be another folder inside this one with the camera brand name.
- You can now review your photos. From here, you can delete photos from your camera's memory card, copy photos to a file on your computer, or simply view your photos.
Using an SD Card
- Remove the SD card from your camera. It is usually located beneath a flap on the right or left side of the camera.
- Insert the SD card into your computer's SD card reader. Some computers and laptops have these built-in, but if yours does not, you will need to purchase an adaptor that plugs into your USB port.
- Access the SD card from your computer.
- Copy photos to your computer and/or delete them from your SD card as desired.
Using Wi-Fi
Some cameras allow you to send photos directly to your computer via Wi-Fi. Check your camera's internal menu to see if this is an option.
Classic Multi-Camera Sitcoms: TV's Longest-Running Shows
You may want to see also

Installing the software
To install the Vivitar software, follow these steps:
First, ensure you have downloaded the correct software for your device. You can find the software for Vivitar cameras on the official Vivitar website. The software you need will depend on your camera model and your operating system. For example, the Vivitar Image Manager is for Windows Operating Systems, while the Vivitar Experience Manager is for the Vivitar DVR922-EIS and is available for Android and iOS.
Once you have the correct software, follow these general steps:
- Insert the installation CD into your CD-ROM drive. The installation screen should automatically open. If it doesn't, open the application's CD/DVD drive and click on "Setup.bat" to launch the installer.
- If you are on a PC, the Vivitar Experience Image Manager Installer window will appear. If you are on a Macintosh, click the icon to install the Vivitar Experience Image Manager.
- If you do not have internet access, connect to the internet and then click the "Install Vivitar Experience Image Manager" button to begin the installation. If you do not have internet access, you can still download media from the camera by following the instructions provided.
- Choose your language and click "Next" to open the next window.
- Select your camera model from the list and click "Next" again.
- Click "Next" once more to confirm your camera model selection and initiate the installation process.
- Review the license terms. On a PC, click the "I Agree" button to continue. On a Macintosh, click the "I accept the terms of this license agreement" and then click "Next".
- On a PC, let the installer create the folder where the program will be installed, and then click "Install".
- Wait while the application finishes installing on your computer.
- Once the installation is complete, click the "Close" button on a PC or the "Quit" button on a Macintosh.
- Finally, click the "Launch Vivitar Experience Image Manager" to open the application, or close the window and run the Vivitar Experience Image Manager from your computer.
Note: It is recommended that you do not plug your camera into the computer until the software installation is complete.
A Simple Guide to Watching Yi Camera Footage in Real-Time
You may want to see also

Opening the application
To open the application, you will need to first download the Vivitar software. You can find the software on the installation CD that comes with your camera. Insert the CD into your computer's CD-ROM drive and wait for the installation screen to open. If the window does not appear, open the CD/DVD drive and click on "Setup.bat" to launch the installer.
If you do not have a CD drive or have misplaced the installation CD, you can download the Vivitar software from the official Vivitar website. For Windows Operating Systems, download the "Vivitar Image Manager". For the Vivitar DVR922-EIS, download the "Vivitar Experience Manager" for either Android or iOS, depending on your device.
Once you have downloaded the software, open the application. If you are using a PC, the Vivitar Experience Image Manager Installer window should appear. If not, locate and open the application's CD/DVD drive and click on "Setup.bat" to launch the installer.
If you are using a Macintosh, simply click the icon to install the Vivitar Experience Image Manager.
If you do not have internet access at the time of inserting the CD-ROM, connect to the internet and then click the "Install Vivitar Experience Image Manager" button to begin the installation. If you do not have internet access, you can still download media from the camera by clicking the “How to transfer photos and videos from my camera to my computer” button for instructions.
Next, choose your language and click "Next" to open the next window. Select your camera model from the list and click "Next" again to confirm your selection and initiate the installation process. Please wait while the application is being installed on your computer.
Review the license terms and, if you agree, click the "I accept the terms of this license agreement" button. On a PC, let the installer create the folder where the program will be installed and then click "Install". On a Macintosh, click "Next" after reviewing the license terms.
Finally, wait while the application finishes the installation process. Once complete, click the "Close" button on a PC or the "Quit" button on a Macintosh. You can now launch the Vivitar Experience Image Manager to open the application or close the window and run the program from your computer.
Watching Your Camera Feed Remotely: A Step-by-Step Guide
You may want to see also

Transferring pictures to the computer
To transfer pictures from your Vivitar camera to your computer, you will need to install the Vivitar Experience Image Manager software. This can be done by inserting the installation CD into your CD-ROM drive. If the installation screen does not automatically open, open the application's CD/DVD drive and click on "Setup.bat" to launch the installer.
Once the software is installed, connect your camera to your computer using the USB cable that came with your camera. Turn your camera on and open the Vivitar Experience Image Manager application on your computer. Within the application, you can then select the album where you want your pictures saved and transfer the photos from your camera.
Alternatively, you can use third-party software such as Google's Picasa 3.6 to transfer and manage your photos.
Capturing the Milky Way: Camera's Perspective
You may want to see also

Troubleshooting
If you are having trouble connecting your Vivitar camera to your PC, there are several steps you can take to try and resolve the issue.
First, ensure that your camera is properly charged. If your camera is not turning on, the battery may need to be replaced.
Next, check the USB connection between your camera and your PC. Ensure that the USB cable is properly inserted into both the camera and the computer.
If your camera is not being recognised by your PC, the issue may be with the camera's SD card. Check that the SD card is fully inserted into the camera. If the card is not recognised, remove and reinsert it, checking that it is in the correct orientation.
In some cases, you may need to install specific software or drivers to enable your PC to recognise your Vivitar camera. Check your camera's user manual or the Vivitar website for software downloads.
If you are still experiencing issues, try restarting both your camera and your PC. Ensure that your camera's lens is clean and free of any particles or grime, as this can impact its performance.
For more specific troubleshooting tips, refer to your camera's user manual or contact Vivitar customer support.
14 Camera Movie: Where to Watch and Stream
You may want to see also
Frequently asked questions
Use the USB cable that came with your camera to connect your camera to your computer.
Yes, you need to install the "Driver" software. You can download this from Vivitar's website.
Once you have installed the software, connect your camera to your PC using the USB cable. Then, open the software and select the photos you want to transfer.
You can call Vivitar's customer service number (1-800-592-9541) and they will send you a free replacement CD.


