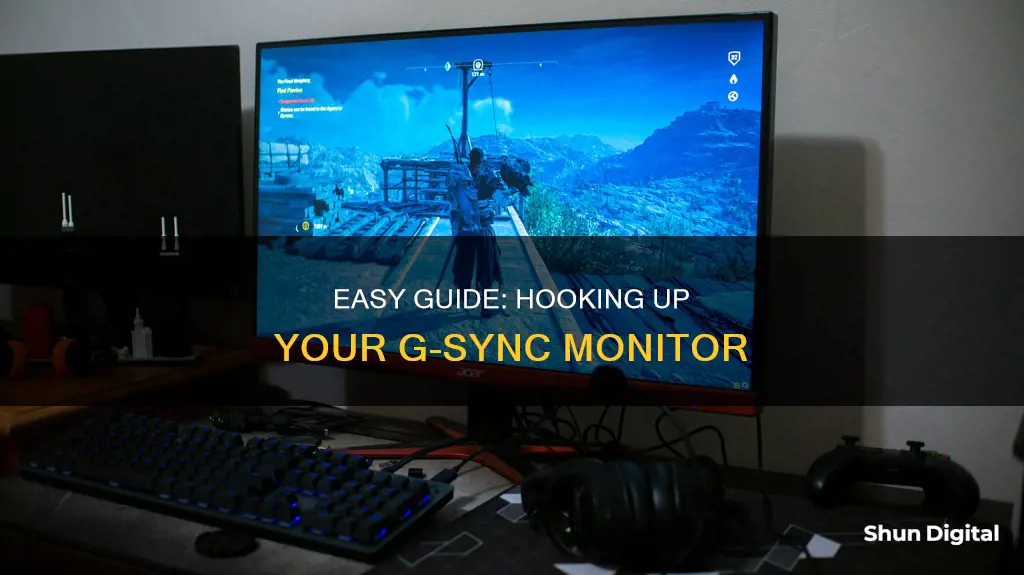
If you're looking to hook up a G-Sync monitor, you'll need to ensure your monitor is compatible with G-Sync technology. G-Sync is a technology licensed by GPU maker Nvidia to companies making displays and laptop screens. It allows the monitor and GPU to communicate with each other, providing a tear-free gaming experience. To enable G-Sync, you'll need to access the Nvidia Control Panel and follow the steps outlined below.
What You'll Learn

Install and update NVIDIA drivers
To install and update NVIDIA drivers, follow these steps:
Firstly, ensure that you have an NVIDIA graphics card that supports G-Sync. You can check this by going to the Device Admin menu on your PC and verifying if an NVIDIA graphics card is listed. You can also visit the NVIDIA homepage to see if your graphics card is listed as supporting the G-Sync function.
Next, connect your PC and monitor using a DP cable. G-Sync is only supported for DP inputs, so ensure that your PC and monitor have the same output methods.
Once your hardware is set up, you can install the NVIDIA drivers. Visit the NVIDIA website and download the latest version of the graphics driver program. Install this on your PC.
Now, you can activate the G-Sync function. Right-click on your desktop and select 'NVIDIA Control Panel'. Go to the 'Display' menu and click 'Set up G-SYNC'. Select 'Enable G-SYNC, G-SYNC Compatible' to activate the function.
Finally, keep your NVIDIA drivers up to date by using NVIDIA Update. This will notify you when a new driver is available and direct you to the relevant page on the NVIDIA website. Alternatively, you can manually check for updates by accessing the NVIDIA Update control panel. Right-click on your Windows desktop, select NVIDIA Control Panel, navigate to the Help menu, and select Updates. From here, you can also configure how often you want your PC to check for updates and whether you want to receive notifications for beta drivers.
Monitoring Mobile Data Usage: Tips for Staying Within Your Limit
You may want to see also

Set up G-Sync
Setting up G-Sync can help you achieve tear-free and smooth gaming by allowing your monitor and GPU to communicate with each other. To set up G-Sync, follow these steps:
Step 1: Check Compatibility
Before you begin, ensure your monitor supports G-Sync. Look for the G-Sync label on your monitor or its packaging. You can also check Nvidia's database, which is sorted by manufacturer and model. If your monitor doesn't have a dedicated G-Sync processor, it may still be certified as G-Sync-compatible. Additionally, some monitors without certification may still work with G-Sync, although the results may vary.
Step 2: Install and Update Drivers
Install and update the latest version of the Nvidia graphics driver from the official Nvidia website. This step is crucial to ensure the smooth operation of G-Sync.
Step 3: Connect with a DP Cable
Connect your PC and monitor using a Display Port (DP) cable. G-Sync is supported for DP inputs only and will not work with HDMI or other input types.
Step 4: Enable G-Sync in Windows
- Right-click on your Windows desktop.
- Click on "Nvidia Control Panel." On Windows 11, you may need to click "Show more options" first.
- Locate the Display settings in the sidebar or navigation tree pane and click on "Set up G-Sync."
- Click the checkbox to "Enable G-Sync/G-Sync Compatible."
- Choose the mode: select Full Screen if you want to use G-Sync only with full-screen applications, or select Windowed and Full Screen if you want to use it with windowed applications as well.
- If you have multiple monitors, set your G-Sync monitor as the primary display. Right-click on your desktop, select Display Settings, click Identify to locate the G-Sync monitor, and then select Make this my main display.
Step 5: Adjust Game Settings
To ensure optimal performance, you may need to adjust the settings within individual games. Match the game's frame rate (FPS) to your monitor's refresh rate. If the FPS exceeds the refresh rate, you may encounter issues. Additionally, consider disabling V-Sync in your games, as it tries to accomplish the same thing as G-Sync but without the same level of dynamic adjustment.
Governments' Internet Surveillance: Privacy and Security Concerns
You may want to see also

Check your monitor's compatibility
To check your monitor's compatibility, you need to ensure that your monitor supports Nvidia's G-Sync technology. You can do this by checking for the G-Sync label on your monitor or its packaging. Nvidia also maintains an active database that you can sort by manufacturer and model.
If you have an LG monitor, you can check if your monitor supports G-Sync by going to the [Device Admin] menu for your PC and checking if an Nvidia graphics card is being used. You can then check the Nvidia homepage to see if your graphics card supports the G-Sync function.
G-Sync is only supported for Display Port (DP) inputs, so you will also need to ensure that your PC and monitor are connected with a DP cable.
Once you have confirmed that your monitor is compatible with G-Sync, you can enable G-Sync in Windows by right-clicking on your desktop and selecting Nvidia Control Panel. From there, you can choose Set up G-Sync and click the Enable G-Sync checkbox.
If you are unsure whether G-Sync is working properly, you can download the G-Sync Pendulum Demo test tool from Nvidia, which will allow you to cycle between Vsync, no Vsync, and Gsync, as well as adjust the framerate. You can also turn on the G-Sync indicator in the Nvidia Control Panel, which will display a logo in the top left whenever G-Sync is active.
Monitoring Chrome's CPU Usage: Tab-Specific Performance Insights
You may want to see also

Turn on G-Sync in Windows
To turn on G-Sync in Windows, you must first ensure that your monitor supports G-Sync. You can check for the G-Sync label on your monitor or its packaging, or search for your monitor model in the database on the Nvidia homepage.
Once you have confirmed that your monitor supports G-Sync, you can turn it on in Windows by following these steps:
- Right-click on your Windows desktop.
- Click on "Nvidia Control Panel". In Windows 11, you may first need to click "Show more options".
- Look for "Display settings" in the sidebar and click on it.
- Click on "Set up G-Sync".
- Click the box marked "Enable G-Sync".
- Choose whether to enable G-Sync for "Full-screen mode" or "Windowed and full-screen mode".
If you have more than one monitor, you will need to set your G-Sync monitor as the primary display. To do this:
- Right-click on your desktop and select "Display settings".
- Click on "Identify" next to the monitors being shown.
- Select the G-Sync monitor by clicking on its icon.
- Click on "Make this my main display".
G-Sync should now be active, but you may need to adjust additional settings on a game-by-game basis.
ASUS Monitor Light Bleed: Design Flaw or Unavoidable?
You may want to see also

Set your primary display
Setting your primary display is an important step in ensuring G-Sync works properly when gaming. Here's a step-by-step guide to setting your primary display:
- Right-click on your desktop and select Display settings.
- Click on Identify next to the monitors being shown. This will help you identify which monitor is the G-Sync monitor.
- Once you've identified the G-Sync monitor, click on the icon for it.
- Select "Make this my main display".
If you're using an LG monitor, you'll need to ensure that the Overclock setting is switched off. To do this:
- Press the joystick button below the monitor to open the main menu.
- Move the joystick to select the Settings menu, then select Game Control.
- Select Off in Overlock.
By setting your G-Sync monitor as the primary display, you'll be able to take full advantage of G-Sync's features and enjoy a smoother gaming experience.
Expanding Your iMac: Using an External Monitor
You may want to see also


