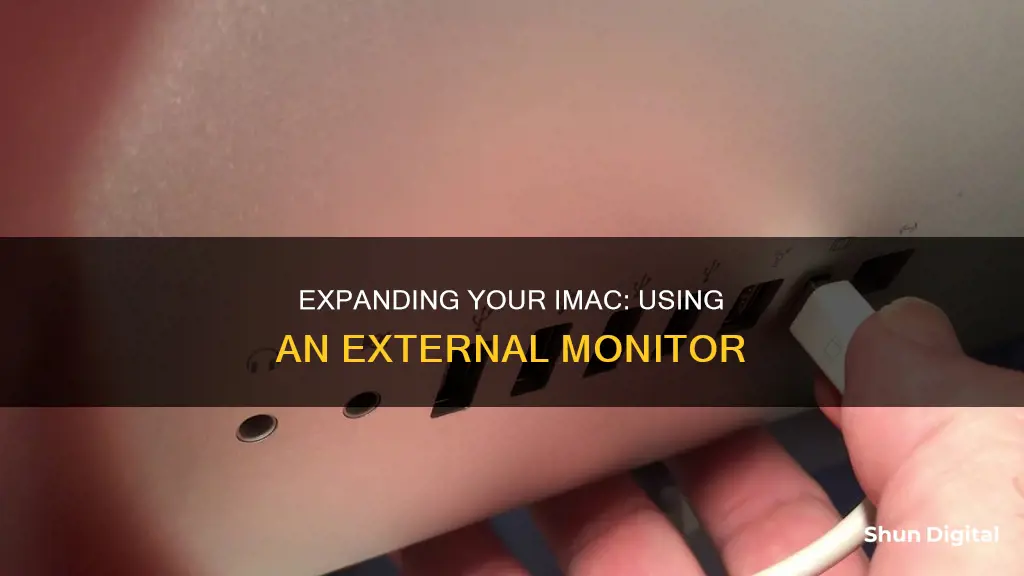
If you're looking to hook up your iMac to a monitor, you're in luck! There are several ways to do this, depending on the age of your iMac and the type of Mac you want to connect it to. Here's a step-by-step guide to help you get started.
First, you'll need to determine if your iMac supports Target Display Mode. This feature is available on older iMac models from 2009 to 2014. If your iMac is a 24 or 27-inch model from 2009 or 2010, or any iMac released between 2011 and mid-2014, then you're in business.
Next, check that your iMac is running macOS High Sierra or earlier. This is an important requirement for Target Display Mode to work.
Now, let's prepare the Mac that you want to connect to your iMac. This Mac must be a model from 2019 or earlier and should be running macOS Catalina or earlier.
Once you've confirmed that both your iMac and Mac meet the requirements, it's time to connect them using the right cable. If your iMac is from 2011 or later, you'll need a Thunderbolt or Thunderbolt 2 cable. For iMacs from 2009 or 2010, a Mini DisplayPort cable is needed.
With the cable connected, simply press Command+F2 on your iMac keyboard, and you should see the desktop of the connected Mac. That's it! Your iMac is now functioning as an external monitor for your Mac.
If you're having trouble getting Target Display Mode to work, try these troubleshooting steps:
- Restart both your iMac and the connected Mac.
- Ensure the correct cable is securely plugged into both devices.
- Press Command+Fn+F2, as some keyboard types may require this variation.
- If you're logged into your iMac, try logging out and returning to the login screen.
There you have it! A simple way to utilise your old iMac as an external display for your Mac.
| Characteristics | Values |
|---|---|
| iMac models with Target Display Mode | 2009, 2010, 2011, 2012, 2013, and mid-2014 |
| Operating system for iMac | macOS High Sierra or earlier |
| Cable type for iMac | Mini DisplayPort or Thunderbolt |
| Mac model for connection | 2019 or earlier |
| Operating system for Mac | macOS Catalina or earlier |
| Cable type for Mac | Mini DisplayPort or Thunderbolt |
| Target Display Mode shortcut | Command + F2 |
| Screen resolution for optimal display quality | 2560 x 1440 |

Target Display Mode
To use Target Display Mode, you need to meet the following requirements:
- The iMac used as a display must have macOS High Sierra or earlier installed.
- The other Mac that you're connecting it to must be from 2019 or earlier and have macOS Catalina or earlier installed.
- The cable connecting the two Mac computers must be either a Thunderbolt or Thunderbolt 2 cable or a Mini DisplayPort cable, depending on the model.
- Ensure that both iMacs are turned on and meet the system requirements.
- Connect the two computers using the appropriate cable.
- Press Command-F2 on the keyboard of the iMac you want to use as a display. You can now use the other Mac as usual and should see its desktop on the iMac display.
To exit Target Display Mode, press Command-F2 again, disconnect the cable, or restart either Mac.
Please note that Target Display Mode is no longer a feature of macOS and has been deprecated for several years. It was never supported for use with any PC other than older Mac models.
Setting Up a Power Usage Monitor: A Step-by-Step Guide
You may want to see also

AirPlay Mode
To use Airplay Mode to hook up your iMac to a monitor, you will need to ensure that your iMac is running macOS Monterey or later, and the primary Mac you want to connect it to is running macOS 10.8 Mountain Lion or later to use the iMac as a main display, or macOS 10.9 Mavericks or later to use it as a secondary display.
Both the iMac and the primary Mac must have WiFi and Bluetooth enabled, and be connected to the same WiFi network.
On the iMac, go to the Apple logo in the top left corner and select System Preferences > Sharing, then check the box for AirPlay Receiver. On macOS Ventura, this is under System Settings > Sharing. In the 'Allow Airplay For' section, select 'Current user'.
On the primary Mac, go to System Preferences > Dock & Menu Bar > Screen Mirroring and check the box for 'Show in Menu Bar', then select 'Always' from the drop-down menu.
You can then connect your Mac to the iMac using WiFi or a USB-C/Thunderbolt cable. For less lag, it is recommended to use a Thunderbolt-to-Thunderbolt cable.
On the primary Mac, go to the Menu Bar at the top of the screen and click on the Screen Mirroring symbol (which looks like two small black bars). In the drop-down menu that appears, you will see your iMac. You can choose whether to mirror the display or use the iMac as a separate display.
Select your iMac to start using it as an external monitor with Airplay, and you should see your primary Mac's display on the iMac.
Finally, go to the Screen Mirroring symbol in the Menu Bar again and select Display Preferences. Click on the Arrangement tab, and you can then arrange the displays as they are on your desk so that, for example, dragging the mouse cursor to the left brings it to the iMac screen if the iMac is positioned to the left of your primary Mac.
You can deactivate Airplay and stop using your iMac as an external monitor at any time by going to the Screen Mirroring symbol in the Menu Bar and selecting 'Turn Airplay Off'.
QHD Monitors: Size and Display Quality
You may want to see also

Luna Display
- USB-C: For Macs and modern PCs
- HDMI: For older PC models
To use Luna Display, you need to plug the Luna hardware into your computer to get started. Then, launch the free Luna apps on your primary and secondary devices. Luna will automatically connect your devices over your existing WiFi network or USB cable.
The primary device (the computer you plug Luna into) needs to meet the following requirements:
- Primary Mac: 2011 model or newer; running macOS 10.13 High Sierra or later
- Primary PC: Windows 10 64-bit, build 1809 or later
The secondary device (your second display) needs to meet the following requirements:
- Secondary iPad: iOS 13.1 or later; 32-bit devices are not supported
- Secondary Mac: macOS 10.13 High Sierra or later
Some people have reported issues with Luna Display, including instability and kernel panics that crash the primary or source Mac. Additionally, there may be some lag when using Luna Display, especially if you are using it for video editing or graphic design.
Kids' Monitor Size: Big or Small Screen?
You may want to see also

Duet Display
Here's how to set up Duet Display:
- Download and install Duet Display on both your iMac and the primary Mac you want to connect it to.
- Open the application on your primary Mac.
- Connect your primary Mac to the iMac using a Thunderbolt cable or USB-C cable.
- Duet Display will automatically detect the iMac, and you should see the message "Launching Duet" on the iMac, indicating a successful connection.
Surface Book Monitor Size: How Big Is the Display?
You may want to see also

Open Core Legacy Patcher
OCLP allows users to install macOS Ventura and earlier versions on extremely old systems. It also enables blocked features on newer systems. For example, a user reported that after running OCLP on their 2017 iMac, they could use features like the iMac being an AirDrop target or using Universal Control.
OCLP supports any Intel-based Mac but does not support PowerPC or Apple Silicon-based Macs. It is recommended to update your Mac to its latest native version before using OCLP to ensure you are on the highest firmware.
- Format a 16 GB or larger USB flash drive to Fat 32.
- Confirm that your Mac model is supported by OCLP and download the latest version of OCLP from the OCLP GitHub page.
- Launch OCLP and select "Create macOS installer."
- On the "Create macOS installer" screen, select "Download macOS" if you don't already have a version downloaded, and then select the macOS version you want to download.
- The installer should forward you to the "Select macOS" screen. Select your downloaded OS.
- On the "Format USB" screen, select your USB drive. This will likely require your admin password.
- Once the installer has copied the installer to the disk, it should ask if you want to install OpenCore to the disk. Select "Install OpenCore to disk."
- Once the installer has finished, it should ask if you want to reboot. You can reboot now or later. When you do reboot, you will need to hold down the option key and select the OpenCore EFI partition.
- Once you've selected the OpenCore EFI, you'll be taken to another boot picker. Select the installer. At this point, you have booted into OpenCore, and all the configured hacks will be loaded to enable your Mac to install macOS.
- Step through the installer as normal. With modern macOS installs, the installer will need to reboot several times.
- Finish setting up your Mac and run OCLP one last time to confirm that post-install modifications have been installed.
Monitoring Memory Usage in Embedded Linux: Practical Tips
You may want to see also


