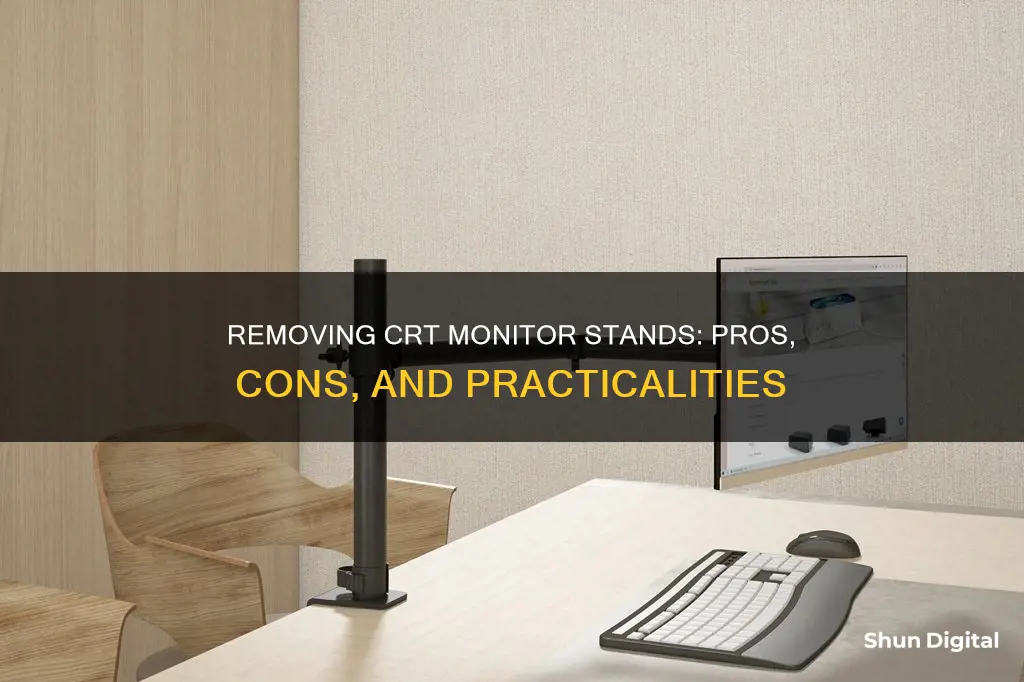
CRT monitors are known to be bulky, and users often seek to remove the stand to reduce the overall height of the monitor. While this can be done, it is important to exercise caution as CRT monitors contain dangerous components and can retain a lethal electric charge even when unplugged. Before removing the stand, it is crucial to discharge the CRT and safely disassemble the monitor to avoid injury. Additionally, when dealing with a broken monitor stand, users have suggested repairing the plastic base with two-part epoxy or 3D printing a replacement base.
What You'll Learn

Safety precautions when removing a CRT monitor stand
Removing a CRT monitor stand is not a simple task and should be done with extreme caution. CRT monitors contain many harmful components such as mercury and lead, which can be dangerous to the environment and human health if not handled and disposed of properly. Here are some important safety precautions to follow when removing a CRT monitor stand:
- Wear Protective Gear: Put on safety goggles to prevent eye injury or blindness in the event of an implosion. Wear rubber gloves to protect your hands from sharp edges and toxic substances.
- Unplug the Monitor: Ensure that the CRT monitor has been unplugged for several weeks before attempting any disassembly. This allows enough time for the power supply capacitors to discharge, reducing the risk of electric shock.
- Discharge the CRT: Even after unplugging, CRT tubes may still hold a lethal electric charge. Use a screwdriver and a piece of wire to discharge the CRT tube safely. Connect one end of the wire to the ground terminal on the PCB, and the other end to the screwdriver. Gently insert the screwdriver under the suction cup on the side of the tube until you hear a zap, indicating a successful discharge.
- Handle with Care: CRT tubes are fragile and can easily break, especially at the back where the tube narrows. Avoid dropping or applying excessive force to the tube, as it may shatter and release harmful substances.
- Be Aware of High Voltage Components: Some components inside the monitor, such as the power supply capacitors, can hold a lethal electric charge even after being unplugged. Avoid touching these components during the disassembly process.
- Proper Tool Usage: Use the correct tools for disassembly, such as screwdrivers, cutting pliers, and wire cutters. Be cautious when cutting wires or removing components to avoid accidental damage or injury.
- Recycling and Disposal: After disassembling the monitor, take the CRT tube and other electronic components to a specialized recycling facility. Do not dispose of them in regular trash, as they contain toxic materials that can harm the environment.
- Seek Expert Advice: If you are unsure about any part of the disassembly process, seek guidance from experienced individuals or professionals. Online forums and tutorials can also provide valuable information on safe disassembly practices.
- Work in a Controlled Environment: Choose a clean, well-ventilated, and clutter-free workspace to reduce the risk of accidents. Ensure that children and pets are not present during the disassembly process.
- Do Not Attempt Repairs: If your CRT monitor is malfunctioning, it is best to seek professional repair services instead of attempting repairs yourself. Working on a powered-on monitor can be extremely dangerous due to the high voltages involved.
Remember, working with CRT monitors can be hazardous, and improper handling can lead to serious injuries or environmental contamination. Always prioritize safety and follow established procedures when removing a CRT monitor stand or disassembling any electronic device.
Removing Task Bar from Specific Monitor: A Step-by-Step Guide
You may want to see also

How to remove the base from a CRT monitor
Removing the base from a CRT monitor is a complex process that requires careful handling and safety precautions. CRT monitors contain hazardous materials such as lead and phosphor, which can be harmful to the environment if not disposed of properly. Here is a step-by-step guide on how to remove the base from a CRT monitor:
- Prepare the necessary tools and safety equipment: You will need a pair of rubber gloves, cutting pliers, a Phillips screwdriver, a flat-head screwdriver, and safety goggles. Wear protective clothing, including long sleeves and closed shoes, to avoid injury from broken glass or other sharp objects.
- Place the monitor face down: This will protect the screen from accidental damage during the disassembly process.
- Remove the screws holding the case together: Carefully unscrew all the screws at the back of the monitor. Look for plastic tabs that may be hidden on the top, sides, or bottom. These tabs can be tricky to unhook, but they can be popped open.
- Slide the case off: After removing all the fasteners, carefully slide the case off the monitor.
- Put on insulated gloves: As the CRT may still hold a lethal charge, it is important to wear insulated gloves for your safety.
- Discharge the CRT: Ground the wire under the suction cup on the side of the tube. Connect a flat-head screwdriver to a piece of wire and then connect the other end to ground. Gently insert the screwdriver under the suction cup until it touches the metal conductor. You may hear a loud crack or zap, indicating that the CRT is discharged.
- Cut the ground wires: Cut off all the ground wires around the tube to separate the circuit board from the tube and casing.
- Remove the main circuit board: Unlatch any tabs holding the circuit board in place and unplug all electrical connectors. Cut the remaining soldered wires close to the circuit board.
- Remove the smaller circuit board: The small circuit board is usually held in place by a strong adhesive at the base of the CRT connector. Use a flat-head screwdriver to carefully pry between the seam of the tube connector and the tube until it comes apart.
- Remove the base: With the circuit boards removed, you can now detach the base from the CRT monitor. Be cautious as the glass below the electron gun is fragile and can break easily.
It is important to note that dismantling a CRT monitor can be dangerous due to the presence of high voltage components. Always prioritize safety and follow proper disposal guidelines for any hazardous materials.
Dark Spots on Monitors: Common Issue, Easy Fix?
You may want to see also

Repairing a broken CRT monitor stand
If your CRT monitor stand is broken, you may be able to repair it, depending on the type of damage. Here are some steps and suggestions for repairing a broken CRT monitor stand:
- Assess the Damage: Before attempting any repairs, carefully inspect the stand to identify the type and extent of the damage. Look for any cracks, broken parts, or loose connections.
- Consider the Weight of the Monitor: CRT monitors are typically very heavy, so the stand needs to be sturdy enough to support the weight. If the stand is damaged, it may not be able to bear the weight of the monitor safely.
- Option for a Plastic Stand: If the stand is made of plastic and has cracks or breaks, you may be able to repair it using plastic epoxy or glue. Clean the damaged area, apply the epoxy or glue, and allow it to dry completely before reattaching the stand to the monitor.
- Option for a Metal Stand: If the stand is made of metal and has loose or broken parts, you may be able to weld or solder the pieces back together. Make sure to use appropriate safety gear and work with a professional if you're not experienced in metalworking.
- Consider a Replacement Stand: If the damage is too extensive or you're unable to repair it safely, consider finding a replacement stand. Look for a stand that is specifically designed for CRT monitors and can support the weight of your monitor.
- Handle with Care: When working with CRT monitors, always exercise caution. They contain high voltages and toxic substances like lead and phosphor. Always unplug the monitor and discharge it safely before attempting any repairs or disassembly. Wear safety gear, including gloves and goggles, to protect yourself.
If you're unable to repair the stand or find a suitable replacement, you may need to consider alternative options, such as mounting the CRT monitor on a wall or setting it on a sturdy, level surface that can support its weight. Remember to always prioritize your safety when working with CRT monitors and stands.
Dismantling Your Acer LCD Monitor: Step-by-Step Guide
You may want to see also

Dismantling a CRT monitor
Step 1: Prepare the necessary tools and safety equipment. You will need a pair of rubber gloves, two cutting pliers, a Phillips screwdriver, a flat-head screwdriver, and safety goggles.
Step 2: Remove the screws holding the case together. Check for plastic tabs located on the top, in between the seam, and at the sides or bottom. The top tabs can be particularly tricky to unhook. Sometimes the screws may be hidden behind small plastic doors or stickers.
Step 3: Slide the case off. Place the tube on its face to make the disassembly process easier. Put on insulated gloves, as the CRT may still hold a lethal charge.
Step 4: Discharge the CRT. Ground the wire under the suction cup on the side of the tube. Connect a flat-head screwdriver to a piece of wire and then connect the other end to the ground. Gently insert the screwdriver under the suction cup until you hear a zap, indicating that the CRT is discharged.
Step 5: Cut the ground wires from the tube. Cut off all the ground wires around the tube to separate the circuit board from the tube and casing. Remove any springs attached to the wire, as they may be useful later.
Step 6: Remove the main circuit board. Unlatch any tabs holding the circuit board in place and unplug any electrical connectors. Cut the remaining soldered wires close to the circuit board to make them more useful for later projects.
Step 7: Remove the smaller circuit board. Use a flat-head screwdriver to pry between the seam of the tube connector and the tube until it comes apart.
Step 8: Strip the neck. Remove any clamps and spacers from around the neck of the tube. Be careful not to break the tube, as it may not be able to be recycled. Once the obstructions are cleared, the steering coils can be removed.
Step 9: Put the case back together. Keep the CRT out of landfills by taking it to a recycling facility.
Please note that this is a general guide, and the specific steps may vary depending on the make and model of your CRT monitor. Always prioritize safety and follow proper disposal procedures for any hazardous materials.
Monitoring Verizon Data Usage on Your Galaxy S7
You may want to see also

Disassembling a CRT monitor safely
CRT monitors contain toxic substances such as lead and phosphor, which can pollute the environment and seep into the underground water supply if not disposed of properly.
Step 1: Gather the necessary tools and safety equipment
- Rubber gloves
- Cutting pliers
- Phillips-head screwdriver
- Flat-head screwdriver
- Safety goggles
- Rubber shoes (optional)
Step 2: Remove the screws holding the case together
Take off the screws holding the back of the monitor in place. Be sure to check for plastic tabs, which are usually located on the top, between the seam, or at the sides and bottom.
Step 3: Slide off the case
After removing all the fasteners, carefully slide off the case. Place the tube on its face to make the disassembly process easier.
Step 4: Discharge the CRT
This step is crucial for safety. CRT monitors can hold a lethal charge even after being unplugged for years. To discharge the CRT, connect a wire to a ground source, such as a metal rod sticking out of the ground. Then, attach the other end of the wire to a flat-head screwdriver. Gently insert the screwdriver under the suction cup on the side of the tube. If the tube still contains a charge, you will hear a zap or a loud crack.
Step 5: Cut the ground wires
Cut off all the ground wires around the tube to separate the circuit board from the tube and casing.
Step 6: Remove the main circuit board
Unlatch any tabs holding the circuit board in place and unplug all electrical connectors. Cut the remaining soldered wires close to the circuit board to preserve their length for later use.
Step 7: Remove the smaller circuit board
Use a flat-head screwdriver to pry between the seam of the tube connector and the tube until the small circuit board comes off.
Step 8: Strip the neck
Loosen any clamps and carefully remove spacers and steering coils from around the neck of the tube.
Step 9: Put the case back together
Finally, put the casing back together, leaving the tube inside to prevent accidental breakage.
Once disassembled, take the CRT monitor to a recycling facility to ensure proper disposal and keep toxic substances out of landfills.
Note: This guide provides general instructions, and the specific steps may vary depending on the make and model of your CRT monitor. Always prioritize safety and follow proper procedures to avoid injury.
LCD Monitor Lifespan: How Long Do They Last?
You may want to see also
Frequently asked questions
Yes, it is possible to remove the stand from a CRT monitor. However, it is important to refer to the service manual for the specific model of the monitor to ensure it is done safely and correctly.
The process may vary depending on the model of the monitor. As such, it is important to refer to the service manual for specific instructions. In general, the process involves removing the screws that hold the stand in place and then carefully detaching the stand from the monitor.
Removing the stand from a CRT monitor can help to reduce the overall height of the monitor, making it more suitable for placement on a desk or in a limited space.
Improper removal of the stand may result in damage to the monitor, particularly if force is applied incorrectly or if the monitor is dropped during the process. It is important to handle the monitor with care and ensure that all necessary tools and safety precautions are in place before attempting to remove the stand.
If the stand cannot be removed or repaired, there are a few alternative options to consider. One option is to use the monitor without the stand by placing it directly on a stable surface. Another option is to explore plastic repair methods or 3D printing a replacement base, ensuring that it can withstand the weight of the monitor.


