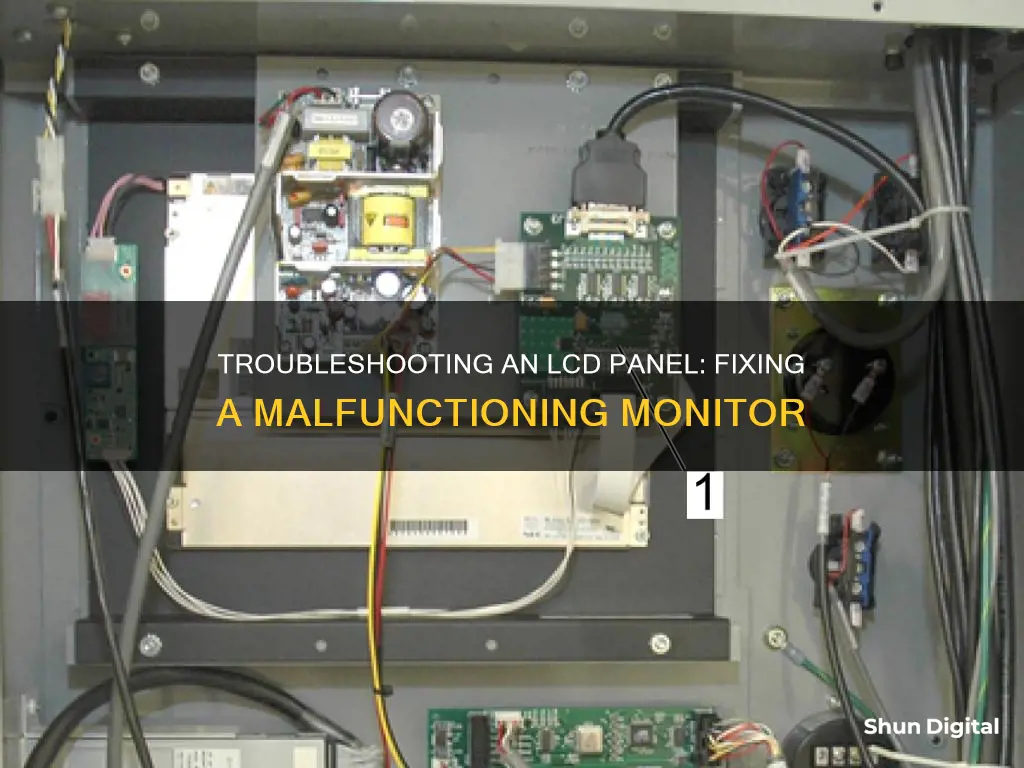
Troubleshooting an LCD panel monitor that is malfunctioning can be a complex task, but there are some initial steps you can take to try and identify the problem. Firstly, check that all cables are firmly connected and secure, including both power and video cables. If the issue persists, try connecting your computer to another monitor to see if the problem is with the monitor itself or with your computer's video card or settings. If the issue is with the monitor, you may need to reset it to its default factory settings. If the problem is with your computer, try updating your display drivers and BIOS, and check your operating system and graphics settings.
What You'll Learn

Check for physical damage to cables or the LCD screen
When troubleshooting an LCD panel monitor, it is important to check for physical damage to the cables or the LCD screen. Physical damage to the screen can manifest in several ways, including lines, blotches, bleeding, cracks, moisture, or colour distortion. If the LCD distortion is visible even when the computer is powered off, it is likely due to physical damage.
To check for physical damage, carefully inspect the LCD screen for any signs of cracks, scratches, or other visible damage. Pay close attention to the presence of dead pixels, which will appear as black or white dots that do not illuminate or change colour. Stuck pixels are similar but are stuck on a single colour that doesn't match the computer screen's image, typically red, green, or blue. While there are techniques to try and fix stuck pixels, dead ones will likely require a screen replacement.
In addition to checking the screen, it is important to inspect the cables for any signs of damage. Loose or faulty cables can cause issues with the display, such as flickering or a loss of video signal. Ensure that all cables are firmly plugged in and securely connected, tightening any retention screws if necessary. If the problem persists, try replacing the cable.
If you notice any physical damage to the LCD screen or cables, it is important to take the necessary steps to address the issue. This may involve contacting a professional for repairs or replacing the damaged components. Remember that even a small amount of physical damage can impact the functionality and aesthetic quality of your device.
Troubleshooting an ASUS 144Hz Monitor Not Reaching 144Hz
You may want to see also

Verify the display or video issue in Windows Safe Mode
If you are troubleshooting an LCD panel monitor and suspect the issue is related to the operating system, video settings, device drivers, or third-party software, you can verify this by booting your computer into Windows Safe Mode. Safe Mode starts Windows with a limited set of files and drivers, allowing you to narrow down the source of the problem.
To boot into Safe Mode in Windows 11 or 10, follow these steps:
- Press the Windows + I keys on your keyboard to open Settings. If this doesn't work, click Start and then select Settings.
- Click on Update & Security, and on the left pane, select Recovery.
- Under Advanced Startup, click Restart Now.
- After your computer restarts, select Troubleshoot > Advanced Options > Startup Settings > Restart on the Choose an Option screen.
- When your computer restarts again, a list of options will appear. Select 4 or F4 to start the computer in Safe Mode. If you need internet access, select 5 or F5 for Safe Mode with Networking.
Alternatively, you can boot into Safe Mode from the sign-in screen:
- Restart your computer.
- At the sign-in screen, hold down the Shift key and click Power > Restart.
- After the computer restarts, select Troubleshoot > Advanced Options > Startup Settings > Restart.
- When the computer restarts again, choose either 4 or F4 for Safe Mode or 5 or F5 for Safe Mode with Networking.
If you cannot boot into Windows at all, you can trick your PC into offering the Options screen by turning on your computer, turning it off when anything appears on the screen, and repeating this two more times. On the third attempt, a message saying "Preparing Automatic Repair" should appear, and you can follow the steps to reach the Startup Settings screen and choose your Safe Mode type.
Once you have booted into Safe Mode, try to reproduce the issue you were experiencing. If the problem persists, it is likely related to the operating system, video settings, device drivers, or third-party software. If the issue does not occur in Safe Mode, it may be caused by certain drivers, services, or plugins that load automatically during a normal boot.
Viewing Your Website: Monitor Size Matters
You may want to see also

Check for outdated drivers
If you are troubleshooting an LCD panel monitor that is malfunctioning, one of the things you can do is check for outdated drivers. Outdated graphics drivers can cause display or video issues, so it's important to ensure that you have the latest drivers installed.
To check for outdated drivers on Windows, you can use Device Manager. Here's how:
- In the search box on the taskbar, enter "Device Manager" and select it from the results.
- In Device Manager, select a category to see the names of devices.
- Right-click or press and hold the device you want to update, and select "Search automatically for updated driver software".
- Select "Update Driver".
- If Windows doesn't find a new driver, you can try looking for one on the device manufacturer's website and follow their instructions for installing it.
If you have a Dell laptop, you can also use the LCD Built-in Self-Test (BIST) to help identify if the issue is with the LCD screen, the video card (GPU), or the display settings on your computer. Here's how to run the BIST:
- Turn off your computer and disconnect any connected devices.
- Connect the AC adapter (charger) to your computer.
- Ensure that the LCD screen is clean and free of dust particles.
- Press and hold the "D" key, then turn on the computer to enter the BIST mode. Continue holding the "D" key until you see color bars on the LCD screen.
- The screen will display multiple color bars and change colors to black, white, red, green, and blue. Carefully inspect the screen for abnormalities.
- Press the "Esc" key to exit the BIST mode.
If the issue is not present in the BIST mode, then the problem is likely not with the LCD screen. However, if the issue persists, you may need to update your graphics driver or check for other hardware issues.
Monitoring Bandwidth Usage: Tips for Home Network Management
You may want to see also

Check for incorrect graphic settings in the operating system
When troubleshooting an LCD panel monitor that is malfunctioning, one of the steps you can take is to check for incorrect graphic settings in the operating system. This is because outdated or incorrect graphic settings can cause display and graphics card issues, such as errors, crashes, or glitches.
To check for incorrect graphic settings, you can follow these general steps:
- Update your drivers and software: Ensure that the drivers controlling your display and graphics card are up to date. Drivers are essential programs that enable communication between the hardware and the operating system. You can update your drivers using the device manager, the manufacturer's website, or a third-party tool.
- Adjust your display settings: Incorrect settings and resolution can lead to issues such as blurry, stretched, or cropped images, low frame rates, or overheating. Access your display settings to ensure they match your monitor's specifications and your graphics card's capabilities.
- Verify the issue in Safe Mode: Boot your operating system into Safe Mode to determine if the issue is related to the operating system, video settings, device drivers, or third-party software. If the issue persists in Safe Mode, it is likely related to your operating system configuration.
- Run a diagnostic test: Utilize built-in tools within your operating system, such as the Windows Memory Diagnostic or DirectX Diagnostic Tool, to scan for errors or malfunctions related to your display and graphics card settings. Running a diagnostic test can help identify potential solutions or optimizations.
- Reset your monitor to factory settings: If none of the above steps resolve the issue, consider resetting your monitor to its factory default settings. This can be done through the on-screen display (OSD) menu, which can be accessed using the buttons or joystick on your monitor. Refer to your monitor's user guide for detailed instructions.
By following these steps, you can effectively check for and address incorrect graphic settings in your operating system, helping to troubleshoot issues with your LCD panel monitor.
Finding Monitor Size: Pixel Count for Display Settings
You may want to see also

Check for faulty video cables
When troubleshooting an LCD monitor, one of the first things to check is the video cable. A loose or faulty video cable is one of the most common issues with monitors, and it can often be the cause of a blank or flickering screen.
To check for a faulty video cable, first, make sure that the cable is securely connected at both the monitor and the computer end. Ensure that any retention screws are tightened properly. If the cable is loose, tighten it and see if that solves the problem. If not, try replacing the cable.
If you are using an HDMI cable, there are some specific signs of a faulty connection to look out for. One of the most common issues is "sparkles" or flickering dots that are usually white and may look like shooting stars or white noise. An image that cuts out could also be due to a dodgy HDMI cable, resulting in a black screen or periodic "blackouts". A poor-quality image that looks fuzzy or grainy may also indicate a bad cable, with colours appearing desaturated or washed out.
If you suspect the video cable is faulty, unplug it from both the source and display and inspect it for any damage. Look for lumps, crushing, pinching, or damage to the connector. If you see any issues, you will need to replace the cable.
It's also a good idea to check that you are using the correct type of cable for your monitor. For example, if you are trying to display a 4K resolution, you will need to use an HDMI or DisplayPort cable, as VGA, Composite, DVI, or HD-SDI cables will not transmit 4K.
Monitoring VRAM Usage: A Comprehensive Guide to Tracking Memory
You may want to see also
Frequently asked questions
First, check if the outlet is working properly by trying another device in the same outlet. Next, ensure that all cables are firmly plugged in, especially if you are using a mobile system. If the LED light on the power supply is not green, the power supply may be dead or there may be no power from the power source. Try another power source and if this doesn't work, the power adapter may be faulty.
Vertical or horizontal lines on your LCD screen usually indicate a problem with the screen itself and it cannot be fixed. You may need to replace the screen or purchase a new monitor.
A flickering monitor could be due to a loose or faulty video or power cable. Try tightening the cable on both ends or replacing the cable. It could also be due to an incorrect refresh rate setting. Check your operating system's display settings and update your video drivers if necessary.


