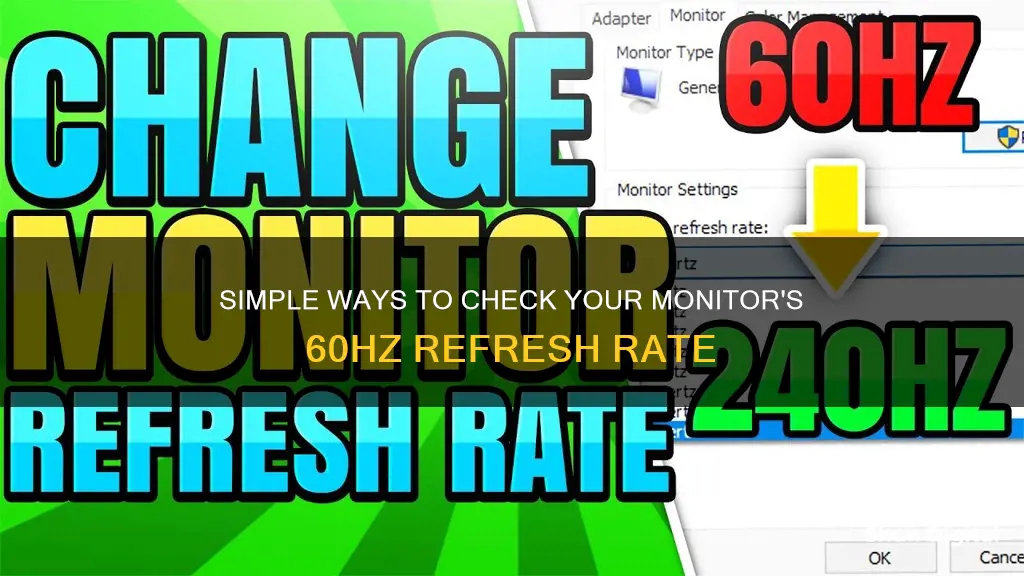
The refresh rate of a monitor is the number of times per second that the image refreshes on the screen. A 60Hz display will update the screen 60 times per second. To check if your monitor is running at 60Hz, you can look at the tag on the back of the monitor, or Google the model number. You can also check the refresh rate in your Windows settings, or by using the Nvidia Control Panel if you have an Nvidia graphics card.
| Characteristics | Values |
|---|---|
| Refresh rate | 60 times per second |
| Display setting | Check if it supports 60Hz |
| Cables | Dual link DVI, Display Port, or HDMI 1.4b |
| Windows setting | Settings > System > Display > Advanced Display |
What You'll Learn

Check display settings
To check your display settings, you can follow these steps:
For Windows 10:
- Go to Settings > System > Display > Advanced Display Settings > Display Adapter Properties.
- Click on the "Monitor" tab.
- Choose your monitor's advertised refresh rate from the "Screen Refresh Rate" list.
- Click "OK."
For Windows 11:
- Launch the Start menu and search for Settings.
- Click on Settings, then go to System > Display > Advanced display.
- In the "Choose a refresh rate" dropdown box, select the advertised refresh rate.
For Nvidia Graphics Card:
- Open the Nvidia Control Panel.
- Choose Display > Change Resolution in the menu on the left side.
- Next to the resolution, you'll see a dropdown menu for the refresh rate.
Additionally, you can check the model number of your monitor by following these steps:
- Press the Windows Key & X at the same time.
- Select "Device Manager."
- Scroll down to "Monitors" and expand the category.
- Right-click on your monitor and select "Properties."
- Select the "Details" tab.
- In the "Property" dropdown box, select "Hardware Ids."
- Copy and google this value to find your monitor model.
- Look at the specifications of your monitor model to determine its maximum refresh rate.
Finding the Right Monitor Fit: Size Matters
You may want to see also

Check your cables
To check if your monitor is running at 60Hz, you need to ensure that your cables are compatible with a 120Hz refresh rate. If you are using an HDMI cable, it needs to be HDMI 2.0 or later, as older versions like HDMI 1.4 and below usually max out at 60Hz for 1080p. For higher refresh rates like 120Hz or 144Hz, you need a cable that supports HDMI 2.0 or later. These newer versions have more bandwidth to handle the extra data for smoother images.
If you are using a DisplayPort cable, this is less likely to be the issue, as DisplayPort generally supports video resolutions of up to 3840 x 2160 pixels at 120Hz, with a maximum bandwidth of 32.4 Gbps. However, there are RBR (Reduced Bit Rate) DisplayPort cables that only support 1080p.
If you are using a DVI cable, it needs to be dual-link DVI to support more than 60Hz.
If you have checked that your cables are compatible with a higher refresh rate, the next step is to check the cable quality. Cheap and low-quality cables can cause problems such as flickering and a refresh rate drop. In this case, you will need to replace the cable with a high-quality one.
Fixing LCD Monitors: Power Supply Repairs Worth the Hassle?
You may want to see also

Check your GPU
To check your GPU, you'll first need to identify what kind of graphics card you have. If you have an Nvidia GPU, you can use Nvidia's software to check your monitor's refresh rate. Here are the steps to follow:
Using Nvidia Control Panel:
- Open the Nvidia Control Panel.
- Choose "Display" from the menu on the left.
- Select "Change Resolution".
- Next to the resolution, you will see a dropdown menu for the refresh rate.
If you're using a laptop, you may not be able to adjust the refresh rate in the Nvidia Control Panel. In that case, you can try the following method:
Using Windows Settings:
- Open Settings and choose "Display".
- Click on "Advanced Display".
- Find your refresh rate under "Display Information".
- You will see a dropdown menu that allows you to select from different supported refresh rates.
By following these steps, you can easily check and adjust your monitor's refresh rate, ensuring it's running at 60Hz or your desired setting.
Repairing Acer LCD Monitors: A Step-by-Step Guide
You may want to see also

Update graphics drivers
Updating your graphics drivers is crucial to getting the best performance and visual experience from your computer. Outdated drivers can cause sluggish and glitchy performance, and can also be a security risk, leaving your computer vulnerable to hackers.
How to Update Graphics Drivers on Windows
First, you need to know what graphics card you have. You can find this out by opening Task Manager and looking in the Performance tab.
Once you know the make of your graphics card, you can download the latest installer:
- For AMD GPUs, download the auto-detect tool
- For Nvidia GPUs, enter your GPU model info on the Nvidia website and then download the latest game-ready driver
- For Intel GPUs, download the auto-detect tool
Run the file you downloaded and follow the installation instructions. You will likely be able to just keep clicking "Next". If Task Manager shows multiple GPUs, update the drivers for all of them.
Using Windows Device Manager
In most circumstances, Windows Update won't find a new driver. Although graphics hardware manufacturers usually release updates every month, it takes time for these changes to get through the Microsoft certification process.
In Windows Update, you usually see a date next to each entry. If your graphics driver is older than three or four months, try using Windows Device Manager to upgrade to the latest driver.
Before you get started, it’s wise to create a system recovery point. This backs up all your current drivers, allowing you to return to the previous state in case anything goes wrong.
To create your backup, right-click on Computer (on your desktop) and select Properties. Click the System Protection item on the left. In the next window, click System Protection, select Create, and follow the instructions on the screen.
Now that you’ve created a backup, follow the steps below to update your drivers on Windows:
- Open the Windows Start menu and type “Device Manager.” Click Open.
- Click Display adapters, then right-click your graphics card and select Update Driver.
- Click the Driver tab, click Update Driver, and select Search automatically for updated driver software.
- Or, select Browse my computer for driver software to choose a driver that you’ve already found and downloaded. Then click Let me pick from a list of available drivers on my computer.
- Click Have Disk > Browse to navigate to the folder that contains the new driver. Click Next.
Using Windows Update
One of the easiest ways to update a driver is to use Windows’ built-in tool, Windows Update, which comes installed on Windows 11, 10, and 7. The drivers you get from Windows Update are fine-tuned and certified by the Windows Hardware Quality Labs (WHQL). While these drivers typically aren’t the latest versions, they are stable.
- Open Windows Start and click Settings.
- Select Windows Update.
- Click Check for updates. All available Windows updates, including graphics drivers, will be installed automatically.
Setting Up External Displays on Lenovo T520 Laptops
You may want to see also

Check for native resolution
To check for native resolution, you should first determine your screen resolution. The screen resolution is the number of pixels that can be displayed on a screen, typically expressed as width x height. For example, a resolution of 1920 x 1080 means the screen can display 1,920 pixels horizontally and 1,080 pixels vertically, totalling 2,073,600 pixels.
Windows 10 and 11:
- Click the Start button and go to Settings.
- Find System and select it, then click Display.
- Scroll down to the Display resolution setting and click the drop-down menu. This will show your device's current settings and offer other options. If they are not already selected, choose the numbers with (Recommended) shown after them. This changes your settings to your computer's native resolution, which is the optimal resolution for your device.
MacOS:
- Use the Apple menu and select System Preferences.
- In the pop-up menu, select Displays.
- From here, you can change the display resolutions for your device and any additional monitors you may have connected. Again, look for the monitors' native resolution, as these work best for your computers.
Online Tools:
You can also use online screen resolution checker tools that automatically detect and display your current resolution.
Once you know your screen resolution, you can check if your monitor is running at 60Hz by following these steps:
- Go to Settings > System > Display > Advanced Display Settings > Display Adapter Properties.
- Click the "Monitor" tab, choose your monitor's advertised refresh rate from the "Screen Refresh Rate" list, and click "OK".
- If you are running Windows 11, launch the Start menu, search for Settings, and click on the Best match. From the sidebar, click on System and then navigate to Display > Advanced display. In the "Choose a refresh rate" dropdown box, select the advertised refresh rate.
Wifi Adapter Monitor Mode: How to Check?
You may want to see also


