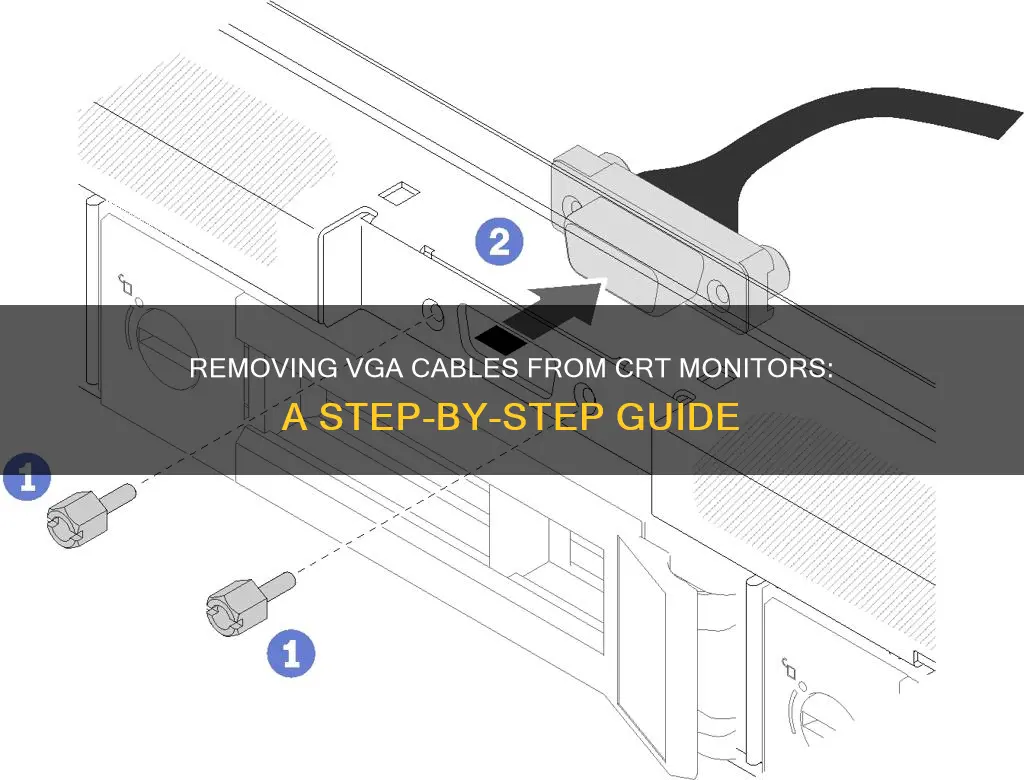
Removing a VGA cable from a CRT monitor can be a challenging task. In some cases, the cable may be detachable, making it easy to remove. However, in other cases, the cable may be integrated into the monitor, requiring more complex steps for removal. It is important to identify the type of connection before attempting any repairs or modifications. In some instances, it may be necessary to open up the monitor casing and either replace the entire cable or solder a new connector onto the existing cable. This process can be time-consuming and requires careful handling of electronic components. It is always recommended to seek expert advice or refer to detailed guides specific to your monitor model before attempting any repairs.
| Characteristics | Values |
|---|---|
| Cable issues | Cut, damaged, missing pins, faulty |
| Cable replacement | Cut and patch new cable, solder new connector, replace whole cable |
| Cable connection | Solder, plug, screw |
| Cable maintenance | Check pins, check with multimeter, check for interference |
What You'll Learn

Check if the VGA cable is detachable
To check if the VGA cable is detachable, you must first identify the type of cable you are working with. VGA cables are typically identified by their trapezoidal connector with 15 pins arranged in three rows. This connector is commonly found on older computer monitors and devices, enabling them to transmit analog video signals.
Once you have confirmed that you are dealing with a VGA cable, examine the cable ends that connect to the monitor and the computer or device. Look for any signs of damage or wear and tear that may impact your ability to detach the cable. If the cable appears to be in good condition, proceed to the next step.
Now, carefully inspect the connection between the cable and the device. Some VGA cables have plugs on the ends that connect to a board, while others may have soldered connections. If you can see a distinct plug or connector, this is a good indication that the cable is likely to be detachable. However, it is important to note that not all VGA cables are designed to be interchangeable, and they may vary between different manufacturers.
If you are unsure, you can try gently pulling on the cable to see if it comes loose. Be cautious, as you do not want to damage the connector or the device. If the cable does not come loose easily, it may be soldered in place or require additional tools for removal.
In some cases, you may need to open up the casing of the device or monitor to access the internal connectors. This can be more complex and may require technical expertise. If you feel uncomfortable proceeding, it is best to consult a professional or seek advice from a knowledgeable source.
Blind Spot Monitoring: A Worthy Investment for Subaru Drivers?
You may want to see also

Cut the cable and solder a new connector
If your VGA cable is cut, or you need to replace it due to damage, you can cut the cable and solder a new connector. This process is considered intermediate or advanced beginner soldering. You will need to buy a new cable and connector, cut the old cable, and then solder everything together.
Firstly, you should open the monitor and de-solder the old cable. This is easier and better than cutting and splicing, as it prevents interference if there is a splice on the cable. Make sure the monitor has been unplugged for a long period, and then use a screwdriver to short the prongs of the plugs together, or the round ground prong. As soon as the monitor is opened and exposed, minimise contact with other parts of the monitor and make sure you short any wire you will be de-soldering to ground before touching it with the soldering iron.
Next, you will need to identify the wires in the cable and their corresponding pins on the VGA connector. The wires should be colour-coded, but you can use a multimeter to test continuity between the pins on the VGA connector and the connector inside the monitor.
Finally, solder the new cable to the board, following the colour-coding or the continuity test to match the wires to the correct pins. Make sure to do this next to a window or fan, or outside, to avoid breathing in the fumes.
Monitor Broadband Usage: Track Your Data Usage Easily
You may want to see also

Open the monitor and replace the cable
To open the monitor and replace the VGA cable, follow these steps:
- Put on safety gear: Before you begin, it is important to wear safety goggles and insulated gloves to prevent eye injury and electric shocks. CRT monitors contain high voltages, so safety precautions are essential.
- Remove external screws: Start by removing the screws that hold the monitor's case together. This includes screws on the back, top, sides, and bottom. Some screws may be hidden behind small plastic doors or stickers, so be thorough in your search.
- Slide the case off: After removing all the fasteners, carefully slide off the case. Place the monitor on its face to make the disassembly process easier.
- Discharge the CRT: This step is crucial for safety. Use a flat-head screwdriver wrapped with a wire to ground the wire under the suction cup on the side of the tube. Connect the other end of the wire to ground, such as a metal rod sticking out of the ground. Gently insert the screwdriver until it touches the metal conductor. You may hear a zap, indicating the tube was charged and is now discharged.
- Cut ground wires: Cut off all the ground wires around the tube to separate the circuit board from the tube and casing.
- Remove the main circuit board: Unlatch any tabs holding the circuit board in place and unplug all electrical connectors. Cut any remaining soldered wires close to the circuit board.
- Remove the smaller circuit board: The smaller circuit board is usually held in place with a strong adhesive at the base of the CRT connector. Use a flat-head screwdriver to carefully pry between the seam of the tube connector and the tube until it comes apart.
- Remove the VGA cable: With the circuit boards removed, you should now have access to the VGA cable. Detach it from the circuit board and set it aside.
- Prepare the new cable: Obtain a new VGA cable and connector. Cut the old cable to reach the original soldering points.
- Solder the new cable: Solder the new cable and connector in place, following the configuration pins and cable routing from the original setup. Ensure each cable from the original monitor goes to the correct pin for a perfect connection.
By following these steps, you can safely open a CRT monitor, remove the old VGA cable, and replace it with a new one.
Removing the ONN Monitor Stand: A Step-by-Step Guide
You may want to see also

Check for damage inside the monitor
Working on a CRT monitor can be extremely dangerous and should only be done by trained professionals. If you insist on doing it yourself, it is important to take the necessary precautions to ensure your safety.
Before attempting any repairs or maintenance on a CRT monitor, make sure the device is unplugged and disconnected from all power sources. Even when unplugged, CRT monitors can still hold a charge, so proper discharge procedures must be followed. Failure to do so could result in a violent implosion of the vacuum tube, releasing poisonous, phosphor-coated shards of glass.
To discharge a CRT monitor, you will need to ground the inner and outer aquadag layers. The aquadag is a conductive coating on the inside and outside of the glass tube, forming a capacitor that holds a charge. By grounding a screwdriver and carefully inserting it under the rubber gasket on the side of the CRT, you can discharge the built-up voltage. It is crucial to wear protective gear, including rubber gloves and safety glasses, during this process.
Once the CRT is discharged, you can proceed to inspect the internal components for any signs of damage. Check for any physical damage to the vacuum tube, such as cracks or chips, which could compromise the integrity of the vacuum seal. Inspect the wiring and connectors for any signs of wear, corrosion, or damage. Look for any burnt or melted components, loose connections, or signs of electrical arcing.
If you notice any damage or irregularities, it is important to consult a professional for advice or repair. Do not attempt to repair or modify the CRT monitor unless you have the necessary training and expertise. Working on a CRT monitor without proper knowledge and precautions can result in serious injury or death.
Audio Monitoring: What Should Employers Disclose to Employees?
You may want to see also

Use a multimeter to check connections
To check the connections of a VGA cable with a multimeter, start by powering off your computer and monitor, and disconnecting the VGA cable from both. Set up your multimeter by inserting the black and red test probes into their corresponding ports. Place the black probe lead into the hole marked "+" or "COM", and the red probe lead into the hole marked "-" or "mA".
Now, power on the multimeter and set the selector switch to the "Ohms" setting. If there are variable resistance settings, set the unit to "200" or its lowest setting. Position the VGA cable so you can see the open connectors at both ends, with the broad edge of the connector at the top. Touch the probes together to calibrate the multimeter.
Touch the black probe to the left-most pin on the top row of pins at one end of the cable, and the red probe to the left-most pin on the other end. The resistance shown should be more than zero but less than 20. If the display shows zero, there is no continuity, which may be due to a damaged wire or solder.
Test the other pins on the cable connectors, touching the probes to the exact same pins on each end.
Crafting LCD Monitors: Step-by-Step Guide to Manufacturing
You may want to see also
Frequently asked questions
First, check if the VGA cable is detachable from the monitor. If it is, you can simply unplug it. If not, you will need to open the monitor and unscrew or detach the cable from the inside.
You will need a screwdriver to open the monitor and possibly a soldering iron if you need to detach the cable from the inside.
You will need to purchase a new cable and connector. Cut the old cable and solder the new cable and connector in place, following the colour codes for each wire.
Yes, CRT monitors contain leaded glass, which is soft and can be easily scuffed. When working on the monitor, ensure that the tube is not resting on any hard surfaces, and use padding or cushioning for protection.


