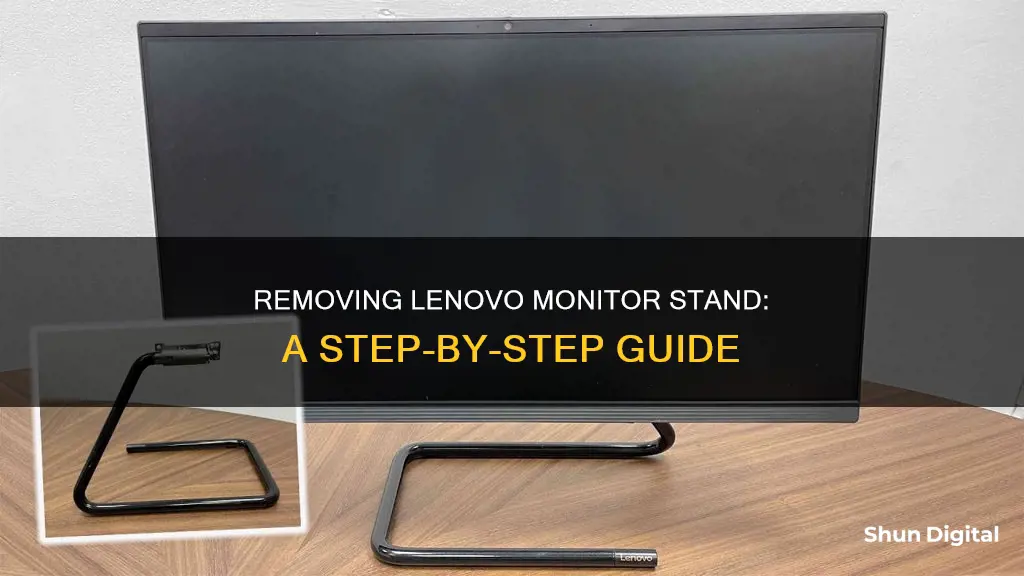
If you want to remove your Lenovo monitor stand, it's a relatively simple process. First, place the monitor face down on a non-abrasive, stable, flat surface. Then, gently squeeze both ends of the cylinder and pull it out. This will give you access to the screws attaching the stand to the monitor. Undo these screws and you'll be able to remove the stand.
| Characteristics | Values |
|---|---|
| First Step | Place the monitor face down on a non-abrasive surface on a stable, flat table |
| Second Step | Remove the stand |
| Third Step | Attach the mounting bracket from the wall mounting kit to the monitor |
| Fourth Step | Mount the monitor on the wall by following the instructions that come with the wall mounting kit |
What You'll Learn

Squeezing the cylinder ends
To remove the stand from your Lenovo monitor, you'll need to squeeze the ends of the cylinder connecting the stand and the monitor. This will allow you to detach the stand from the monitor. Here's a detailed, step-by-step guide to help you through the process:
- Place the monitor face down on a clean, non-abrasive, stable, and flat surface, such as a table. This will protect the screen from scratches or damage during the process.
- Identify the cylinder connecting the stand to the monitor.
- Gently squeeze both ends of the cylinder. You may need to use a firm grip to ensure the cylinder ends are fully compressed.
- While squeezing, follow the direction indicated on the cylinder to remove it. This will detach the stand from the monitor.
- With the cylinder removed, you will now have access to the screws that attach the stand to the monitor.
Note: It is recommended to consult the user manual or a professional if you are unsure about any steps or have difficulty detaching the stand.
Monitor Size Options for the Surface Pro Explained
You may want to see also

Removing the screws
To remove the screws from your Lenovo monitor stand, start by placing the monitor face down on a non-abrasive, stable, flat surface to protect the screen from scratches or damage.
Now, you will need to access the screws attaching the stand to the monitor. To do this, gently squeeze both ends of the cylinder and remove it.
With the cylinder removed, you should now be able to see the screws attaching the stand to the monitor. Use the appropriate tool to carefully remove these screws, taking care not to strip the threads or damage the surrounding plastic. Place the removed screws in a safe place to avoid losing them.
Once all the screws have been removed, gently lift the monitor off the stand. You have now successfully detached the monitor stand from your Lenovo monitor.
Choosing the Right External Monitor Cable for Your GH5
You may want to see also

Placing the monitor face down
When removing the stand from your Lenovo monitor, it is important to take great care to avoid damaging the device. Here is a step-by-step guide to placing the monitor face down:
Step 1: Prepare a suitable workspace
Clear a flat, stable surface on a table and ensure it is free of clutter. Cover the table with a soft, non-abrasive material such as a microfiber cloth or a soft towel. This will protect the monitor's screen from scratches or other damage during the process.
Step 2: Gently lay the monitor down
With the screen facing away from you, carefully place the monitor flat on the prepared surface. Ensure that the screen is entirely covered by the protective cloth and securely rests on the table. Take extra care not to drop or bump the monitor during this step.
Step 3: Secure the monitor
Once the monitor is in the desired position, carefully apply gentle pressure to hold it in place. You can use your hands or a soft cloth to apply this pressure, ensuring the monitor remains stable and does not slide or shift during the stand removal process.
Step 4: Check for stability
Before proceeding, double-check that the monitor is stable and will not move or slide when you begin to remove the stand. It is important to take the time to ensure the monitor is secure to avoid any potential damage during the next steps.
By following these steps, you can safely place your Lenovo monitor face down, ready for the next stage of the stand removal process. Remember to maintain a steady hand and be cautious throughout to protect your valuable equipment.
Asus VE278: Webcam Ready LCD Monitor?
You may want to see also

Using a wall mounting kit
To remove your Lenovo monitor stand and mount it on the wall, you will need a compatible wall mounting kit. Before you begin, make sure to turn off your monitor and unplug it from the power source. It is also recommended to place a soft, clean towel or cloth on your desk or surface to protect the screen.
Now, follow these steps:
Step 1:
Lay the monitor face down on a non-abrasive, stable, flat surface to prevent any damage to the screen.
Step 2:
Locate the stand release button on the back of the monitor, usually located near the bottom of the stand.
Step 3:
Press the stand release button and gently pull on the stand to detach it from the monitor. You may need to gently squeeze both ends of the cylinder and remove it to access the screws that attach the stand to the monitor.
Step 4:
Once the stand is released, gently lift it away and remove it from the monitor.
Step 5:
Take the mounting bracket from the wall mounting kit and attach it to the monitor, following the instructions provided with your specific kit. Ensure that the wall mount is VESA compatible and UL listed with a minimum weight/load-bearing capacity of 3.5 kg.
Step 6:
Mount the monitor onto the wall, again following the instructions provided with your kit.
Now that your Lenovo monitor is wall-mounted, you can enjoy a sleek setup and maximise your desk space!
Measuring Curved Monitors: Understanding Screen Size and Dimensions
You may want to see also

Attaching the mounting bracket
To attach the mounting bracket, you will need to purchase a VESA-compatible base mounting kit. The kit should come with instructions, which you should refer to for the wall mounting process.
Place the monitor face down on a non-abrasive, stable, flat surface, such as a table. Remove the stand by gently squeezing both ends of the cylinder and pulling in the direction shown in the manual. This will give you access to the screws that attach the stand to the monitor.
Now, you can attach the mounting bracket from the wall mounting kit to the monitor. Ensure that you follow the instructions that come with your specific mounting kit for a secure fit.
Once the bracket is attached, you can proceed to mount the monitor onto the wall. Again, refer to the instructions provided with your mounting kit for detailed steps on how to safely secure your monitor to the wall.
It is important to note that you should only use a UL-listed wall mount bracket with a minimum weight/load-bearing capacity of 3.5 kg for safety and stability.
GameStop Buys Monitors: What You Need to Know
You may want to see also


