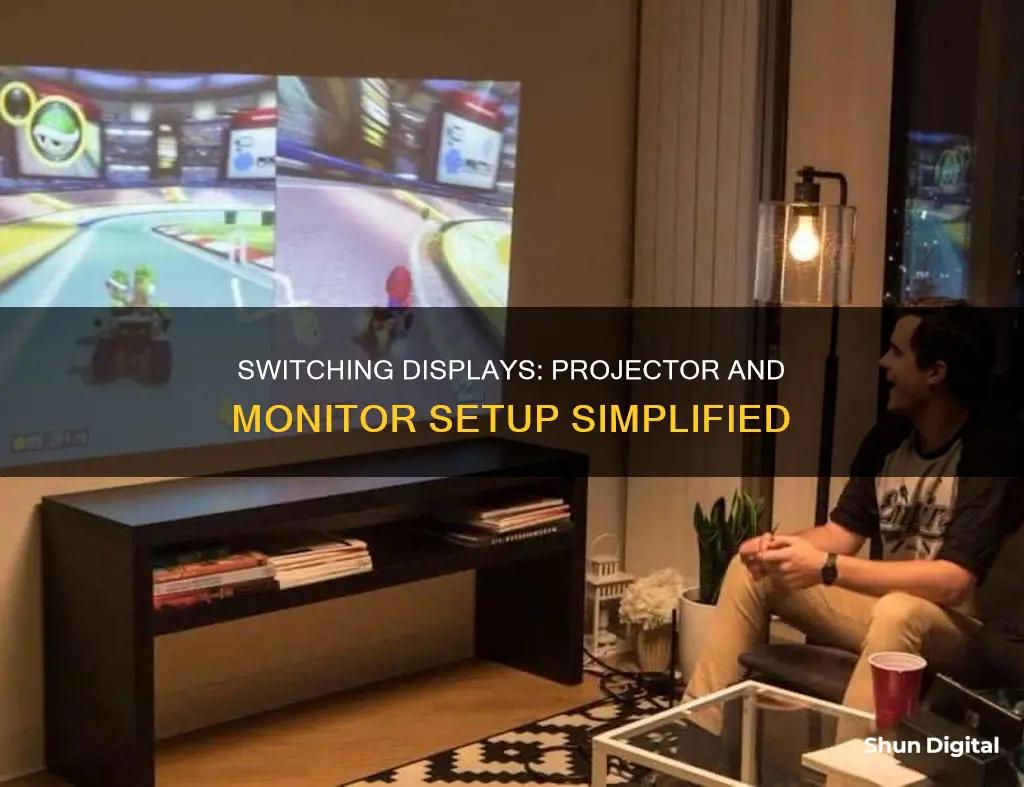
There are several ways to switch between a projector and a monitor. This can be done through the `Screen Resolution` menu, keyboard shortcuts, or by using a wireless display adapter. For Windows users, pressing the Windows logo key and P simultaneously will bring up a menu with projection options. From there, you can select whether you want to see things on one display only, see the same thing on all displays, extend your desktop across multiple screens, or see everything on the second display only.
Switching Between a Projector and Monitor
| Characteristics | Values |
|---|---|
| Operating System | Windows 11, 10, 8, 7, Vista |
| Keyboard Shortcut | Windows logo key + P |
| Display Options | See things on one display only, see the same thing on all displays, see your desktop across multiple screens, see everything on the second display only |
| Wireless Connection | Turn on the display, ensure it supports Miracast, press Windows logo key + K, select display from the list |
| Wired Connection | Check cables are properly connected, check for Windows updates, rearrange displays in settings |
What You'll Learn

Using Windows logo key + P
To switch between a projector and a monitor using Windows, you can use the Windows logo key + P shortcut. This method works for Windows 11, Windows 10, Windows 8, Windows 7, and Windows Vista.
Here's a step-by-step guide on how to do it:
- Press and hold the Windows logo key on your keyboard.
- While holding the Windows logo key, tap the "P" key.
- You will now see a menu with different display options. Tapping "P" repeatedly while holding the Windows logo key will cycle through these options:
- PC screen only: Content will only be displayed on your laptop or PC screen.
- Duplicate: The same content will be displayed on both the laptop/PC screen and the projector/monitor.
- Extend: The projector or monitor becomes a second screen. You can drag content from your laptop/PC over to the secondary display.
- Second screen only: Your laptop/PC screen will be temporarily disabled, and the desktop will be displayed only on the secondary display.
Release the Windows logo key and select your desired option with the mouse cursor, or continue holding the Windows logo key and press "P" repeatedly until the desired option is selected.
Depending on your computer's speed, it may take a few seconds for the display settings to update and for the video signal to be sent to the secondary display.
This method provides a quick and convenient way to switch between projector and monitor modes, allowing you to choose the display configuration that best suits your needs.
Finding Monitor Information in the Windows Registry
You may want to see also

Using the Screen Resolution menu
To switch between a projector and a monitor using the Screen Resolution menu, you can follow these steps:
Firstly, ensure that your laptop is connected to the projector. You can do this by pressing and holding the "Windows Key" and then tapping the "P" key. This will bring up a menu of display options. If your projector is connected properly, you should be able to select it from this menu.
Once you have connected to the projector, you can adjust the settings for the external display. Right-click on the desktop and select "Screen Resolution". This will open a window that will allow you to adjust the resolution settings.
In this window, you will see a box that shows how many screens your laptop detects. Typically, your laptop screen is designated as "Screen 1", and any extended or secondary screens will be labelled as "Screen 2". If you are using a duplicate or clone display setting, where the laptop content is mirrored on the projector, you should see the same display on both screens.
If your projector is not automatically detected, you can press "Detect" to search for available displays. If you are unsure which screen is your laptop screen, you can press "Identify" and a number will appear on the screen of the assigned display.
From the Multiple displays menu, you can select from the following display functions:
- Duplicate these displays: This will mirror your laptop screen on the secondary display, so that both screens show the same content.
- Extend these displays: This will treat the secondary display as an extension of your laptop screen, providing more screen space.
- Show desktop only on 1: This will disconnect the external display and only show the laptop screen.
- Show desktop only on 2: This will turn off the laptop screen and only display content on the external display.
Select the desired option and press "OK" to confirm the change.
By following these steps, you can easily switch between using a projector and a monitor by adjusting the screen resolution and display settings on your Windows laptop.
Calibrating an FM Modulation Monitor: A Step-by-Step Guide
You may want to see also

Using the Display Settings menu
First, make sure your cables are properly connected to your PC or dock. Check for Windows updates by going to Settings > Windows Update > Check for updates. If you're using a wireless display adapter, connect it to an HDMI port on your TV, then wirelessly connect your PC.
To rearrange your displays, go to Settings > System > Display > Identify. A number will appear on each display, helping you identify them. If you've connected another display and it isn't showing up, go to Settings > System > Display > Multiple displays > Detect.
Now, let's adjust the display settings:
- Go to Settings > System > Display.
- Scroll down and select "Multiple displays" to expand that section.
- Here, you can choose from the following options:
- Remember window locations based on monitor connection.
- Minimize windows when a monitor is disconnected.
- Change display brightness and colour.
- Change display resolution, scale, and layout.
- Change the display refresh rate.
To change what is shown on your displays, press Windows logo key + P. You will have the following options:
- PC screen only: Only the PC screen will be displaying content.
- Duplicate: The projector or other connected devices will duplicate the computer screen.
- Extend: The connected device will act as an extension of the PC screen, allowing you to move the cursor between displays.
- Second screen only: Windows will disable the PC display and output only on the projector or secondary monitor.
By following these steps, you can easily switch between using a projector and a monitor using the Display Settings menu in Windows.
Troubleshooting Green Lines on Your ASUS Monitor
You may want to see also

Using the Microsoft Wireless Display app
The Microsoft Wireless Display Adapter is a reliable way to project your content, photos, and videos to a big screen. To use the Microsoft Wireless Display Adapter, you will need to download the Microsoft Wireless Display Adapter app from the Microsoft Store. Here is a step-by-step guide on how to do this:
Step 1: Install the Microsoft Wireless Display Adapter app
- On your Windows PC, select Start > All Apps > Microsoft Store.
- Sign in with your Microsoft account.
- In the search bar, enter Microsoft Wireless Display Adapter.
- Select the app, then select Get. The app will install on your device.
Step 2: Connect your Windows PC to your adapter
Once you have installed the app, you can connect your Windows PC to your adapter by following these steps:
- Press the Windows logo key + K on your keyboard.
- Select the name of your adapter from the list of available connections. The name is shown on your second display.
Step 3: Update your adapter's firmware
To update your adapter's firmware, follow these steps:
- Connect your Windows PC to your adapter.
- Open the Microsoft Wireless Display Adapter app.
- Select Update & security. If an update is available, select Update.
- Keep the app open and stay connected to the adapter until updates are completed.
Step 4: Adjust your display settings
You can use the Microsoft Wireless Display Adapter app to adjust your display settings, such as the resolution and layout. Here's how:
- Connect your device to your adapter.
- Open the Microsoft Wireless Display Adapter app.
- Select Personalization.
- In Fit to Display, drag the slider to the right until you can see your full display on your TV, monitor, or projector.
Step 5: Troubleshooting
If you encounter any issues with your wireless display adapter, there are several troubleshooting steps you can follow. Here are some common issues and their solutions:
- Video or audio playback issues: Ensure that your device is set to duplicate or extend the screen. Check that your second display is set to the HDMI input and supports HDCP. Move your device closer to the adapter, and ensure it is within 23 feet (7 m) of your second display.
- App-based video (e.g. YouTube, Netflix) won't play: Ensure that the adapter is up to date. Close and relaunch or refresh the app. Disconnect and reconnect the adapter, then try playing the video again.
- Video plays on your device but is frozen on the second screen: Disconnect the adapter from your device and display, then reconnect it.
- Poor streaming video quality: Do not use an HDMI to VGA converter as it reduces signal strength. Move the adapter away from sources of radio frequency interference, such as microwave ovens and cordless phones. Move your device closer to the adapter, ideally within 23 feet (7 m).
Alienware Performance Monitoring: What's the Deal?
You may want to see also

Using a WiGig dock
Step 1: Power On Your Devices
Make sure your TV or projector is turned on. Also, ensure that your WiGig dock is powered on and connected to your display.
Step 2: Check WiGig Compatibility
Before proceeding, verify that your PC supports WiGig. Go to your PC's settings and navigate to "Network & Internet." From there, select "Airplane mode." If you see a WiGig control option, your PC supports WiGig.
Step 3: Connect to the WiGig Dock
On your PC's taskbar, click on the action center icon. Then, select "Connect" and choose your WiGig dock from the list of available devices.
Step 4: Follow On-Screen Instructions
If there are any additional on-screen instructions, follow them to complete the connection process. In most cases, once you've selected your dock, the connection should be established.
Additional Tips:
- If you're using a Windows PC, you can also use the Windows logo key + K shortcut to bring up the projection menu, and then select your WiGig dock from the list.
- Keep in mind that WiGig technology offers ultrafast and smooth connections with low latency, making it ideal for gaming or video playback without any lag or interruptions.
- The ASUS WiGig Display Dock, for example, allows you to connect your smartphone wirelessly to a big-screen TV, providing a cinematic gaming experience similar to that of a games console.
Cheap Monitor, Color Calibration: Worth the Effort?
You may want to see also
Frequently asked questions
Press the Windows logo key and the "P" key on your keyboard. A menu will appear with the following options:
- PC screen only
- Duplicate
- Extend
- Second screen only
Select the option you require.
Go to Settings > System > Display > Identify. A number will appear on each screen, helping you to identify them. Then, go to Settings > System > Display and drag the displays to rearrange them.
First, make sure your cables are properly connected to your PC or dock. Then, check for Windows updates. Finally, press the Windows logo key and "K" on your keyboard to open Cast and select your display.


