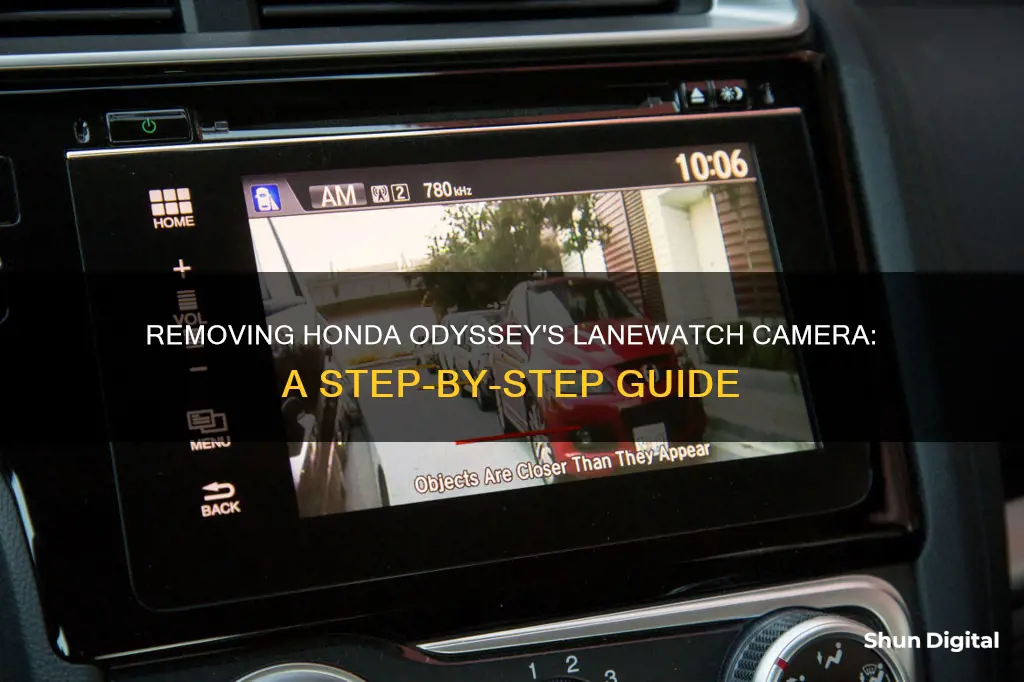
The Honda Odyssey LaneWatch camera is a clever alternative to blind-spot monitoring, providing drivers with a live feed of their vehicle's right-side blind spot. While Honda is phasing out this feature in favour of blind-spot monitoring, it is still possible to remove and replace the camera yourself. To do so, you will need to pull the triangular trim piece from inside the door where the mirror attaches, exposing the three nuts that hold the mirror in place. You will also need to remove the door panel to access the plug and unplug the mirror from the harness. Once you have removed the mirror, you can replace it with a new one. However, you will then need to calibrate the camera using a target object, which can be printed out and positioned just at the seam between the passenger front door and the passenger sliding door.
| Characteristics | Values |
|---|---|
| How to remove | Pull the triangular trim piece from inside the door where the mirror attaches, then remove the three nuts that hold the mirror in place. To access the plug, you will also need to remove the Door Panel. |
| How to replace | Order a new mirror assembly and attach it using the exposed nuts. |
| How to aim | Access the hidden Diagnostic Menu by holding down Audio/Menu/Back Buttons for 5 seconds. Then, select "Unit Check", "Lane Watch", "Start", and press the LaneWatch Button on the turn signal stick. You will need to print out a target and position it correctly for aiming. |
| How to turn on | Activate your right turn signal or press the button at the end of your turn signal control. |
| How to turn off | Press the button at the end of your turn signal control again. |
| How to deactivate | Go to Settings > Camera Setting > LaneWatch and choose your option. |
What You'll Learn

Removing the triangular trim piece
It is important to note that removing the triangular trim piece is just the first step in replacing the Honda Odyssey LaneWatch camera. The process also involves unplugging the mirror harness and accessing the hidden diagnostic menu to calibrate the new camera. This calibration ensures that the camera is properly aligned and functioning correctly.
Overall, replacing the Honda Odyssey LaneWatch camera is a detailed process that requires careful attention to ensure that the new camera is installed and calibrated correctly. By following the steps outlined in this guide and utilising the provided resources, you can successfully complete the replacement process.
Hisense TV: Camera and Microphone Features Explored
You may want to see also

Exposing the three nuts holding the mirror
To remove the Honda Odyssey Lanewatch camera, you'll first need to expose the three nuts holding the mirror in place. Begin by pulling the triangular trim piece from inside the door where the mirror attaches. This piece should come off easily, and will expose the three nuts that hold the mirror in place. You can then use the appropriate tool to loosen and remove these nuts, allowing you to detach the mirror.
The process of exposing and removing these nuts is a crucial step in detaching the mirror and accessing the camera for removal or replacement. It is important to note that you will also need to remove the door panel to access the plug and unplug the mirror from the harness. This will ensure that you can fully detach the mirror and access the camera components.
Once the nuts are exposed and removed, you can proceed with the rest of the mirror and camera removal process. This may include unplugging any wiring harnesses, further disassembling the mirror components, and carefully prying or separating any remaining attachments. Remember to keep track of the nuts and any other small parts, as you will need to secure them properly when reinstalling a new or repaired mirror assembly.
Overall, exposing the three nuts holding the Honda Odyssey Lanewatch camera mirror is a crucial step in the removal process, and it requires careful attention to ensure a successful outcome.
The Ultimate Camera Spot on the 65 UK6090PUA Smart TV
You may want to see also

Accessing the plug by removing the door panel
To access the plug, you will need to remove the door panel. This will allow you to unplug the mirror from the harness.
First, locate and remove the triangular trim piece from inside the door where the mirror attaches. It should come off easily, exposing the three nuts that hold the mirror in place.
Next, you will need to remove the door panel. This will require a putty knife and a screwdriver to carefully pop off the clips that hold the panel in place. There may be several screws holding the panel in place, so be sure to check thoroughly. Once all the screws are removed, use the putty knife and screwdriver to gently pry the panel away from the door, starting from the top right corner. Work your way around the panel, popping the clips as you go. Be careful not to damage the panel or the door.
With the door panel removed, you should now be able to access the plug and unplug the mirror from the harness.
Peek Inside: Tesla's In-Car Cameras Explained
You may want to see also

Unplugging the mirror from the harness
To unplug the mirror from the harness, you will need to remove the door panel. This will give you access to the plug, which is located behind the panel.
First, pull the triangular trim piece from inside the door where the mirror attaches. This will expose the three nuts that hold the mirror in place. Next, remove the door panel to access the plug. Once the door panel is removed, you can unplug the mirror from the harness.
It is important to note that the mirror adjustment motor may not work until the window switch is plugged back into its harness. After unplugging the mirror, you can proceed with replacing or repairing the mirror assembly.
Removing a Camera from Reolink: A Step-by-Step Guide
You may want to see also

Aiming the camera
To aim the camera on your Honda Odyssey's LaneWatch system, you'll first need to access the hidden Diagnostic Menu. To do this, simultaneously hold down the Audio/Menu/Back buttons for around 5 seconds. From the Diagnostic Menu, make the following selections:
- "Unit Check"
- "Lane Watch"
- "Start"
Next, you'll need to position a target object for the camera to focus on. This can be printed out from a PDF found on a Honda Accord forum. Place the target on a flat surface, in a well-lit area, free of bright objects like windows or reflectors. Ensure the six dots on the target are visible to the camera. Prop the target up at the seam between the passenger front door and the passenger sliding door.
Once the target is in place, press the LaneWatch button on the turn signal stick.
Stream Geeni Cameras on Your TV: A Quick Guide
You may want to see also
Frequently asked questions
To remove the Honda Odyssey Lanewatch camera, you will need to first remove the triangular trim piece inside the door where the mirror attaches. This will expose the three nuts that hold the mirror in place. You will also need to remove the door panel to access the plug and unplug the mirror from the harness.
You can order a new mirror assembly and follow the removal instructions above. Make sure to order the correct part number for your model.
Once you have replaced the camera, you will need to calibrate it. To do this, access the hidden diagnostic menu by holding down the Audio/Menu/Back buttons at the same time for about 5 seconds. Then, select "Unit Check", "Lane Watch", and "Start". You will also need to print out a target object and position it correctly to complete the calibration.


