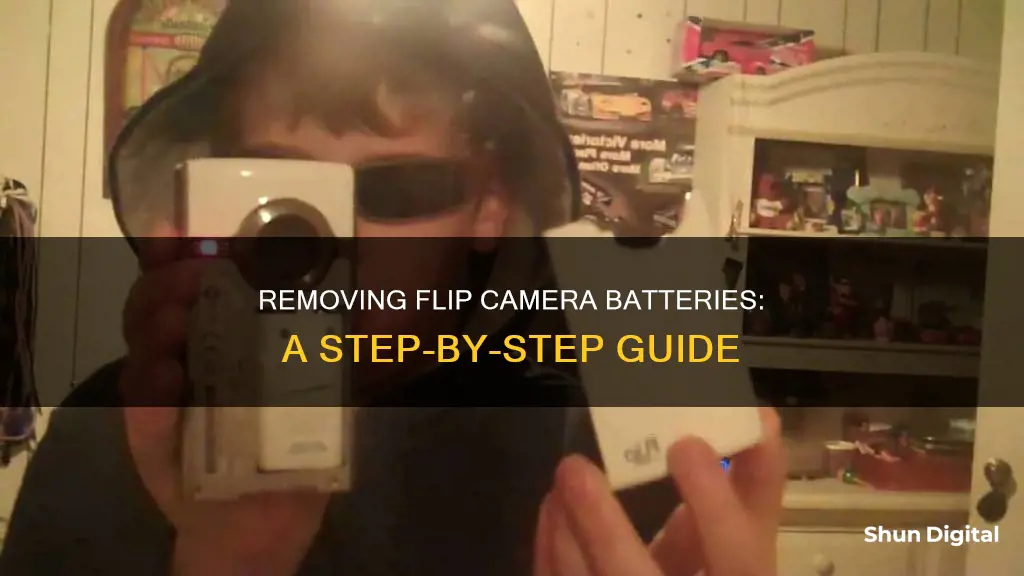
Removing the battery from a flip camera can be a challenging task, as it often involves prying and disassembling the device. In some cases, the battery may be glued securely to the device, requiring extra effort to remove it safely. While it is possible to replace the battery in a flip camera, it is important to exercise caution to avoid damaging the device or injuring oneself. Before attempting any repairs, ensure you have the necessary tools, such as a plastic opening tool, a Phillips screwdriver, and tweezers. Additionally, it is recommended to refer to a reliable repair guide specific to your camera model for detailed instructions on removing and replacing the battery.
What You'll Learn

Pry the swollen battery off the glue
Before attempting to remove the swollen battery from your flip camera, it is important to note that this process may be challenging and potentially dangerous. It is recommended to proceed with caution and always prioritize safety.
- Gather the necessary tools and materials: You will need a plastic tool, such as a plastic card or a plastic spudger, to pry the battery safely. It is important to avoid using metal tools as they can pierce the battery and cause a hazardous reaction. Additionally, you may want to wear protective gear, such as gloves and eye protection.
- Prepare the work area: Ensure that you are working in a well-ventilated area to avoid inhaling any fumes. Place the camera on a flat, stable surface, and have a container of water or a fire extinguisher nearby in case of any mishaps.
- Apply a solvent: To weaken the adhesive, you can use a solvent such as isopropyl alcohol (also known as isopropanol), adhesive removal liquid, or acetone. Apply a small amount of the solvent to the edge of the battery, being careful not to use too much, as it may stain the camera's internal components.
- Gently pry the battery: Using your plastic tool, carefully insert it under the edge of the battery, applying a gentle force to create some space between the battery and the glue. Slowly work your way around the battery, prying gently and cutting through the glue. Try to maintain a consistent angle of 20 degrees to avoid bending the battery.
- Use a lifting motion: Instead of applying force directly downward, use a lifting motion to slowly pry the battery off the glue. This will help reduce the risk of puncturing the battery.
- Be patient and persistent: Removing a swollen battery can be a delicate and time-consuming process. Work slowly and carefully, applying gentle and consistent pressure. Take breaks if needed to avoid fatigue, which can lead to accidents.
- Dispose of the battery properly: Once you have successfully removed the battery, place it in a safe container, preferably metal, and dispose of it at a designated battery recycling drop-off location or a local repair shop.
Remember, safety should always come first when working with swollen batteries. Take your time, follow the instructions carefully, and do not attempt this process if you are uncomfortable with any of the steps.
Hooking Up Your Camera to a Vizio TV: A Guide
You may want to see also

Use tweezers to carefully remove the battery
Removing the battery from a Flip MinoHD camera is a delicate process that requires caution and the use of specific tools. Here is a detailed guide on how to carefully remove the battery using tweezers:
Before beginning, ensure you have a pair of tweezers, preferably flat ones, as well as a plastic opening tool and a Phillips screwdriver.
Firstly, use the plastic opening tool to gently pry the front casing of the camera away from the device. Carefully run the tool around each edge and lift, but do not pull the casing away until all sides are loose, as you may break or crack it. Once the case is loose, flip it up and over the device.
Next, you will need to disconnect the logic board from the battery. Using tweezers, carefully pull the connecting strip away from its socket on the logic board. Now, use the plastic opening tool again to gently lift each corner of the display screen and flip it up towards the motherboard.
The screen is still connected, so use the tweezers to gently peel off the film underneath the display bracket. With the plastic opening tool, gently pry open the metal display bracket to remove it from the motherboard.
Now, use your fingernail to pry the black tape away from the zif socket to loosen the display screen. Unscrew the four screws attaching the motherboard to its outer casing with the Phillips screwdriver and place them safely aside.
Here comes the critical part: de-soldering the microphone leads from the motherboard. This step can be done with extreme caution using only tweezers and your fingers, but it is recommended to use a soldering station if possible. With tweezers, gently pull each microphone lead away as you heat up the joint with the tip of the soldering iron.
Now, gently pry the motherboard out of its case, being mindful of the cords still connecting the two. Remove the small piece of black tape that secures the USB cable to the battery. With tweezers, carefully pull the USB ribbon cable connector and the battery connector away from their respective sockets. The motherboard should now be loose and free to remove.
Finally, unscrew the two small screws securing the battery to the outer case with the Phillips screwdriver and place them safely aside. Use the plastic opening tool to gently pry the battery out of the device. Be cautious, as the battery may be glued to the back of the device, and prying it out may require some force.
Now you have successfully removed the battery from your Flip MinoHD camera, and it is set aside, ready for replacement. Remember to follow these steps in reverse order to reassemble your device and install the new battery.
Viewing Camera Photos on Your iPad: A Simple Guide
You may want to see also

Reset the battery by inserting a pin into the reset hole
Resetting the battery of your Flip camera can be done by inserting a pin into the reset hole. This is a useful method to try if your battery is failing to provide a significant charge.
To begin the reset process, locate the reset hole. This can be found in the tripod mount for the flip slide of the video camera. Once you have located the reset hole, take a pin and insert it. You will then need to press and hold it down for 5 minutes. After this, remove the pin and hold down the power button for an additional 5 seconds.
Note that after this process, the battery will be fully discharged. You won't be able to see any activity on the flip while charging. After plugging the camera into your USB port for 30 minutes, you will see the lights flashing on the bottom of the camera. Keep the camera plugged in for a further 3 hours.
This method of resetting the battery is advised by the Flip website. It is a good idea to consult the manufacturer's website for further advice and guidance on this process.
Utilizing Internet Explorer to View Unv Cameras
You may want to see also

Use a soldering station to remove the logic board
To remove the logic board from your Flip Mino HD camera, you will need a soldering station, a plastic opening tool, a Phillips screwdriver 000, and tweezers. Before you begin, make sure you have a well-lit workspace that is clear of anything flammable.
First, use the plastic opening tool to remove the labels from the camera. This will reveal two small black screws. Unscrew these with the Phillips screwdriver and set them aside in a safe place.
Next, use the plastic opening tool to gently pry the front casing away from the device. Carefully run the tool around each edge, lifting as you go. Once all sides are loose, flip the casing up and over the device. Note that the casing is still connected.
Now, use tweezers to pull the connecting strip and disconnect it from its socket on the logic board. With the plastic opening tool, gently lift each corner of the display screen to remove it from its socket. Flip the screen up towards the Motherboard, to which it is still connected.
Gently lift the film underneath the display bracket with a spudger and set it aside. Then, use the plastic opening tool to pry open the metal display bracket and remove it from the Motherboard.
Pry the black tape away from the zif socket using your fingernail to remove the partially attached display screen. Unscrew the four screws attaching the Motherboard to its outer casing with the Phillips screwdriver and place them safely aside.
Now it's time to set up your soldering station. At the station, de-solder the leads of both microphones from the Motherboard. This step can be done without a soldering station if you are extremely cautious, using only tweezers and your fingers. Gently heat up the joint with the tip of the iron and pull the lead away with tweezers. Do this for all four microphone leads.
Now, gently pry the Motherboard out of its case, being mindful that the cords are still connecting the case and Motherboard. Remove the small black piece of tape that is securing the USB cable to the battery. With tweezers, pull the USB ribbon cable connector away from its socket. Then, pull the battery connector out of its socket on the logic board. The Motherboard should now be loose and free to remove.
With the logic board removed, you can access the battery for replacement.
Unlocking Your Camera: Removing It from a Tripod
You may want to see also

Use a screwdriver to unscrew the battery
To remove the battery from a Flip MinoHD camera, you will need a Phillips screwdriver 000. This is a very small screwdriver, so take care not to lose it!
First, remove any labels from the camera with a plastic opening tool. You should then see two small black screws. Using your Phillips screwdriver, unscrew these and set them aside somewhere safe.
Now, gently prise the front casing away from the device with your plastic opening tool. Carefully run the tool around each edge, lifting as you go. Once all sides are loose, flip the casing up and over the device. Note that it is still connected.
With the casing loose, you can now access the battery. With your Phillips screwdriver 000, unscrew the two small screws that secure the battery to the outer case. Set these screws aside somewhere safe.
The battery is now ready to be removed. Gently pry it out of the device with your plastic opening tool and set it aside.
Ghostly Camera Capture: What Does It Mean?
You may want to see also
Frequently asked questions
If your Flip camera is not holding a charge, you may need to replace the battery.
The process of replacing the battery in a Flip camera can be complex and may require specialised tools such as a soldering station and tweezers. It is important to follow specific steps to avoid damaging the device.
No, the battery in the Flip Slide HD camera cannot be replaced. However, it can be reset to charge like a new battery by following specific directions.
Yes, it is important to be careful when removing the battery as it may be glued or swollen. Do not puncture the battery as it can be dangerous. Use a tool such as a plyer to safely remove the battery.


