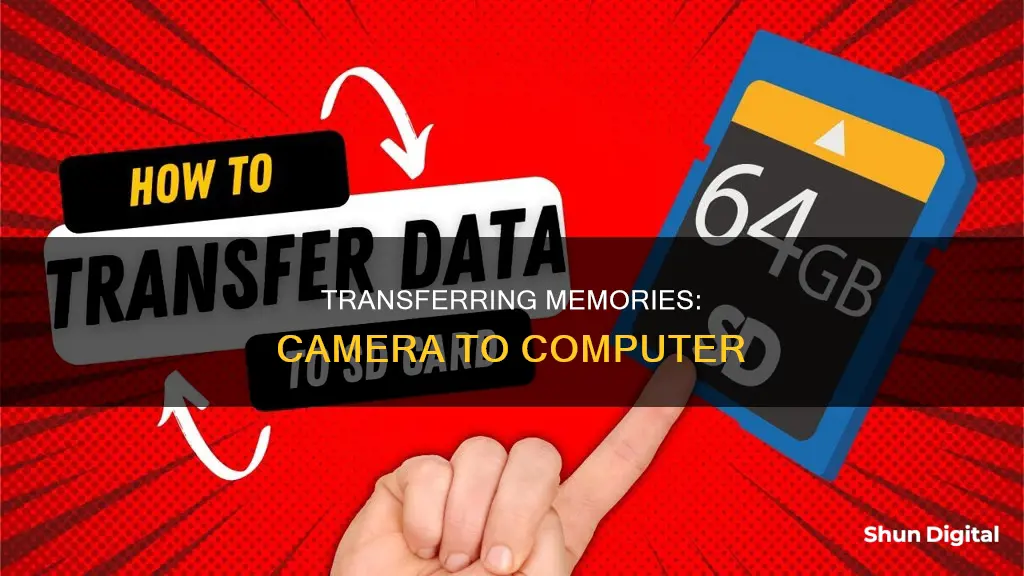
Transferring photos from your camera to your computer is a straightforward process. The first step is to decide how you want to connect your camera to your computer. Depending on your camera, you may be able to use one or more of the following methods: connecting your camera to your computer via USB, using a card reader, or transferring wirelessly.
If you are connecting via USB, you will need to use the USB cable that came with your camera. If you don't have this cable, you will need to purchase a replacement that fits your camera model. Once you have the cable, simply connect your camera to your computer and turn it on. Your computer should recognize it immediately.
If you are using a card reader, simply remove the memory card from your camera and insert it into the card reader. If your computer doesn't have a built-in card reader, you can purchase an external card reader that connects via USB.
Once your camera or memory card is connected, you can use your computer's file management system to locate and transfer your photos. On a Windows computer, you may see a Windows message box with options for transferring your photos. On a Mac, you can use the Finder to locate and drag your photos to the desired folder.
| Characteristics | Values |
|---|---|
| Connection type | USB, card reader, wireless |
| Transfer method | Drag and drop, AutoPlay, photo-download software |
| Memory card type | SD, Micro SD, CompactFlash |
| Computer OS | Windows, macOS |
What You'll Learn
![]()
Using a USB Cable
To load memory from your camera to your computer using a USB cable, follow these steps:
Firstly, ensure that your computer is powered up and turned on. Most newer computers should automatically recognise your camera. If your computer cannot recognise your camera, you may need to install the camera's software. Insert the CD that came with your camera and follow the on-screen instructions for installation. If you don't have a CD, you can usually find the software on the manufacturer's website.
Next, locate the USB slot on your camera. This step can sometimes be tricky as camera manufacturers sometimes hide the slot behind a panel or door, designed to blend into the overall design of the camera. Many cameras have a USB logo on them, which may be located next to the panel. Some camera makers place the USB slot in the same compartment as the battery and memory card. Look on the sides and bottom of the camera for the slot. If you cannot find the USB slot, consult the camera's user guide.
Now, connect the USB cable to your camera. The USB connector should slide into the camera's USB slot fairly easily. Ensure that the connector is aligned with the slot. If you try to insert the connector the wrong way, it won't go into the slot properly and you may damage the cable and the camera. Make sure that any panel or door that hides the USB slot is completely out of the way.
Then, connect the opposite end of the USB cable to your computer. It should have a standard USB connector, which should fit into a standard USB slot.
With the USB cable now connected to both devices, turn on your camera. With some cameras, you'll also need to press the photo playback button (usually marked with a play icon).
If everything is connected correctly, your camera may give you a "connecting" message on the LCD screen or a similar type of message or icon. Some cameras give no indication. You should see a pop-up window on your computer screen, giving you options for downloading photos. Select an option and follow the prompts, selecting "Download" or "Save".
You can now review your photos. Open the "My Computer" folder and double-click your camera's name, which should be under the "Devices and Drives" section. Double-click your camera's storage folder. While this may be named differently, most modern cameras have a folder entitled "DCIM". From here, you can delete photos from your camera's memory card, copy photos to a file on your computer, or view your photos.
You can now safely disconnect the camera from your computer.
Rewinding Surveillance Footage: A Step-by-Step Guide for Beginners
You may want to see also
![]()
Using an SD Card
SD cards are a great way to transfer photos, videos, and other files from your camera to your computer. Many laptops and some desktop PCs include a built-in SD card reader, which makes the process simple. If your computer does not have a built-in reader, you will need to purchase an external card reader.
To transfer your photos using an SD card, first, remove the card from your camera. If your SD card is a MicroSD, you will need a MicroSD-to-SD adapter. Next, insert the SD card into the card reader on your computer, or into your external card reader, which is usually connected via USB. Ensure you are inserting the card correctly to avoid damage. You should hear a clicking sound when the card is properly inserted.
Once your SD card is connected, open the destination folder on your computer where you want to store your photos. You can then manually transfer your photos by dragging and dropping the image files from the SD card folder to your chosen folder, or by using the copy and paste shortcuts on your computer. Alternatively, if you are using a Windows computer, you can use the AutoPlay feature, which will allow you to set a default action when you connect your SD card.
After you have finished transferring your photos, it is important to eject the SD card before removing it from your computer. This finalises all read and write operations and ensures that there is no chance of losing or corrupting data when you remove the card.
Galaxy S8 Camera Mode: Where Is It?
You may want to see also
![]()
Using a Card Reader
If your computer has a built-in SD card reader, you can simply insert your camera's memory card into the reader slot. If your computer doesn't have a compatible built-in memory card reader, you will need to purchase an external memory card adapter that is compatible with your computer and memory card. These are usually very affordable, costing less than $20 USD, and can be purchased from local computer shops or online retailers like Amazon, Best Buy, or Walmart.
Once you have inserted the memory card into the card reader, your computer should recognise the card as a removable drive. You can then open the drive and navigate to the folder containing your photos. Typically, this will be the DCIM folder, and within that, the 100MSDCF folder (although the number may vary, the folder name will always end with MSDCF).
From here, you can select the photos you want to transfer to your computer. You can either drag and drop the selected photos to your chosen destination folder, or use the copy and paste shortcuts. If you are using a Windows computer, an AutoPlay pop-up window may appear, giving you the option to "Import pictures and videos".
If you are using a Sony camera, you may be able to use the PlayMemories Home software for importing photos and videos. However, it is important to note that editing or deleting AVCHD movie files from the memory card via your computer may damage the files.
Understanding Camera Raw Histogram: A Beginner's Guide
You may want to see also
![]()
Transfer Wirelessly
If you want to transfer photos from your camera to your computer without having to use a cable, you can use a Wi-Fi SD card. These cards are pricier than their non-Wi-Fi counterparts, but they allow you to transfer photos without having to remove the SD card from your camera.
Before purchasing a Wi-Fi SD card, check if your camera has built-in Wi-Fi capabilities. If not, confirm that your camera can support an SDHC card, which is an upgraded form of the original SD card format.
There are several Wi-Fi cards on the market, including the Toshiba FlashAir, the Transcend Wi-Fi, and the EZ Share SD Card. The Eye-Fi card is also a good option and comes with 3-12 months of free online photo storage, depending on the model. The Eye-Fi Mobi Pro is a popular choice as it offers double the base storage space of the regular Mobi card, as well as additional features like selective transfer and RAW format file syncing.
To set up your Eye-Fi card, first download the desktop software for your Windows or Mac computer from the Eye-Fi website. After running the installer, enter your name, email, and a password when prompted. You can then choose where you want the photos and videos transferred from your camera to end up.
If you're using a computer with Wi-Fi, the software will use that Wi-Fi to scan for the temporary ad-hoc network created by the Eye-Fi card. If this fails or if you're using a computer with a wired network connection, insert the SD card into your computer, cancel the setup wizard, and then right-click on the Keenai icon in your computer's system tray to select the "Options" menu entry. From here, you can select your local Wi-Fi network and add it to the configured networks.
With your Wi-Fi SD card set up, simply insert the card into your camera and snap a photo to initiate the transfer process. Your photos should then automatically appear in the default folder on your PC.
Understanding Camera Raw's Unique Circular Slider
You may want to see also
![]()
Using PlayMemories Home Software
Sony's PlayMemories Home software is a freeware that enables easy management and editing of photos and videos on a computer. Here is a step-by-step guide on how to use PlayMemories Home to load memory from your camera into your computer:
Installation
First, you need to install the PlayMemories Home software on your computer. Visit the PlayMemories Home download page and download the PlayMemories Home Downloader to your desired location, such as your desktop. Double-click on the downloaded file to launch it.
Connect Camera
Turn on your camera and connect it to your computer using a USB cable. Ensure that you connect the cable directly to the USB terminal on the computer, not through a USB hub.
Initiate Installation
Once a connection is established, click "Next." The PlayMemories Home installer will be downloaded and started. Click "Next" again when the "Welcome to the PlayMemories Home installer" message appears.
License Agreement
Read the license agreement and privacy policy, select whether you accept or not, and click "Next."
Installation Process
When the "Install the program" window opens, click "Install." You can change the destination folder by clicking "Change" if needed.
Add Folders
Check the box of the folder that includes the images you want to manage in PlayMemories Home, then click "Next."
PlayMemories Online
When the introduction window for PlayMemories Online appears, you can choose to use it or not. This is a free service that you can start using later if desired.
Complete Installation
Wait for the PlayMemories Home software to start. When it does, the installation is complete.
Camera Authentication
To add specific features of your camera, such as AVCHD, to PlayMemories Home, follow these additional steps. Turn on the camera and connect it to the computer using the supplied USB cable. When prompted to change the USB operation mode, click "Yes."
Registration
When the message for product registration appears, select "Yes" or "No." If you choose "Yes," follow the on-screen instructions. You can also register your product later from the "Help" menu.
With these steps, you can successfully install and use the PlayMemories Home software to load memory from your camera into your computer.
Charging the Kitmesh Camera: A Quick Guide
You may want to see also
Frequently asked questions
You can transfer photos from your camera to your computer by using a USB cable or by removing your camera's memory card and inserting it into your computer's card reader.
If your computer does not have a built-in card reader, you can purchase an external card reader that connects via USB.
First, connect your camera to your computer using the USB cable. Then, open the relevant software on your computer and select the photos you want to transfer. Finally, drag and drop the selected photos into a folder on your computer.
Insert the memory card into your computer's card reader. Open the memory card folder and select the photos you want to transfer. Drag and drop the selected photos into a folder on your computer.
You can transfer your photos to any folder on your computer, such as the Desktop, the primary Pictures folder, or a sub-folder within the Pictures folder.