Charging a VHS camera battery is a simple process, but it's important to follow the correct steps to ensure your battery is charged safely and efficiently, and to avoid any potential damage to your camera or battery. This guide will take you through the process step-by-step, and offer some tips and tricks to help you get the most out of your VHS camera battery.
| Characteristics | Values |
|---|---|
| Step 1 | Locate the battery compartment on your VHS camera and remove the battery. |
| Step 2 | Insert the battery into the charger that came with your camera. |
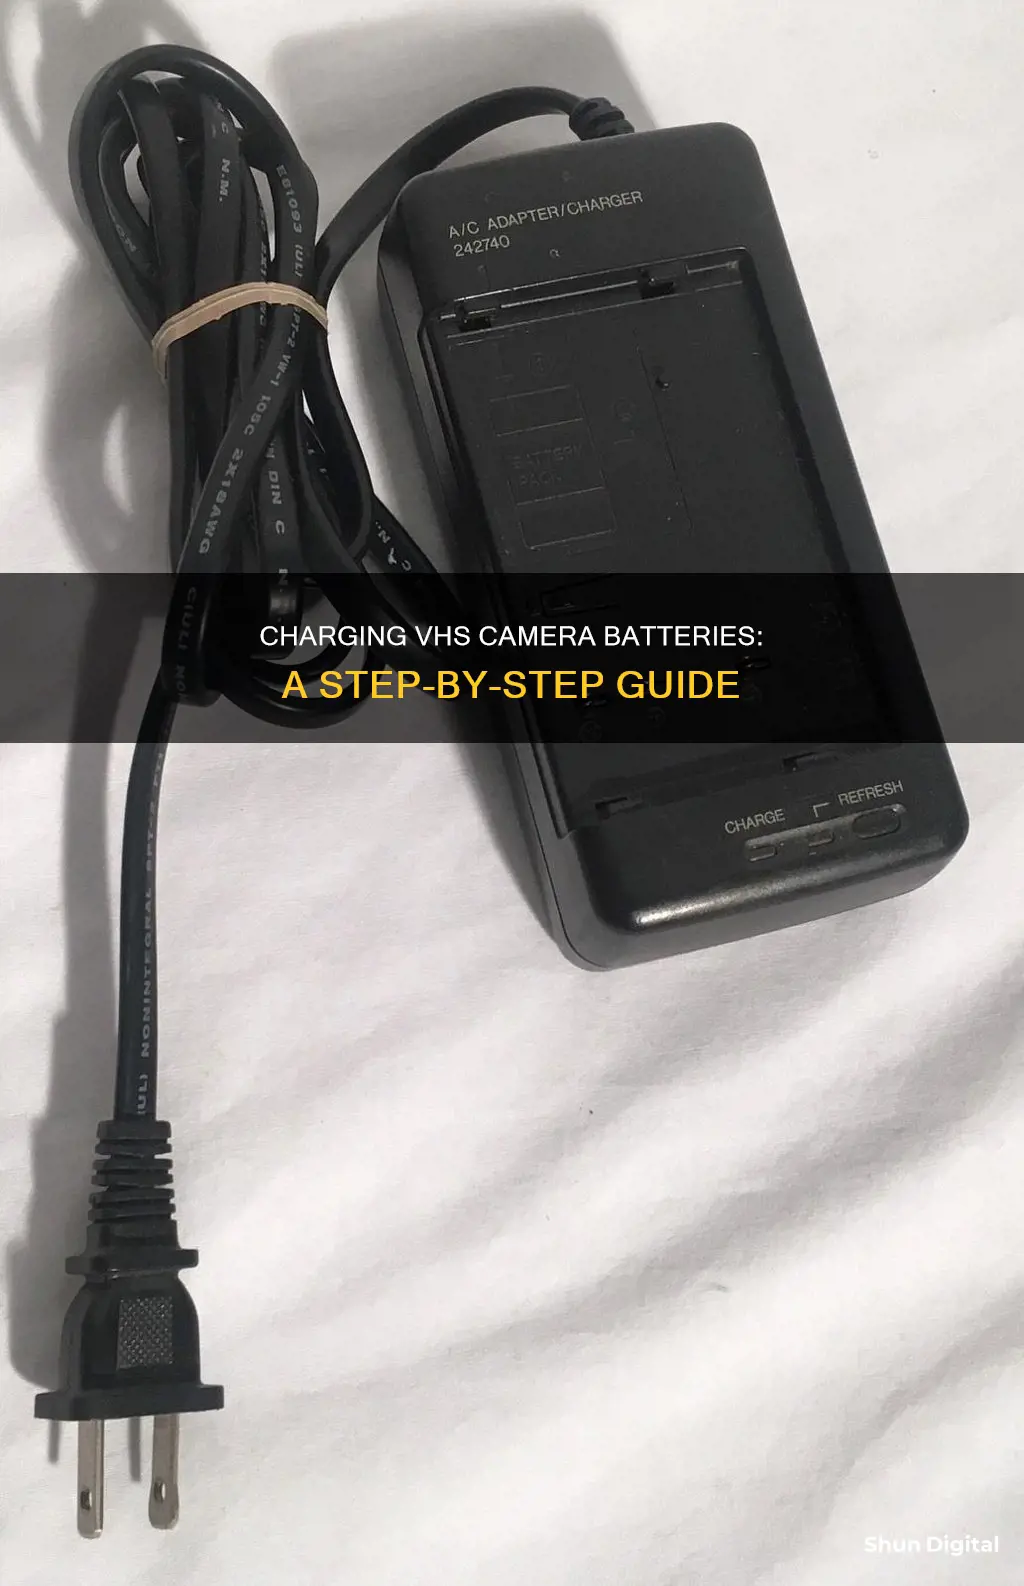
| Step 3 | Plug the charger into a power outlet. |
| Step 4 | Wait for the battery to fully charge. This can take several hours, depending on the charger and the battery's capacity. |
| Step 5 | Once the battery is fully charged, remove it from the charger and reinsert it into your VHS camera. |
| Additional Information | Different VHS camera models may have slightly different charging procedures, so it is always best to consult the user manual for your specific camera. |
What You'll Learn
![]()
Check the battery type and voltage requirements
Before charging a VHS camera battery, it is crucial to identify the battery type and voltage requirements. This information is typically available in the camera's manual or on the battery itself. Ensuring compatibility between the battery and the charger is essential to prevent potential damage to the battery or the camera.
VHS camera batteries usually fall into two categories: SLA (Sealed Lead Acid) or Ni-Cd (Nickel-Cadmium). SLA batteries are commonly used in VHS cameras and are known for their high voltage and long-lasting nature. On the other hand, Ni-Cd batteries are also an option, offering a more stable voltage output.
When examining the voltage requirements, it is important to understand that the voltage listed on the camcorder is a nominal voltage, and the actual voltage of the battery may vary during use. For instance, a fully charged 12V SLA battery may have a voltage of nearly 13V, while a drained one could drop to around 11.5V. Similarly, Ni-Cd batteries typically have a voltage range of 1.4V when fully charged to 1.1V-1V when drained.
It is worth noting that some older VHS cameras may have additional contacts on the batteries to ensure the use of appropriate batteries. Modern cameras often include safety mechanisms, such as using a DC input cable or modifying a dead OEM battery to trick the camera into accepting a different battery type.
In summary, checking the battery type and voltage requirements is a critical first step when charging a VHS camera battery. By understanding the specific requirements of your camera, you can ensure the safe and effective charging of your battery, extending its lifespan and preventing potential damage to your equipment.
Charging Your ADT Doorbell Camera: How Long Does It Take?
You may want to see also
![]()
Insert the battery into the correct charger
To charge a VHS camera battery, you will need to insert the battery into the correct charger. This typically involves aligning the battery with the charger's contacts, ensuring a proper connection for efficient charging. Here are some detailed instructions to guide you through the process:
Step 1: Identify the Correct Charger
Before you begin, it is crucial to ensure that you have the right charger for your specific VHS camera model. Using an incorrect charger can potentially damage your battery or camera. The charger that came with your camera is usually the best option. If you don't have the original charger, consult your camera's user manual or seek advice from the manufacturer to determine the compatible charger for your model.
Step 2: Prepare the Battery
Locate the battery compartment on your VHS camera. Open the compartment and carefully remove the battery. Check the battery type and voltage requirements, which can usually be found in the camera's manual or on the battery itself. This information is essential to ensure compatibility with the charger.
Step 3: Insert the Battery into the Charger
Once you have the correct charger and have identified the battery type and voltage, it's time to insert the battery. Properly align the battery with the charger's contacts, ensuring a secure connection. Look for any indicators, such as a click or a snap, to confirm that the battery is correctly placed in the charger.
Step 4: Check for Charging Confirmation
After inserting the battery, the charger should indicate that the charging process has started. This indication can vary depending on the charger model. Some chargers have an LED indicator that shows the charging status, with a specific colour or light pattern. Others may have a display or a charging light that turns on. Always refer to your charger's instructions to understand the specific indicators for your model.
Step 5: Monitor the Charging Process
It is important to monitor the charging process to ensure that everything goes smoothly and to prevent overcharging. Overcharging can damage your battery, so keep a close eye on the charging status. If your charger has an LED indicator, watch for the colour change from charging (usually red) to fully charged (typically green).
Step 6: Remove the Battery at the Right Time
Once the battery is fully charged, it's important to remove it from the charger promptly. Overcharging can be detrimental to battery health. After removing the battery, insert it back into your VHS camera, ensuring it is properly secured. Now your VHS camera battery is fully charged and ready for use!
Remember, always follow the specific instructions provided by your camera and battery manufacturers. These instructions may include recommendations for charging time, temperature, and other factors that can impact the performance and lifespan of your VHS camera battery.
Camera Charger Problems: De-A11 Edition
You may want to see also
![]()
Connect the charger to a power source
To charge a VHS camera battery, you will need to connect the charger to a power source. This can be done by plugging the charger into a wall outlet or a USB port on a computer or other device. It is important to ensure that the power source is stable and reliable to avoid any interruptions during the charging process.
When connecting the charger to a wall outlet, make sure you are using the correct power cord that came with your camera. The power cord should be compatible with the specific model of your VHS camera. Ensure that the outlet you are using is functional and able to provide a consistent power supply.
If you are connecting the charger to a USB port, make sure that the port is capable of providing enough power for the charging process. It is recommended to use a USB port on a computer or a device that is turned on and operational, rather than a port on a power strip or extension cord, as these may not provide a stable power source.
In some cases, you may have the option to connect the charger to an external battery pack or power bank. This can be useful if you are charging your VHS camera battery on the go and do not have access to a wall outlet or USB port. Make sure the power bank has enough charge to fully charge your VHS camera battery.
Once you have connected the charger to a power source, you can proceed to the next step of inserting the battery into the charger. Ensure that the power source remains stable throughout the charging process to ensure efficient and safe charging of your VHS camera battery.
Charging Kidamento Cameras: A Quick Guide
You may want to see also
![]()
Monitor the charging process
Monitoring the charging process is crucial to ensure the VHS camera battery charges safely and efficiently. Here are some detailed instructions to guide you through this process:
Understanding the Charging Indicators:
Most VHS camera chargers are equipped with LED indicators that visually communicate the charging status of the battery. Typically, the LED indicator will display a red light when the battery is actively charging and will switch to a green light once the battery is fully charged. This simple visual cue helps you easily monitor the charging progress.
Prevent Overcharging:
It is important to keep an eye on the charging status to prevent overcharging the battery. Overcharging can cause damage to the battery, reducing its lifespan and performance. Once the LED indicator turns green, indicating a full charge, promptly remove the battery from the charger. This proactive step ensures the charging process doesn't continue beyond what is necessary, safeguarding your battery's health.
Charging Timeframe:
The charging duration for a VHS camera battery can vary depending on the charger and the battery's capacity. On average, it can take several hours for the battery to fully charge. However, some batteries may require an overnight charging period. Always refer to the user manual or the manufacturer's instructions for specific guidelines regarding the recommended charging time for your particular model.
Stable Power Source:
To ensure uninterrupted charging, it is crucial to use a stable and reliable power source. This means avoiding power outlets with potential interruptions or fluctuations. A consistent power supply helps maintain a steady charging process, optimizing the battery's performance and longevity.
Specific Manufacturer Instructions:
Different VHS camera models may have unique charging requirements or recommendations. Always refer to the user manual or consult the camera and battery manufacturer's guidelines. They may provide specific instructions or precautions related to charging time, temperature, and other factors that can influence the battery's performance and lifespan. Following these guidelines will help ensure you're charging your battery safely and effectively.
By diligently monitoring the charging process, you can maximize the lifespan and performance of your VHS camera battery. Remember to follow the specific instructions provided by the manufacturers and always use the correct charger to avoid any potential damage to your equipment.
Charging Camera Pens: A Quick Guide to Powering Up Discreetly
You may want to see also
![]()
Remove the battery from the charger when fully charged
It is important to remove the battery from the charger when it is fully charged. Overcharging can damage the battery and even the camera. It is recommended to wait until the battery is fully charged before removing it from the charger to ensure maximum battery life and performance.
Different VHS camera models may have slightly different charging procedures, so it is always best to consult the user manual for your specific camera. The user manual will also provide guidance on how long to charge the battery for, and any specific precautions to take.
Once the battery is fully charged, it is important to remove it from the charger and insert it back into your VHS camera. Ensure that the battery is properly inserted and secured to avoid any damage to the camera or battery. A stable and reliable power source is also important to avoid any interruptions during the charging process.
It is worth noting that the original battery that came with your VHS camera is likely to be past its useful life. Lead-acid batteries, which are commonly used in these cameras, have a notoriously short shelf life if not properly maintained under good temperature and humidity conditions. Therefore, it may be worth investing in a new battery if you are having issues with your current one.
Charging Your 4K Ultra HD Camera: A Step-by-Step Guide
You may want to see also
Frequently asked questions
First, locate the battery compartment on your VHS camera and remove the battery. Insert the battery into the charger that came with your camera and plug the charger into a power outlet. Wait for the battery to fully charge, which can take several hours. Once it's charged, remove it from the charger and reinsert it into your camera.
This depends on the charger and the battery's capacity, but it can take several hours.
Yes, but there are certain considerations to keep in mind. The voltage of the replacement battery doesn't have to be exact, but it should be close enough for the internal DC-DC converters to function without dropping too much voltage. You also need to ensure that the replacement battery is rated for the required current draw of the camera, or you could damage the battery or camera, or cause a fire.
Most VHS camera chargers have an LED indicator that shows the charging status of the battery. The LED will usually turn red when the battery is charging and green when it is fully charged.
Yes, some VHS cameras are capable of charging a battery that is inside the camera itself. Simply plug the camera into a charger and slide the battery in.