The Samsung Galaxy A11 is a popular smartphone that has been widely appreciated for its price, quality, and performance. However, some users have reported issues with the device, including problems with charging. If you are experiencing charging issues with your Samsung Galaxy A11, there are several troubleshooting steps you can take to try and resolve the problem.
Firstly, check if the phone battery is faulty or if it needs to be replaced. Over time, batteries can degrade and lose their ability to hold a charge. If your phone is more than two years old, this could be the reason for the charging issues.
Another potential cause could be a loose connection between the phone and the charging cable. Ensure that the charging port on your phone is free of any dust or debris, as this can prevent proper contact with the charging cable. Check the charging cable for any cuts or damage and try using a different cable if possible. Also, ensure you are using the original charger or a compatible charger with your phone, as third-party chargers may not work optimally.
If your phone is heating up during charging, this could also slow down the charging process. Try charging your phone in a cool environment and avoid playing games or using resource-intensive apps while charging.
In some cases, charging issues may be related to software problems. Ensure that your phone's software is up to date, as updates often include bug fixes that can improve performance and resolve issues. If you are running many apps, try uninstalling any unnecessary ones to free up RAM and improve the overall performance of your device.
If none of these steps resolve the issue, there may be a more serious problem with your device, and you may need to contact Samsung customer support or visit an authorized service centre for further assistance.
| Characteristics | Values |
|---|---|
| Phone Model | Samsung Galaxy A11 |
| Problem | Not getting charged via cable/charger |
| Solutions | Check if the phone battery is faulty, Check if the phone charger is in proper working condition, Check for a loose connection between the phone and the charging cable, Check for a bad app or the one installed from a third-party source, Do not use a third-party charger, Check for dust or debris in the charging port, Check if the charging socket/power source is faulty, Check if the charging cable is faulty, Remove the last application you installed, Check for an issue with the phone motherboard, Check for damage to the pins in the phone socket, Drain the phone battery completely and then charge it again, Perform a forced restart to the phone |
What You'll Learn
![]()
Check for debris in the charging port
If your Samsung Galaxy A11 is not charging, it could be due to debris inside the charging port. Dust, lint, or any other foreign particles can accumulate in the charging port and cause the device to charge slowly or not at all. To check for debris, follow these steps:
Step 1: Inspect the Charging Port
Use a torch, flashlight, or lamp to illuminate and closely inspect the charging port for any lint, dust, or other debris. This will help you locate any accumulated dirt and determine if cleaning is necessary.
Step 2: Turn Off the Device
Before proceeding with the cleaning process, it is important to turn off your Samsung Galaxy A11. This is a safety precaution to avoid any accidental damage during the cleaning process.
Step 3: Remove Debris
To remove the debris from the charging port, you can use a toothpick or any sharp object, except for metallic ones. Carefully and gently dislodge any visible chunks of dirt, lint, or debris from the charging port. Be gentle and cautious during this step to avoid damaging the delicate charging pins. Any damage to the charging pins may require a replacement of the entire charging port.
Step 4: Clean the Charging Port (Optional)
For a more thorough cleaning, you can use a cotton swab dipped in isopropyl alcohol to clean the charging port. Since alcohol evaporates easily, it will help remove any remnants and corrosion from the port.
Step 5: Re-attempt Charging
Once you have removed the debris and cleaned the charging port, leave your Samsung Galaxy A11 idle for some time. Then, plug in the charger to see if the fast charging issue has been resolved.
It is important to note that you should be cautious when cleaning the charging port to avoid causing any damage. Additionally, if the problem persists or you notice physical damage to the charging port, it is recommended to seek professional assistance or contact Samsung support for further guidance.
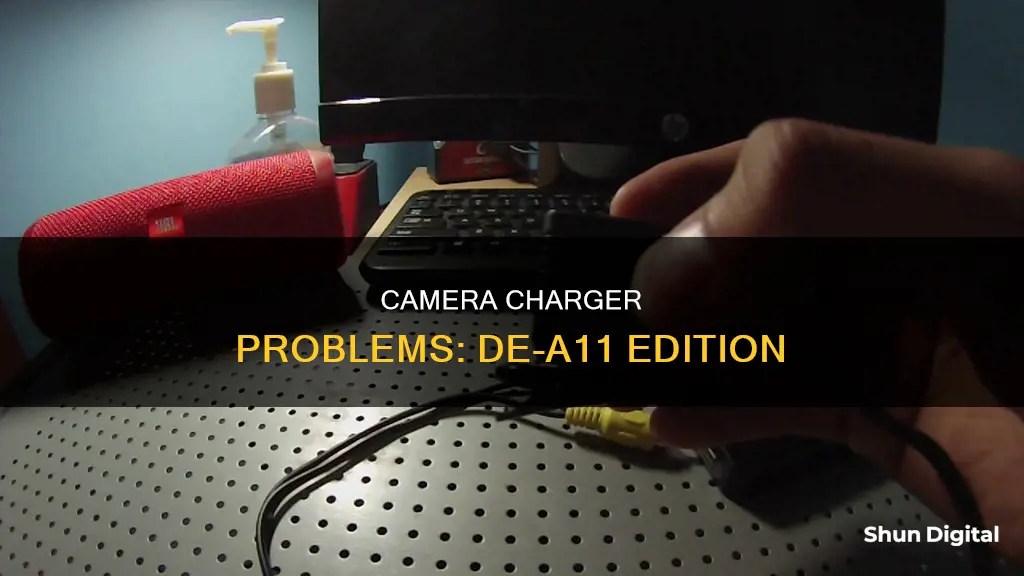
Charging Casio Exilim: A Step-by-Step Guide
You may want to see also
![]()
Verify you are using the original cable
When it comes to charging your DE-A11 camera, it is important to verify that you are using the original cable. This is because non-original cables can sometimes cause problems with the charging function, even if they appear to be in good condition.
To verify that you are using the original cable, you can follow these steps:
- Inspect the cable for any signs of damage or wear and tear. The original cable should be free of any cracks, cuts, or punctures that expose the metal wiring inside.
- Check the cable's compatibility with your DE-A11 camera. Ensure that the cable fits securely into the charging port and that there are no loose connections.
- Compare the cable with the one that came with your camera. If possible, refer to the user manual or product specifications to identify the correct cable type and ensure it matches the original.
- Test the cable by connecting it to your camera and a power source. Observe if the camera charges as expected and if there are any error messages or unusual behaviour.
- Try using the original cable with another device to see if it works properly. This will help you determine if the issue is with the cable or the charging port on your camera.
If you suspect that the original cable is damaged or faulty, it is recommended to use a spare or new cable that is specifically designed for your DE-A11 camera model. Using non-original cables or third-party chargers may lead to connectivity issues and is not advisable.
Alternative Ways to Charge Your GH2 Camera
You may want to see also
![]()
Verify you are using the original charger
If you are experiencing charging problems with your camera, it is important to verify that you are using the original charger. Using third-party chargers can have negative repercussions, such as poor charging speed or overheating. They can also affect your device's charging capabilities and may lead to battery issues over time.
- Check the quality of the charger. Authentic chargers typically do not have rough plastic edges, unsightly print, or crooked/dented USB inputs and outputs.
- Examine the positioning of the writing on the charger. If the writing is on the same side as the plug, it is likely a fake charger.
- Look for the "UL" logo on the back of the charger. This logo, which stands for Underwriters Laboratories, indicates that the charger meets safety standards.
- Verify the location of the USB output. If it is on a short side of the charger, it is likely authentic.
- Assess the charging speed. Fake chargers often take much longer than the standard 30 minutes to charge your device to 50%.
- Check for overheating. Fake chargers may heat up quickly, which can be a sign that they are not genuine.
- Purchase directly from Samsung or trusted retailers. By buying chargers from the official Samsung website or authorized dealers, you can be more confident in their authenticity.
If you are unsure about the authenticity of your charger, it is best to purchase a new one directly from Samsung or a trusted retailer to ensure optimal charging performance and safety.
Charging Kidamento Cameras: A Quick Guide
You may want to see also
![]()
Check if the port is damaged
If you are experiencing charging issues with your camera, it is important to check if the charging port is damaged. Here are some detailed steps to help you determine if the charging port on your camera is damaged:
Examine the Physical Condition
Carefully inspect the charging port for any visible signs of damage. Look for cracks, bent pins, or debris inside the port. A flashlight can be useful for a closer examination. If you notice any physical damage, such as cracks or bent pins, this is a clear indication of port damage.
Test with Different Chargers
If you suspect port damage, try using different charging cables and adapters to isolate the issue. Sometimes, the problem may lie with a faulty cable rather than the port itself. If your camera charges with a different cable, the original cable may be damaged and require replacement.
Check for Loose Connections
A loose connection between the charging cable and the port is another indicator of potential port damage. If the cable easily falls out or wobbles in the port, it suggests that the charging port may be damaged or loose.
Inspect for Overheating
A damaged charging port can sometimes cause the device to overheat during charging. If you notice excessive heat around the charging port area, it is important to inspect the port for damage. Overheating can be a safety hazard and should be addressed promptly.
Clean the Charging Port
Dust, lint, or foreign particles inside the charging port can cause charging issues. Use a toothpick or a non-conductive material, such as a plastic toothbrush, to gently clean the port. Be cautious not to cause any further damage during the cleaning process.
If, after following these steps, you still suspect that the charging port on your camera is damaged, it is recommended to seek professional assistance. A qualified technician will be able to diagnose and repair any issues with the charging port to ensure your camera can be charged safely and effectively.
Charging Camera Batteries: Alternative Methods to Try
You may want to see also
![]()
Check if the battery is dead
If you are having issues with your DE-A11 camera charger, it could be due to a dead battery. Here are some detailed steps to help you check and troubleshoot a potential dead battery:
Firstly, it is important to note that the DE-A11 has a non-removable battery, so you won't be able to physically take the battery out and examine it. However, you can perform the following checks:
- Check if the battery is faulty: Try charging the camera with the original charger and cable. Ensure that the connections are secure and there is no debris in the charging port. If the camera still doesn't charge, the battery might be faulty.
- Check for physical damage: Inspect the camera for any signs of physical damage, especially around the battery compartment or charging port. Look for scratches, cracks, or any other visible issues. If there is physical damage, this could be preventing the battery from charging or retaining a charge.
- Check the charging indicator lights: Observe the indicator lights on the camera or charger. Usually, a red, amber, or yellow light indicates that the battery is charging, while a blue or green light suggests that it is fully charged. If the indicator lights are not functioning as expected, this could be a sign of a faulty battery.
- Check for strange odours: If you notice any unusual smells, such as a burning plastic odour, this could be a warning sign that the battery is malfunctioning or failing.
- Check the age of the battery: Lithium-ion batteries, like the one in the DE-A11, typically have a lifespan of 2 to 3 years. If your camera is older than this, the battery might be reaching the end of its life and may need to be replaced.
If, after performing these checks, you suspect that the battery is indeed dead, you may need to contact the manufacturer or a technician for further assistance or a battery replacement.
Charging Your Polaroid: A Step-by-Step Guide to Powering Up
You may want to see also
Frequently asked questions
This could be due to a faulty battery, a loose connection, a bad app, or dust in the charging port. Try cleaning the charging port, and ensure that the phone is connected properly to the charging cable.
This could be due to a faulty charger, USB cable, or overheating. Try using a different charger and cable, and ensure that the device is not exposed to direct sunlight while charging.
This could be due to a faulty battery, a third-party app, or a hardware issue. Try replacing the battery or updating/removing any third-party apps. If the issue persists, it may be a hardware problem that requires professional repair.