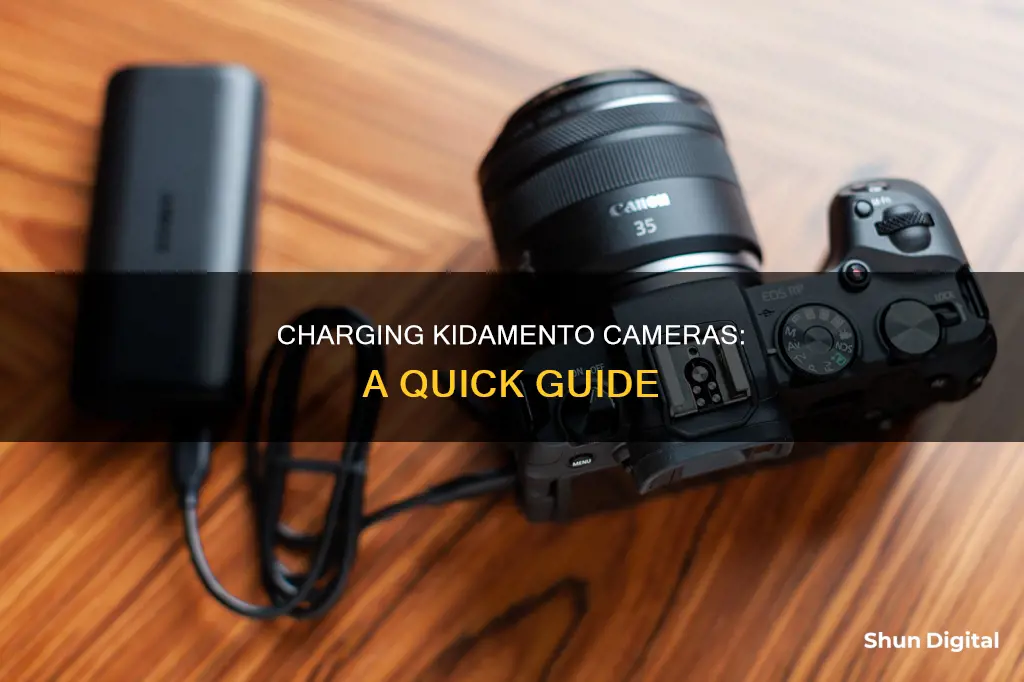
Kidamento cameras are a great way to introduce kids to the world of photography. If you're wondering how to charge your Kidamento camera, you've come to the right place. All Kidamento camera products come with built-in lithium-ion batteries, which can be charged using the USB cable included in the camera package. This cable has a unique design, with one larger end that plugs into a standard USB port and the other end that plugs into the camera's micro-USB or USB-C port. It's important to handle the standard USB port with care to avoid any damage. Additionally, make sure to use a charging adapter with a minimum rating of 5V-1A, as some computer USB ports may not provide enough power to charge the camera.
| Characteristics | Values |
|---|---|
| Charging Port | Micro-USB or USB-C |
| Charging Cable | USB cable with a lanyard-USB-Charging cable 3-in-1 design |
| Charging Indicator Light | Solid red light below the small panda figure on the back of the camera |
| Charging Time | ~2 hours |
| Charging Adapter | Minimum rating of 5V-1A |
What You'll Learn

Charging Kidamento camera for the first time
Charging your Kidamento camera for the first time is simple. All Kidamento camera products come with built-in lithium-ion batteries, charged via the USB cable included in your camera package. Some models, such as Model K, feature a lanyard-USB-Charging cable 3-in-1 design.
To charge your Kidamento camera for the first time, follow these steps:
- Ensure that the USB cable and the camera charging port are free of damage.
- Use a charging adapter with a minimum rating of 5V-1A. Some computer USB ports may not have sufficient voltage/current to charge the camera, especially during the first charge.
- Plug the larger end of the USB cable into a normal USB port, with the copper wires facing up.
- Insert the other end of the cable into the camera's micro-USB or USB-C port.
- If the camera doesn't enter the USB screen automatically, turn on your camera before plugging it in.
- Once you plug in the charging cord and connect it to power, the charging indicator light should turn solid red, and the camera screen should turn on within a few seconds.
- If the charging indicator light does not turn on, the camera is not connected to the power. Verify that the power supply, charging adapter, and USB cable are in good working condition. Try using another electrical outlet and/or charging adapter.
- If the charging indicator light is flickering, the power source does not provide sufficient voltage and current. Use another electrical outlet and/or charging adapter.
- Leave the camera plugged in and charging for approximately 2 hours. The charging indicator light will turn off once the camera is fully charged.
Note: Handle with care! The standard USB port is fragile and can be damaged if inserted in the wrong direction and forced.
Simplisafe Camera Battery: Charging Time Explained
You may want to see also

Charging cable and charging port care
To ensure your Kidamento camera's charging cable and port remain in good condition, follow these care instructions:
Charging Cable Care:
- Handle the charging cable with care. Avoid bending, twisting, or stretching the cable excessively as this can damage the internal wiring.
- Keep the cable away from heat sources and sharp objects.
- Use the provided cable: The Kidamento camera is designed to be charged using the supplied USB cable. Using a different cable may impact charging performance or damage the device.
- Do not overload the charging port by connecting multiple devices to a single power outlet.
- Avoid forcing the connector: Ensure the cable is aligned correctly with the charging port before plugging it in. Forcing the connector may damage the port.
Charging Port Care:
- Keep the charging port clean and free of debris. Use a soft, dry brush or compressed air to gently remove any dust or dirt.
- Be gentle when connecting or disconnecting the charging cable to avoid damaging the port.
- Avoid moisture: Ensure your hands are dry when handling the charging port, and do not expose the port to liquids. If the port gets wet, gently shake the device to remove excess liquid and allow it to air dry completely before charging.
- Do not insert any sharp objects into the charging port, as this can cause damage.
- If the charging port becomes loose or damaged, do not attempt to repair it yourself unless you have the necessary skills and tools. Seek professional assistance to avoid voiding your warranty.
Charging Eufy Cameras: A Step-by-Step Guide
You may want to see also

Charging indicator light
The Kidamento camera is equipped with a charging indicator light, which is located right below the small panda figure on the back of the camera. This light plays a crucial role in informing you about the charging status of your camera. Here's everything you need to know about the charging indicator light:
When You Begin Charging:
Once you plug in the charging cord and connect your Kidamento camera to a power source, the charging indicator light should turn solid red. This indicates that your camera is receiving power and has entered the charging state. Additionally, the camera screen should automatically turn on within a few seconds of plugging it in.
Issues with the Charging Indicator Light:
If the charging indicator light does not illuminate when you connect the camera to a power source, it suggests that the camera is not receiving power. In this case, it is recommended to verify the condition of your power supply, charging adapter, and USB cable. Try using a different electrical outlet and/or charging adapter to ensure that they are functioning properly.
Flickering Charging Light:
In the event that the charging indicator light flickers or blinks, it implies that the power source is unable to provide sufficient voltage and current to the camera for effective charging. To resolve this issue, utilise another electrical outlet and/or charging adapter that can deliver the required voltage and current.
Indicator Light On but Screen Remains Off:
On certain occasions, the charging indicator light may illuminate, but the camera screen stays off. If this occurs, it is recommended to perform a hard reset of the camera. You can find instructions for performing a hard reset in the Kidamento support articles or by watching the relevant video.
Low Battery Level:
If the charging indicator light and the screen both turn on but immediately turn off, it suggests that the battery level of the camera is too low for it to start. In this case, leave the camera plugged in and charging for approximately 2 hours. The camera should recover during this time.
Charging the Noorio Camera: A Quick Guide
You may want to see also

Charging with a computer
To charge your Kidamento camera with a computer, you will need to use the USB-charging lanyard that comes with the camera package. This cable is a 3-in-1 design, with one larger end and one smaller end. The larger end of the cable goes into a normal USB port on your computer, with the copper wires facing up (copper-to-copper contact). The smaller end should be inserted into the camera's micro-USB or USB-C port.
Please note that some computer USB ports may not have sufficient voltage/current to charge the camera, especially if it is a Model P and you are charging it for the first time. If the camera doesn't enter the USB screen automatically after you plug it in, turn on your camera first, and then plug it into your computer.
Handle the cable with care! The standard USB port is fragile and can be damaged if you insert the cable in the wrong direction and try to force it in.
Once you plug in the charging cord and connect it to your computer, the charging indicator light (located below the small panda figure on the back of the camera) should turn solid red. The camera screen should also turn on automatically within a few seconds. If the charging indicator light does not turn on, the camera is not connected to the power. Verify that the USB cable and the camera charging port are free of damage, and try another USB port on your computer.
Charging Your SimpliSafe Outdoor Camera: A Quick Guide
You may want to see also

Charging adapter and power supply
Kidamento cameras have built-in lithium-ion batteries, charged via the USB cable included in all camera packages. Some models, such as Model K, feature a lanyard-USB-Charging cable 3-in-1 design. The larger end of the cable goes into a standard USB port, with the copper wires facing up, and the other end is inserted into the camera's micro-USB or USB-C port.
It is recommended to use a charging adapter with a minimum rating of 5V-1A when charging your Kidamento camera. Some computer USB ports may not have sufficient voltage or current to charge the camera, especially when charging it for the first time. If the charging indicator light does not turn on, the camera may not be connected to power. In this case, verify that the power supply, charging adapter, and USB cable are all in good working condition. Try using another electrical outlet and/or charging adapter.
If the charging indicator light flickers, the power source is not providing enough voltage and current for the camera to charge properly. Again, try another electrical outlet and/or charging adapter. If the charging indicator light turns on, but the screen does not, plug in the camera and then do a hard reset. If the charging indicator light and the screen both turn on but then turn off immediately, the battery level is too low to start the camera. This can be recovered by using a charging adapter with a minimum rating of 5V-1A. Connect the adapter to the camera, and the red charging indicator light should turn on. While the camera is turning on, press and hold the reset button above the charging port for 30 seconds, using a pin or paperclip. Leave the camera to charge for around 2 hours. The charging indicator light will turn off once the battery is fully charged.
Frequently asked questions
All Kidamento camera products come with a built-in lithium-ion battery charged via the USB cable included in all camera packages.
Once you plug in the charging cord and connect it to power, the charging indicator light (located below the small panda figure on the back of the camera) should turn solid red, and the camera screen should also turn on within a few seconds.
First, make sure you hold the power button for a few seconds to turn on the camera. Verify that the USB cable and the camera charging port are free of damage. If the camera still does not turn on, try using a charging adapter with a minimum rating of 5V-1A, as some computer USB ports may not have sufficient voltage/current to charge the camera.
The larger end of the cable goes into a normal USB port with the copper wires facing up. The other end should be inserted into the camera’s micro-USB or USB-C port. If the camera doesn't turn on automatically, turn it on before plugging in the cable.
This depends on the model of the Kidamento camera. Please refer to the user manual or contact Kidamento support for more information.


