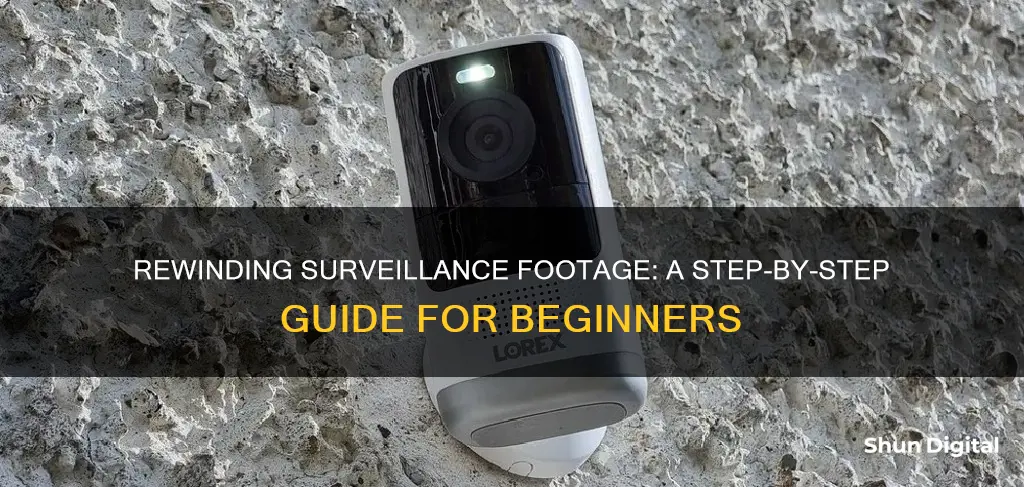
Knowing how to rewind a surveillance camera is an incredibly useful skill for security investigations. This technique can be used to quickly review footage and identify suspicious activity. There are several ways to rewind a surveillance camera, depending on the type of system and the device you are using to access the footage.
If you are using a desktop or laptop computer, you can usually install the CCTV system's software and connect the digital video recorder (DVR) or network video recorder (NVR) to the computer using a USB or network cable. Once the software is launched, you should be able to access the footage and use functions such as playback, rewind, and export.
For smartphones and tablets, you can often download a mobile app that is integrated with the CCTV system's software. After connecting to the same network as the CCTV system and launching the app, you can access the footage and perform functions such as playback, zooming, and exporting. Some systems also offer cloud storage, allowing you to access footage from anywhere with an internet connection.
When using a smart TV, you may be able to utilise built-in CCTV software or install a third-party app that is compatible with your CCTV system. By connecting the DVR or NVR to the TV using an HDMI cable and launching the software, you can then view the recorded footage.
It is important to consult the CCTV manual to understand the specific make, model, and features of your camera system. This will ensure that you are able to properly connect, access, and rewind the footage on your desired device.
| Characteristics | Values |
|---|---|
| Step 1 | Check the CCTV manual |
| Step 2 | Connect the CCTV to a monitor |
| Step 3 | Access the CCTV menu |
| Step 4 | Select the "Rewind" or "Playback" option |
| Step 5 | Choose the time frame |
| Step 6 | Select the "Play" or "Rewind" button |
| Step 7 | Make sure the CCTV system is compatible with a monitor |
| Step 8 | Make sure the monitor has the right connections |
| Step 9 | Make sure the cables are connected correctly |
| Step 10 | Make sure the CCTV is powered on |
| Step 11 | Make sure the CCTV system is properly set up |
What You'll Learn
![]()
Check the manual
Before attempting to rewind your CCTV footage, it is important to consult the manual. This will help you understand the make and model of your camera, as well as its specific features. Having the manufacturer's manual at hand is best. This will save time, prevent confusion and frustration, and ensure you are working with the correct information.
Read the manual thoroughly so you can identify which procedures are relevant to your particular model of CCTV camera. The most common way to rewind CCTV footage is to use a DVR (Digital Video Recorder). This allows you to rewind or fast forward a recording for viewing purposes or accurate data retrieval. Depending on your camera's features, you may also be able to rewind footage remotely over cloud technology or IP networks. The operation may vary based on the location and brand, so understanding all aspects ahead of time is critical.
Some online platforms offer more flexibility, allowing you to pause and rewind live footage via an app or web portal using haptic controls. With these devices, you may be able to adjust the playback speed. If issues occur, always refer back to your original documentation before exploring other possibilities, such as hardware problems.
Harford, Maryland: Fighting Unfair Camera Tickets
You may want to see also
![]()
Connect to a monitor
Connecting a surveillance camera to a monitor is a straightforward process, but it's important to ensure that you have the correct equipment and connections. Here's a detailed guide on how to connect a surveillance camera to a monitor:
Step 1: Identify Your Camera and Monitor Type
Before making any connections, it's crucial to identify the type of camera and monitor you have. This is because different types of cameras and monitors use different types of cables and connections. For instance, an analog camera will require an analog or CRT-type monitor, while current digital cameras use either HDMI or VGA cables and will need an HDTV or LCD monitor, respectively.
Step 2: Gather the Necessary Equipment
To connect your surveillance camera to a monitor, you'll need the following equipment:
- Security DVR or NVR: This is the base station that your cameras connect to for recording footage. It provides video outputs that can be sent to the monitor.
- Security Cameras: These are the wired or wireless surveillance cameras that capture video feeds. The number of cameras your system can support depends on the channels available on the DVR/NVR.
- Monitor: This is the screen that will display the feeds from the cameras connected to the DVR/NVR. Ensure your monitor has an HDMI or VGA input to receive the video signal.
- Cables: You will need video cables such as HDMI or VGA to connect the DVR/NVR to the monitor. For wired cameras, you'll also need coaxial or CAT5e cables.
- Adapters: If you're connecting to a TV, you may need RCA or BNC adapters. For computer monitors, HDMI or VGA cables are typically used.
Step 3: Connect the Camera to the DVR/NVR
Start by connecting your security cameras to the DVR/NVR base station. The rear of the DVR/NVR will have multiple BNC or RCA inputs for the cameras. Refer to the instruction manual to identify the correct channel inputs. For wired cameras, run a coaxial or CAT5e cable from the camera location to the DVR/NVR and connect them to the corresponding channel inputs. If you're using wireless cameras, power them on and pair them with the DVR/NVR according to the provided instructions. The system will detect their wireless signal. Once all cameras are connected, you should see a live feed on the DVR/NVR, confirming the video input is working.
Step 4: Connect the DVR/NVR to the Monitor
Now, you can connect the DVR/NVR base station to the monitor where you want to view the camera feeds. The best option for this connection is HDMI, as it can transmit HD video and audio signals. Simply connect one end of an HDMI cable to the HDMI output port on the DVR/NVR and the other end to the HDMI input port on the monitor. If HDMI is not available, you can use a VGA cable to transmit the video signal only. Connect one end to the VGA output port on the DVR/NVR and the other end to the VGA input port on the monitor. You may need to switch the input channel on the monitor to the assigned VGA source.
Step 5: Install Viewing Software
To view and control the DVR/NVR system on your computer, you'll need to install the manufacturer-provided software. This is typically simple video management software that is included with the system or can be downloaded from the manufacturer's website. The process usually involves installing the software on the computer connected to the monitor, opening the software, and selecting "Add Device." Input the DVR/NVR IP address and credentials, and the software will connect to the system, allowing you to view live feeds, playback recordings, adjust settings, and access advanced options.
Step 6: Configure the Display View
Once everything is connected and the software is operational, you can configure the display view on the monitor according to your preferences. Common options include cycling through full-screen views of individual cameras, a 2x2 quad view showing four cameras, a 3x3 grid for nine cameras, or displaying four or more cameras simultaneously. You can adjust the layout as needed within the viewing software or DVR/NVR menu settings.
Fujifilm Instax Square SQ10: Hybrid Camera, Instant Battery Power
You may want to see also
![]()
Access the menu
To rewind a surveillance camera, you will first need to access the security device's menu. This menu will allow you to view a live video feed and control other settings. The process for doing so will depend on the make and model of your CCTV system.
For example, if you have a Reolink PoE security camera system, you can access the menu by following these steps:
- Double click on the camera device you want to view.
- Click the playback button to enter the menu.
- Select the "Channel", "Video Type", and "Start/End Time" you want to play back.
- Click the "Play" button, and you will be able to watch the CCTV footage on your TV or monitor.
If you are using a smartphone app to access your security camera, the process may look something like this:
- Open the app.
- Tap the 'Playback' button on the top row of icons.
- Select the camera you want to view.
- Choose the date and footage type.
- Use the scroll slider to navigate through the footage.
If you are using a PC or Mac, you will likely need to use camera monitoring software. This software will allow you to keep an eye on your cameras with just a few clicks.
Regardless of your device, you will need to refer to your CCTV system's manual to find the correct process for accessing the menu. This will ensure that you are working with the correct information and prevent potential confusion.
Using Bridge and Camera Raw Together: A Guide
You may want to see also
![]()
Select Rewind or Playback
Once you have accessed the CCTV settings menu, you will need to select the “Rewind” or “Playback” option. This will take you to an archive of existing recordings, where you can view past footage. Depending on your software or hardware program, you may have the option to fast-forward or rewind at different speeds.
On a smartphone, you will need to install a mobile app that the CCTV system has integrated into its software. Log in to your account and connect your phone to the same network as the CCTV system. Launch the app and you should be able to see the recorded footage.
On a desktop or laptop computer, most CCTV systems come with software that you can install on your computer. If not, try using a third-party application that is compatible with your system. Connect the CCTV system's digital video recorder (DVR) to the computer using a USB cable or a network cable. Ensure the DVR is powered on and recognised by the computer, then launch the CCTV software.
If you are using a smart TV, some have built-in CCTV software. If not, try installing a third-party app that is compatible with your CCTV system. Connect the CCTV system's DVR to the TV using an HDMI cable. Ensure the DVR is powered on and recognised by the TV, then launch the CCTV software.
Fight Camera-Based Speeding Tickets: A Guide for DC Drivers
You may want to see also
![]()
Choose the timeframe
To rewind CCTV footage, you first need to choose the timeframe you want to rewind. Selecting the correct start and end points of the footage is essential for obtaining the exact footage that you need. Depending on the specific make and model of your security system, you may be able to look at a timeline of captured events, seek through recordings with easy-to-use buttons, or enter data into fields. The system will give you an estimated timeframe for where you can find your desired footage.
Once you have identified the timeframe, it's important to speed up or slow down the playback rate to get a more detailed view. Doing this allows for more accurate identification of details within the footage and related events. It also aids in finding what happened when something occurred outside of expected regular activity. Different models offer varying forms of playback controls, such as pause-play functions and shuttle speeds. You can select different speeds according to your preferences or take manual control over speed settings, depending on how much detail or context is needed from the playback viewing.
If you are using a smartphone app to access your CCTV footage, you can select a specific date on which you want to view the record. You can also choose "All" under the "Type" menu to ensure you don't miss any important recorded files. The date with camera recordings will typically be highlighted in black or orange, making it easy to locate the CCTV footage.
Rewinding CCTV Footage on a Smartphone
- Open the app: "Elite Viewer Pro" from your smartphone. The icon might show as EVP.
- Once the app loads, note that you should be able to see your camera system within the list. If you see nothing, you might need to set up remote viewing.
- If you can see the system, tap 'playback' on the top row of icons. This icon should look like an old film reel.
- On the next page, you'll see it loads a blank 4-grid layout. The app can only playback recordings for up to 4 cameras simultaneously to reduce stutter and bandwidth clog and processing load.
- By default, no cameras are selected, tap the list icon in the top right corner to choose your cameras.
- From here, select any cameras you want (up to four). If you click the "Select All" button, it will remind you that only 4 can be selected.
- After selecting a camera, hit "Start Playback". By default, this will start playing recorded data from today at midnight up until the most recent recorded moment within the day.
- To select a different day and footage type, tap the date window to open a calendar.
- From here, you can choose any day with footage on it, marked by film reel icons. You can also select all footage or narrow it down to a specific footage type such as motion or IVS.
- From here, use the scroll slider to check out any point throughout that day!
Action Camera Batteries: Are They Interchangeable?
You may want to see also
Frequently asked questions
Install the mobile app that the CCTV system has integrated into its software from the app store, and log in to your account. Connect your smartphone to the same network as the CCTV system, and launch the app. You should then be able to access the footage and perform functions such as playback, rewinding, fast-forwarding, and exporting footage.
Most CCTV systems come with software that you can install on your computer. Use this software to view the footage and access functions such as exporting and rewinding. If your CCTV system doesn't come with software, try using a third-party application that is compatible with your system.
Yes, some smart TVs have built-in CCTV software. If your TV doesn't have this, try installing a third-party app that is compatible with your CCTV system. Connect the CCTV system's DVR to the TV using an HDMI cable, ensuring the DVR is powered on and recognised by the TV. Launch the CCTV software and you should be able to view and rewind the footage.
Check your CCTV manual to understand the make and model of your camera, as well as its specific features. This will help you locate the rewind function, which may be called "Playback" or "Review".
Rewinding CCTV footage is a useful skill for anyone looking to review past events or incidents. It can be used to quickly identify suspicious activity and is an important tool for security investigations.