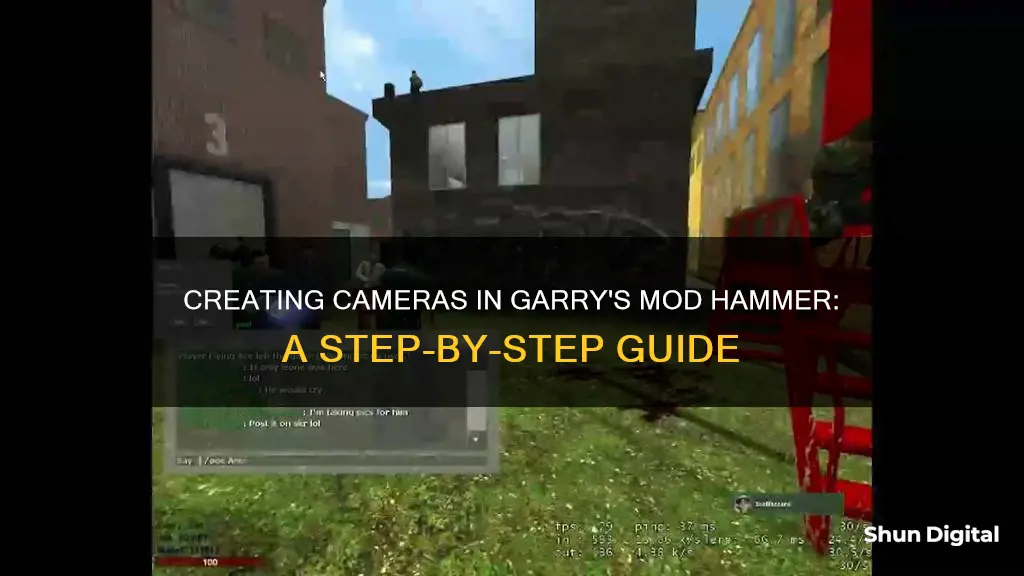
The camera tool in Garry's Mod is a useful feature with a wide range of applications, from advanced movie-making to creating basic security systems. To create a camera in Garry's Mod Hammer, access the menu by holding down Q and selecting Cameras at the bottom of the Tools tab. Next, select a keypad button that you want to use to toggle the view of the camera. Move to the desired position and adjust the view to frame the shot. Once you're happy with the composition, click to spawn a camera in your position. You can also choose whether the camera will be static or mobile and assign a key to activate and deactivate it. Additionally, the camera can be welded to a moving vehicle, allowing it to follow the action seamlessly.
| Characteristics | Values |
|---|---|
| Purpose | Advanced movie-making, creating basic security systems, taking photos, creating third-person modes on vehicles |
| Controls | Press and hold Q, then select Camera from the Tools tab |
| Camera Movement | Static or mobile, with physics effects |
| Spawning a Camera | Primary fire (MOUSE1) |
| Spawning a Camera Facing a Specific Point | Secondary fire (MOUSE2) |
| Viewing Through the Camera | Press the key that you assigned to the placed camera |
| Camera Following a Moving Vehicle | Weld the camera to any part of the vehicle |
| Adjusting Field of View and Rotation | Right-click |
What You'll Learn

Using the camera tool
The Camera Tool in Garry's Mod is a useful feature with a variety of applications, from creating basic security systems to advanced movie-making. Here is a detailed, step-by-step guide on using the Camera Tool:
Accessing the Camera Tool
To access the Camera Tool, open the menu by holding down the "Q" key and selecting "Cameras" from the bottom of the "Tools" tab. This will bring up the Camera Tool options.
Setting Up the Camera
Once you have accessed the Camera Tool, you can set up your camera by following these steps:
- Select a keypad button: Choose a button on your keypad that you want to use to toggle the view of the camera. This will be the button you press to switch between your regular view and the camera's view.
- Position the camera: Move to the position from where you want the camera to view. You can easily modify this position using the phys gun.
- Spawn the camera: Once you are happy with the camera position, click to spawn the camera.
- Make it mobile or immobile: You can choose whether you want the camera to be mobile or immobile. If you select "mobile," you can move the camera around. If you select "immobile," it will stay in one place, and other players won't be able to move it.
- Toggle view: Decide whether you want the camera to switch to its view when you press the trigger key or hold the "View Camera" key.
- Assign a key to the camera: In the spawn menu, click the "Toggle" box and then press a key on your keyboard. This will assign that key to the camera, allowing you to see through the camera's perspective when you press the assigned key.
Additional Tips
- If you want the camera to follow a moving vehicle, weld the camera to any part of the vehicle, and it will move along with it.
- To position the camera more easily, use the noclip function by pressing the "V" key by default. Noclip to the position you want, and the camera will spawn with a view almost exactly matching yours.
- You can also make the camera follow you by right-clicking.
- The Camera Tool in Garry's Mod uses the same model as the camera in the Half-Life series during scenes with G-Man and Gordon Freeman.
Understanding Your Camera's DPI and RAW Settings
You may want to see also

Spawning a camera
Firstly, access the menu by holding down the "Q" key and selecting "Cameras" from the bottom of the "Tools" tab. This will bring up the camera tool, which allows you to spawn cameras and view the world from their perspective.
Next, select a keypad button that you want to use to toggle the view of the camera. This will be the designated key to switch between your regular view and the camera's viewpoint.
Now, move to the position where you want the camera to be placed. You can easily modify this position later if needed using the phys gun. Ensure you are viewing the location you want the camera to focus on, as the camera will spawn with almost the exact same view.
Once you are ready, click to spawn the camera. By default, the primary fire button (usually MOUSE1) is used to spawn a camera, and the secondary fire button (usually MOUSE2) is used to spawn a camera that faces you or your target.
If you want the camera to follow a moving vehicle, you can weld it to any part of the vehicle, and it will move along with it. Additionally, you can choose whether the camera will be static or have physics effects enabled in the context menu.
To view through the camera, press the key you assigned earlier. If you haven't assigned a key yet, go to the spawn menu, click the Toggle box, press a key, place the camera, and then press the assigned key to see through the camera's lens.
With these steps, you can easily spawn and utilise cameras in Garry's Mod, whether for security systems, movie-making, or simply exploring the world from a different perspective.
Supported File Formats for Camera Raw Explained
You may want to see also

Viewing the camera output
To view the output of the camera in Garry's Mod, you need to first place the camera in your desired location. To do this, press and hold the menu key (default "Q"), then in the tool menu of "RENDER", select "Camera". Primary fire (default "MOUSE1") will spawn a camera, and secondary fire (default "MOUSE2") will spawn a camera that faces you or whatever you were aiming at. Once you have placed the camera, you can view its output by pressing the designated key that you assigned to the camera. In the spawn menu, there should be a box that says "Toggle". Click that box, press a key, place the camera, then press the assigned key to see through the camera.
You can also open the context menu by holding and pressing the context key (default "C"). This will allow you to choose a key that activates/deactivates the camera, as well as make the camera static or enable physics effects.
It's worth noting that the camera tool in Garry's Mod is primarily used for taking screenshots, advanced movie-making, and creating basic security systems on role-playing servers.
Charging Camera Batteries: Using Your Car's Power
You may want to see also

Making the camera mobile
To make the camera mobile in Garry's Mod, you must first select whether you want the camera to be immobile or mobile in the context menu. Once you have selected the mobile option, you can weld the camera to a moving vehicle or NPC, and the camera will move along with it.
To weld the camera to a vehicle, simply select the camera and weld it to any part of the vehicle. The camera will then move along with the vehicle as it moves.
You can also make the camera follow you or another NPC by right-clicking. However, it is unclear whether the camera will actually follow you or just turn towards you.
Additionally, you can make the camera mobile by using the noclipping feature. To do this, noclip to the position you want your camera to be and look at the location you want the camera to focus on. The camera will spawn with a view almost exactly the same as your current view.
Recharging Olympus Camera Batteries: A Step-by-Step Guide
You may want to see also

Using the camera for security
The camera tool in Garry's Mod can be used for creating basic security systems. Here is a step-by-step guide on how to set up a camera for security purposes:
Firstly, press and hold the menu key (defaulted to 'Q') and then select 'Camera' from the 'Render' tool menu. Next, you will need to decide where you want the camera to be positioned and what you want it to view. Once you are happy with the position, click to spawn the camera. If you want the camera to follow a moving vehicle, you can weld the camera to any part of the vehicle and it will move along with it.
You can also choose whether the camera will be static or have physics effects. This can be done in the context menu, which can be opened by pressing and holding the context key (defaulted to 'C'). In the context menu, you can also choose a key that will activate and deactivate the camera.
To view the camera's footage, you need to press the key that you assigned to the placed camera. In the spawn menu, there should be a box that says 'Toggle'. Click this box, press a key, place the camera, and then press the assigned key to see through the camera.
Other players can also use your cameras, but they will need to use buttons to do so. If a player quits looking at the button, they will no longer be able to exit from the camera unless they navigate back to the button. To fix this, you can turn the toggle variable off, so that when players move out of range of a button, they will automatically stop using the camera.
Lithium-ion Camera Batteries: Safe Air Travel Tips
You may want to see also
Frequently asked questions
Press the 'Q' key to access the menu, then select 'Cameras' at the bottom of the 'Tools' tab.
Move to the position you want the camera to view from, then click to spawn the camera.
Yes, weld the camera to any part of the vehicle and it will move along with it.
Press the key that you assigned to the placed camera.
Yes, you can choose whether the camera is immobile or can be moved by other players in the context menu.


