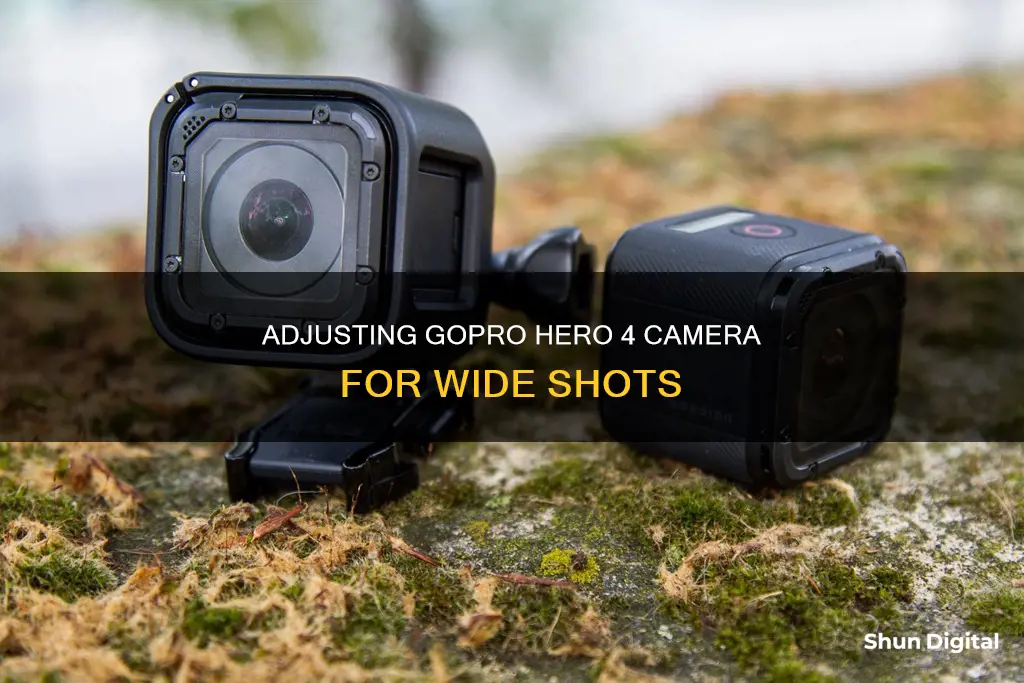
The GoPro Hero 4 is a versatile camera for action and underwater video production. It can shoot video, photo, and timelapse footage. The camera has multiple modes, including video, photo, multi-shot, and playback. Each mode has specific settings that can be adjusted, such as the resolution, frame rate, and field of view. The wide-angle setting on the GoPro Hero 4 captures more content within each frame, making it ideal for first-person shots or landscape/cityscape shots. To adjust the camera to wide mode, swipe left on the touch display screen and tap to select the wide-angle setting. Alternatively, press the Power/Mode button to cycle through the modes until you reach the wide-angle setting.
| Characteristics | Values |
|---|---|
| Resolution | 1080p or 5.3K |
| Frame rate | 30fps-60fps |
| Video stabilization | HyperSmooth ON |
| Lens | 2.0 Max Lens Mod |
| ISO | 100 min – 400 max |
| Color | Flat |
| ProTune | On |
| Megapixels | 5MP Medium Field of View, 7MP Medium Field of View, 7MP Wide Field of View, and 12MP Wide Field of View |
What You'll Learn
![]()
Adjusting the camera's mode settings
Switching Between Shooting Modes:
- Turn on the camera by pressing and holding the Power/Mode button for about 2 seconds.
- Repeatedly press the Power/Mode button while looking at the camera's Status Screen until you see the icon for either Photo or Multi-Shot mode.
- To select Single, Continuous, or Night shooting mode, press the Settings/Tag button on the camera's side to access the Photos submenu when the Photo icon appears.
- To select Burst, Time Lapse, or Night Lapse shooting mode, press the Settings/Tag button to access the Multi-Shot submenu when the Multi-Shot icon is displayed.
- Repeatedly press the Shutter/Select button to switch between the available options within your chosen shooting mode.
- Press the Settings/Tag button to select and activate the chosen shooting mode.
Adjusting Shooting Mode-Specific Settings:
- From the Mode submenu on the Status Screen, press the Power/Mode button to highlight and select the settings you want to adjust.
- Press the Shutter/Select button to select the highlighted option. Toggle between available menu options by repeatedly pressing the Shutter/Select button.
- When the desired setting option is displayed, press the Settings/Tag button to select it.
- Repeat the previous two steps for each shooting mode-specific setting you wish to alter.
Alternatively, you can adjust the mode settings using the LCD Touch BacPac display, the GoPro Smart Remote, or the GoPro App on your smartphone or tablet. These methods offer more convenience and ease of use, especially when adjusting various settings.
Charging Your Kodak 12MP Camera: A Step-by-Step Guide
You may want to see also
![]()
Using the LCD Touch BacPac display
The LCD Touch BacPac is a removable touch display that attaches to the back of your GoPro Hero4 for added convenience and control. It is perfect for playing back videos and photos directly from your camera, including audio and instant slow-motion playback. It delivers convenient touch control of all camera settings.
To select a specific shooting mode and adjust that shooting mode’s settings using the LCD Touch BacPac, ensure the BacPac is properly attached to the camera and turned on, and follow these steps:
- Tap the display and then unlock it by sliding down the orange circle.
- Place your finger on the right side of the display and swipe to the left to access the camera’s main menu. (Alternatively, or when using a different GoPro camera model, press the Settings/Tab button or the Wi-Fi button on the side of the camera to access the menu.)
- Tap the shooting mode you want to use. The currently selected and active shooting mode displays a red triangle in the top-right corner of the icon. You are automatically returned to the main viewfinder screen.
- Place your finger at the bottom center of the touch display, and this time swipe upward. This reveals the Settings menu specifically for the selected and active shooting mode.
- From the Settings menu, if you previously selected the Photo mode, tap the Mode option to switch between Single, Continuous, and Night. If you previously selected the Multi-Shot option, tap the Mode option to switch between Burst, Time Lapse, or Night Lapse.
- When the Mode submenu displays, tap the desired shooting mode. You may need to swipe your finger upward on the screen to first scroll through the menu options.
- Tap the Megapixels option.
- Some menus have a virtual on/off switch. Slide the switch left or right to toggle it on or off.
- Some modes, like this one, have submenus for the mode. In this case, tap the option you want to alter. Another submenu with options specific to that feature or function appears. Again, tap your desired option to select it. Repeat this step until all the settings related to the selected shooting mode have been adjusted to meet your needs.
- Tap the Exit (X) icon in the top-right corner of the display to save your changes and return to the viewfinder screen. You can now begin taking pictures.
Activating Test Mode: Drop Tine Trail Camera Guide
You may want to see also
![]()
Using the GoPro Smart Remote
The GoPro Smart Remote is a versatile accessory that offers complete control over your GoPro camera. Here's a detailed guide on using the GoPro Smart Remote:
Pairing the Smart Remote with Your GoPro:
Before using the Smart Remote, you need to pair it with your GoPro camera. Here's how to do it with a HERO4 camera:
- Power on your HERO4 camera.
- Navigate to and enter the SETUP menu, then press the Shutter Button to access the WIRELESS menu.
- In the WIRELESS menu, press the Mode Button until REM CTRL is highlighted, then select it by pressing the Shutter Button.
- If given the option to select Existing, New, or Back, choose NEW.
- Your camera will now be in Pairing mode for the next 3 minutes.
- Now, pick up the Smart Remote and turn it on using the Power/Mode button.
- When the Smart Remote displays a radiating Wi-Fi symbol, press and hold the Settings/Tag button (wrench icon).
- Release the Settings/Tag button when the remote shows two arrows moving towards each other, indicating it is in pairing mode.
- Within a minute or less, the camera and remote should be successfully paired.
- If the remote asks to pair another device, press the Mode Button to highlight "No", then press the Shutter Button to select it. Alternatively, you may see the pairing screen and the number of connected cameras. In this case, press the Shutter Button on the Remote to complete the pairing.
- A successful pairing is indicated by the remote displaying the camera's capture settings and recording mode.
Using the Smart Remote:
Once paired, you can use the Smart Remote to control your GoPro from a distance. Here are some key features and functionalities:
- Full Camera Control: The Smart Remote provides complete control over all camera functions, including shutter, power on/off, and settings.
- Long-Range Control: With a strong signal, the Smart Remote is effective up to 600 feet (180 meters) in optimal conditions.
- Multi-Camera Control: You can control up to 50 GoPro cameras simultaneously, making it perfect for multi-camera setups.
- LCD Screen: The built-in LCD screen mirrors your camera's status screen, allowing you to quickly confirm camera functions and settings.
- Rugged and Waterproof Design: The Smart Remote is wearable and mountable, with a waterproof rating of up to 33 feet (10 meters).
- Convenient Accessories: It includes a key ring and a wrist strap for easy attachment to your keys, zippers, or other gear.
Tips and Tricks:
- The Smart Remote offers a more reliable and longer-range connection compared to the Wi-Fi Remote.
- While the Smart Remote doesn't support voice control, it excels in controlling multiple cameras simultaneously.
- The Smart Remote is compatible with a wide range of GoPro models, including HERO8 Black, MAX, HERO7 Black, HERO6 Black, HERO5 Black, HERO5 Session, and Fusion. However, it is not compatible with the HERO10 Black or HERO9 Black.
- To charge the Smart Remote, connect it directly to a power source using the special charging dock or cable provided by GoPro.
Locking Camera Tricks: Maya Modeling Mode
You may want to see also
![]()
Using the GoPro App
To adjust your GoPro Hero 4 camera mode to wide using the GoPro App, follow these steps:
- Access the Wi-Fi settings on your smartphone or tablet and connect to the wireless network created by your camera.
- Open the GoPro App on your device and tap "Connect & Control".
- Tap the shooting mode icon to the right of the red shutter button.
- Tap the "Photo" icon.
- Tap the "Single" shooting mode.
- Tap the "Megapixels" option and select a Wide Field of View option (7MP or 12MP).
Alternatively, you can adjust the Field of View (FOV) in the "Video Mode" by following these steps:
- Access the Wi-Fi settings on your smartphone or tablet and connect to the wireless network created by your camera.
- Open the GoPro App on your device and tap "Connect & Control".
- Tap the shooting mode icon to the right of the red shutter button.
- Tap the "Video" icon.
- Tap the "Resolution" option and select a Wide Field of View option (e.g. 1080p, 2.7K, 4K).
Are Camera Batteries Safe for Flying?
You may want to see also
![]()
Capturing photos in low-light situations
- Enable Low Light Mode: Turn on the GoPro's built-in Low Light setting. This will automatically adjust the frame rate according to the light conditions, allowing more light to reach the sensor when it's dark.
- Use a Lower Frame Rate: Select a lower frame rate like 24fps, 25fps, or 30fps. A slower shutter speed will result in more light reaching the sensor, improving the brightness of your photo.
- Adjust ISO Settings: ISO controls the brightness of your image. While a higher ISO will make the photo brighter, it can also introduce grain or noise. Keep the ISO as low as possible, and consider brightening the photo during post-production.
- Increase Exposure Compensation: In low-light conditions, you can increase exposure compensation (+0.5 for slightly dark or +1.0 for very dark) to make your photo slightly brighter.
- Use a Tripod: Using a tripod can help stabilise your camera and reduce unwanted noise in your low-light photos.
- Use Post-Production Editing: Software like Final Cut Pro X offers noise reduction effects that can help clean up grain or noise in your photos.
- Find a Brighter Spot: Sometimes, the simplest solution is to move to a brighter location. Getting closer to a light source, such as a street lamp, can make a significant difference in the lighting of your photo.
- Use the "GoPro Color" Profile: When trying to increase the brightness of your photo, avoid using the "Flat" profile as it may result in blurry and grainy images. Instead, choose the "GoPro Color" profile for brighter visuals without the noise in the shadows.
Olympus E-M5 II: How Many Shots Per Battery Charge?
You may want to see also
Frequently asked questions
To adjust your GoPro Hero 4 camera mode to wide, you can use the LCD Touch BacPac display. First, ensure that the BacPac is properly attached to the camera and turned on. Then, access the camera's menu by tapping the display and unlocking it. Swipe to the left to access the camera's main menu and tap the shooting mode you want to use.
A wide-angle lens captures more content within each frame, particularly on the right and left sides. This is ideal for first-person shots or landscape/cityscape shots as it gives that signature GoPro look.
To switch between shooting modes on the GoPro Hero 4, you can use the Power/Mode button. Repeatedly press the button until the icon for either Photo or Multi-Shot mode displays on the Status Screen.
The GoPro Hero 4 offers several distinct shooting modes, including Single, Continuous, Night, Burst, Time Lapse, and Night Lapse. Each mode is designed for different shooting situations, offering various settings options such as Megapixels, Spot Meter, and Protune.