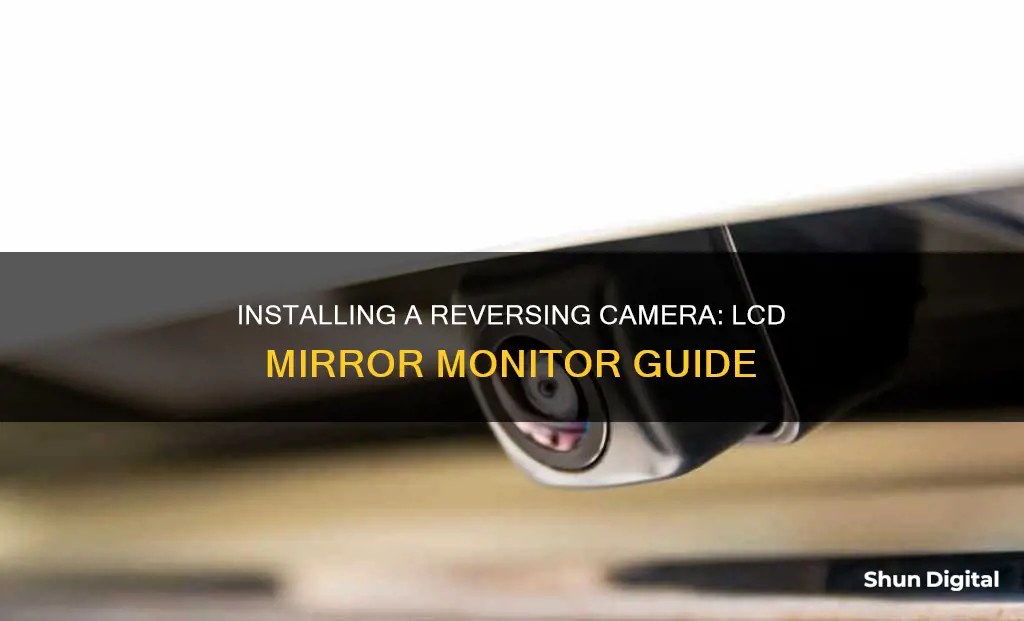
Adding a reversing camera to your vehicle can be a great way to improve safety, prevent accidents, and make parking easier. In this guide, we will walk you through the process of installing a car reversing camera with an LCD mirror monitor, covering everything from purchasing the right equipment to testing your new camera.
| Characteristics | Values |
|---|---|
| Installation | Requires purchasing necessary equipment, including a mountable backup camera, an external or internal monitor, and power and video cords. |
| Monitor Type | External monitor mounts onto the windshield, similar to a GPS; internal monitor is a rear-view mirror with a built-in screen. |
| Camera Type | Can be mounted on the license plate, boot handle, or reversing light, or placed above the license plate. |
| Camera Power Source | Powered by connecting to the car's fuse box and reverse light. |
| Monitor Power Source | Powered by connecting to the car's fuse box. |
| Video Cable Routing | Can be routed through the ceiling upholstery, side panels, or frame rail. |
| Camera Cable Routing | Requires drilling a hole in the license plate mounting area or bumper for the cable to pass through. |
| Camera Activation | Only activates when the vehicle is put into reverse. |
What You'll Learn

Purchasing the necessary equipment
The first step to installing a car reversing camera with an LCD mirror monitor is to purchase the necessary equipment. Here is a detailed guide on what you will need and how to choose the right products:
- Backup camera: Look for a mountable backup camera that is specifically designed for your vehicle. This will ensure safety and make the installation process easier. Choose a camera that can be mounted onto or directly behind your license plate for a discreet and straightforward installation. You can find backup cameras at consumer electronics stores or online.
- LCD mirror monitor: Decide whether you want an external or internal monitor. An external monitor is a small video screen that mounts onto your windshield, similar to a GPS. It is easier to install and replace but takes up more space. An internal monitor, on the other hand, is a fully functioning rearview mirror that houses a small screen inside. It preserves the car's interior look but may be more challenging to install. You can find both types of monitors at electronics stores or online.
- Power and video cords: Most camera and monitor kits include the necessary power and video cords, but some may require you to purchase them separately. Ensure you have the right cables, such as camera and monitor splitter cords, RCA video cables, and bare wire power cables.
- Other tools: In addition to the camera and monitor, you will need some basic tools for the installation process. These include a Phillips head screwdriver, a power drill with a high-speed twist bit, a wire stripper or pliers, and electrical tape.
When purchasing the equipment, consider the compatibility between the camera and the monitor. Ensure that the power and video connections match, and follow the manufacturer's instructions for proper installation and use.
Setting Up the ProArt 248Q: A Step-by-Step Guide
You may want to see also

Installing the camera cables
To install the camera cables, first, take off your rear license plate using a Phillips-head screwdriver. Next, remove the interior panel of your trunk to expose the rear wiring chambers. Drill a small hole in the license plate mounting area, ensuring there are no obstructions, and line up the hole with the camera's power and video cable. Place a rubber grommet around the camera cable to keep it in place and prevent leaks, then pull the cable through the drilled hole into the trunk.
Now, locate the reverse light wires, which connect the tail lights to the dashboard. Strip and separate these wires with a wire stripper or pliers, and poke a hole through the middle of each exposed wire. Attach one of your bare wire cables to the camera cord's power connector, then fuse the bare wires with the reverse light wires by poking them through the exposed reverse light wires and twisting them together. Remember to wrap the combined wires with electrical tape for safety.
Removing Film from Your ASUS Monitor: Step-by-Step Guide
You may want to see also

Putting in the LCD monitor
The LCD monitor is an essential component of your car's reversing camera system, providing a clear view of the area behind your vehicle. Here's a step-by-step guide to installing the LCD monitor:
- Choose the Mounting Location: Decide where you want to mount your LCD monitor. You can choose to attach it to the existing rear-view mirror, the dashboard, or the windscreen. Some monitors come with a suction mount for the windshield, while others clip onto the rear-view mirror.
- Attach the Mount (if applicable): If your LCD monitor comes with a mount, attach it to the chosen location. Follow the manufacturer's instructions for proper installation.
- Connect the Monitor to the Camera: The LCD monitor needs to be connected to the reversing camera. Use an RCA cable or, if necessary, an RCA male-to-female converter cord to connect the video end of the camera cable to the monitor. Secure the connection with electrical tape.
- Route the Monitor's Cable: Run the power and video cable from the monitor to the area near the fuse box. This may involve removing trim panels or headlining panels to create a path for the cable.
- Attach the Monitor's Power Cable to a Power Source: The monitor needs a power source. You can connect it to a fuse tap that draws power from the fuse box, or you can use a cigarette lighter adaptor and plug it into your car's cigarette lighter receptacle.
- Secure the Monitor: Once all the connections are made, secure the monitor in place. If it clips onto the rear-view mirror, ensure it is firmly attached. If it has a separate mount, make sure the mount is securely attached as well.
- Tidy up the Wires: Use electrical tape to bundle and secure any loose wires out of the way. This will help create a neat installation and prevent wires from dangling or getting caught in other components.
By following these steps, you can successfully install the LCD monitor for your car's reversing camera system. Remember to refer to the specific instructions provided by the manufacturer of your reversing camera kit for additional details or variations in the installation process.
Best Monitor Size for Dell Latitude 5490
You may want to see also

Mounting the camera
Now that you have installed the rear-view monitor and connected all the necessary camera cords, it's time to mount the camera.
Firstly, connect your backup camera to its power and video cable. The cable should be sticking out of the hole you drilled in the license plate mounting area.
Next, mount the camera to your license plate by following the manufacturer's instructions. If your camera attaches to the back of your license plate, line up the device with the plate's fastener holes and thread the screws through. In most cases, you can attach the camera using the screws you removed from the car earlier. If your camera attaches to the front of the license plate, fix it to the plate according to the manufacturer's instructions.
Once the camera is mounted, reattach your license plate and interior trunk panel. Use a Phillips head screwdriver to put your rear license plate back on, then give the license plate and backup camera a firm tug to ensure they are secure. If you haven't already, reattach your car's interior trunk panel and other trim panels by pressing them back into place.
Finally, test the camera to make sure everything works. Before using your new camera on public roads, test it in a safe area like your driveway. If it turns on, place a large, durable object like a trash can behind the camera to see how distorted the image is. If it does not turn on, read your installation manual for troubleshooting information.
Troubleshooting an ASUS Monitor That Keeps Turning On
You may want to see also

Testing the camera
Before testing the camera, ensure that you have correctly mounted the camera to your license plate. If the camera attaches to the back of your license plate, line up the device with the plate's fastener holes and thread the screws through them. If the camera attaches to the front of your license plate, fix it to the plate by following the manufacturer's instructions.
Once you have installed the camera and monitor, test the camera to make sure everything works. Test the camera in a safe area, like your driveway, before using it on public roads. Place a large, durable object, such as a trash can, behind the camera to see how distorted the image is. If the camera does not turn on, check your installation manual for troubleshooting information.
In many cases, rear-view camera malfunctions are caused by loose or improperly connected wires. Ensure all cables and connections are secured tightly and that all connections are correct. If this doesn't solve the problem, check that the camera is not damaged.
Understanding Monitor Sizes: Pixel Perfection Explained
You may want to see also
Frequently asked questions
The main benefits of using a reversing camera are enhanced safety, easier parking, preventing damage to your vehicle, peace of mind, and versatility. Reversing cameras improve your visibility, eliminate rear blind spots, and reduce the risk of collisions and accidents while reversing – especially in tight or crowded spaces.
Power from the reverse light provides power to the camera. The video cable comes bundled with an extra wire to power on the monitor.
The monitor clamps onto the existing rear-view mirror. The cable for it is routed inside the ceiling upholstery.


