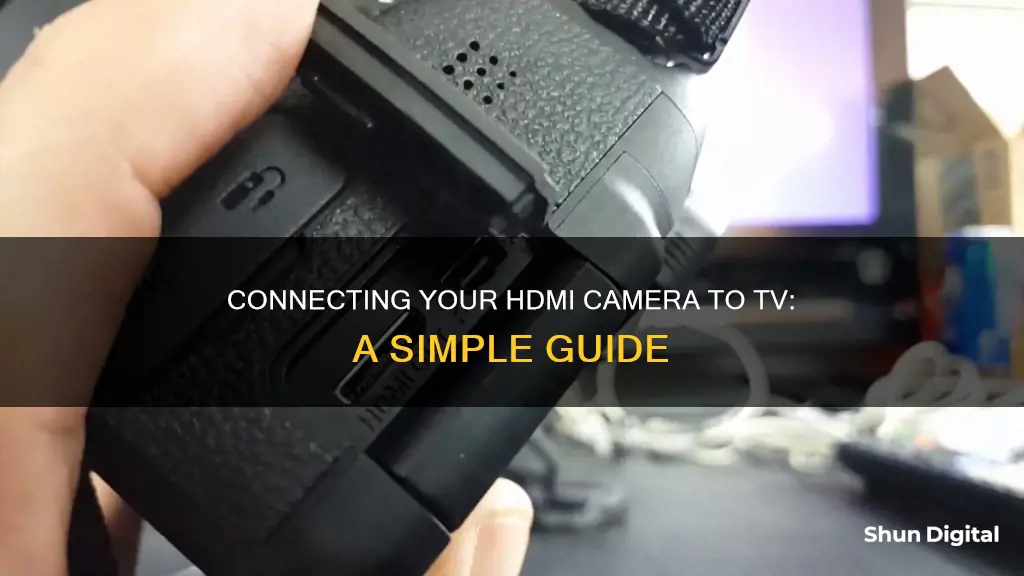
There are several ways to connect an HDMI camera to a TV, and the process will depend on the type of camera and television you have. If you're using a smart TV, you may be able to use a streaming app or screen mirroring to connect your camera wirelessly. For older TVs, you can use an RCA cable, which has three coloured ends. Simply match the colour of the cable to the colour of the receiving port on your TV. Alternatively, you can use an HDMI cable to connect your camera to your TV. First, look for the HDMI output port on your camera – if it has a mini-HDMI connection, you'll need an HDMI adapter. Then, find the HDMI input on your TV and plug the other end of the cable into it. Finally, turn on both devices and find the correct HDMI source on your TV by pressing the Input or Source button on your remote control.
| Characteristics | Values |
|---|---|
| Connection Type | HDMI Cable, USB Cable, A/V Cable, RCA Cable, Wireless |
| Camera Types | Compact Camera, DSLR, GoPro, IP Camera, CCTV Camera, Wireless Camera, Security Camera |
| TV Types | Smart TV, Older TV, Android TV, Monitor |
| Additional Requirements | HDMI Adapter, RCA Converter Box, Coax Converter Box, BNC Converter, Multiplexer, Decoder, Streaming Apps, Set-Top Box, Computer |
What You'll Learn

Using an HDMI cable
First, you need to determine the type of HDMI port on your camera. Some cameras have a standard HDMI output port, while others may have a mini-HDMI connection. If your camera has a mini-HDMI port, you will need to purchase an HDMI adapter.
Once you have the correct cable or adapter, follow these steps:
- Connect the HDMI cable to your camera.
- Plug the other end of the cable into an available HDMI input port on your TV.
- Turn on both your camera and your TV.
- Set your camera to Playback Mode.
- On your TV remote control, press the "Input" or "Source" button to select the correct HDMI source.
- Choose the HDMI input that matches the port you used on your TV. For example, if you connected the camera to HDMI port 3, select HDMI 3 as the input source.
Mobile Cameras and Solar Eclipse: Safe or Not?
You may want to see also

Using an RCA cable
If you have an older TV without an HDMI or USB port, you can use an RCA cable to connect your camera to your TV. RCA cables are the ones with three coloured ends: red, white, and yellow.
First, locate the A/V inputs on your TV. Newer models have these colour-coded connectors on the side or back. Attach the RCA cable to the TV, ensuring that the colours of the cable match the corresponding colour-coded slots on the TV labelled 'Video In' and 'Audio In'.
Next, attach the other end of the RCA cable to your camera. Again, match the colours of the cable to the correct connection, this time labelled 'Audio/Video Out'. Set your camera to Playback or VCR Mode.
Finally, turn on your television and select the appropriate video input. If you're using an RCA cable, you'll likely need to use the AUX input. You can now begin playing the media from your camera.
Accessing Home Cameras: Desktop Viewing Options Explored
You may want to see also

Using a USB cable
If you want to connect your camera to your TV using a USB cable, you'll need to ensure your camera is compatible with your TV and has a USB cable.
First, plug the USB cable into your camera. If the cable is too short, you can add a USB extension cable. Then, plug the other end of the USB cable into a USB port on your TV.
Turn on your TV and camera. You should see a "connected" message on your TV. If not, try pressing the "Source" or "Input" button on your TV remote and cycle through the input sources until you see the camera displayed on the TV screen.
Once connected, you may need to browse or select "OK" on your TV to access the camera's contents. You'll then need to navigate through a few subfolders until you find the folder containing your photos and videos. The specific menu will vary depending on your camera brand and model, but you're likely looking for the "DCIM" folder or its equivalent.
Now you can play back your videos and view your photos on your TV.
If you're connecting a webcam to a smart TV, the process is similar. First, connect the webcam to the TV using a USB cable. Then, press the "Source" or "Input" button on your TV remote and select the webcam as the input source. Follow any on-screen prompts to connect the webcam to the internet and log into your preferred streaming service.
Apple Watch Ultra: Camera in the Crown?
You may want to see also

Using an S-Video cable
To connect your camcorder to your television using an S-Video cable, follow these steps:
Firstly, locate the A/V inputs on your TV. Newer models tend to have the yellow-red-white connectors on the side or back. Attach the A/V cable to the TV first, ensuring you have enough cable length to reach your camcorder.
Next, insert the cable into the colour-matching slots on the TV, labelled Video In and Audio In. If your camcorder uses an S-Video cable, disregard the yellow composite cable and attach the S-Video and red-white stereo cables to your TV.
Now, attach the A/V cable to your camcorder. Match the colour-coded cables to the connection labelled Audio/Video Out. Set the camcorder to Playback Mode (on older models, this may be called VCR Mode).
Turn on your television and select the appropriate video input. If you are using an S-Video cable, you will need to use the AUX input. Begin playing the media on your camcorder.
The S-Video cable will provide a higher-quality image than the yellow composite cable, as it separates the signal into its luminance and colour components, resulting in a clearer picture.
If your camcorder does not have an S-Video output, you can purchase an adapter that converts the signal from the camcorder's output to S-Video. This will allow you to take advantage of the improved image quality offered by S-Video.
Accessing Live Wi-Fi Cameras on PC: Easy Steps
You may want to see also

Using a converter box
If you're looking to hook up an HDMI camera to a TV, one method is to use a converter box. This is especially useful if you're dealing with an older camera that outputs to an RCA video jack or a coaxial cable. Here's a step-by-step guide on how to do it:
Using an RCA Converter Box:
- Ensure Compatibility: First, check that your camera outputs to an RCA video jack. This is typically indicated by a yellow RCA "S-Video" port on your camera.
- Purchase an RCA Converter Box: You can find these converter boxes online or at electronics stores. One example is the Amalink RCA Converter Box, which can be found on Amazon.
- Connect the Camera to the Converter Box: Simply plug your camera's output jack (the yellow RCA "S-Video" port) into the corresponding port on the RCA converter box.
- Connect the Converter Box to the TV: Use a VGA cable to connect the output of the converter box to the VGA input on your TV.
- Power and Test: Make sure both your camera and TV are powered on, then switch your TV to the appropriate VGA input channel to view the camera feed.
Using a Coaxial Cable Converter:
- Identify Your Camera's Connection: If your camera uses a coaxial cable, you'll need a different type of converter box. This type of setup was common for older cameras capable of 1080p/HD resolution.
- Purchase a Coaxial-to-HDMI Converter: Look for a converter box specifically designed to convert a coaxial signal to HDMI. One example is the E-SDS BNC to HDMI Video Converter Box, available on Amazon.
- Connect the Camera to the Converter Box: Use your coaxial cable to connect the camera's output to the converter box's input.
- Connect the Converter Box to the TV: Use an HDMI cable to connect the output of the converter box to one of the HDMI inputs on your TV.
- Power and Test: Ensure that your camera and TV are powered on, then switch your TV to the appropriate HDMI input channel to view the camera feed.
Keep in mind that while these converter boxes are handy for connecting older cameras to modern TVs, they may not provide a high-resolution output. The RCA method, for example, will likely be limited to 480 pixels.
Apple Watch: Camera Symbol Explained
You may want to see also
Frequently asked questions
First, look for the HDMI output port on the camera. If it has a mini-HDMI connection, you’ll need an HDMI adapter. Then, find the HDMI input on the TV and plug the other end of the cable into it. Next, turn on both devices. Finally, find the correct HDMI source on your TV by pressing the Input or Source button on the remote control.
If your camera doesn't have an HDMI port, you can try using an RCA cable. These cables have three coloured ends (yellow, red, and white) that correspond to the coloured input ports on older TVs. You can also use a USB cable, which most cameras come with.
If your TV doesn't have an HDMI port, you can use an RCA Converter Box to convert the RCA signal to HDMI. Alternatively, you can use a set-top box like Apple TV or Roku to connect wirelessly.


