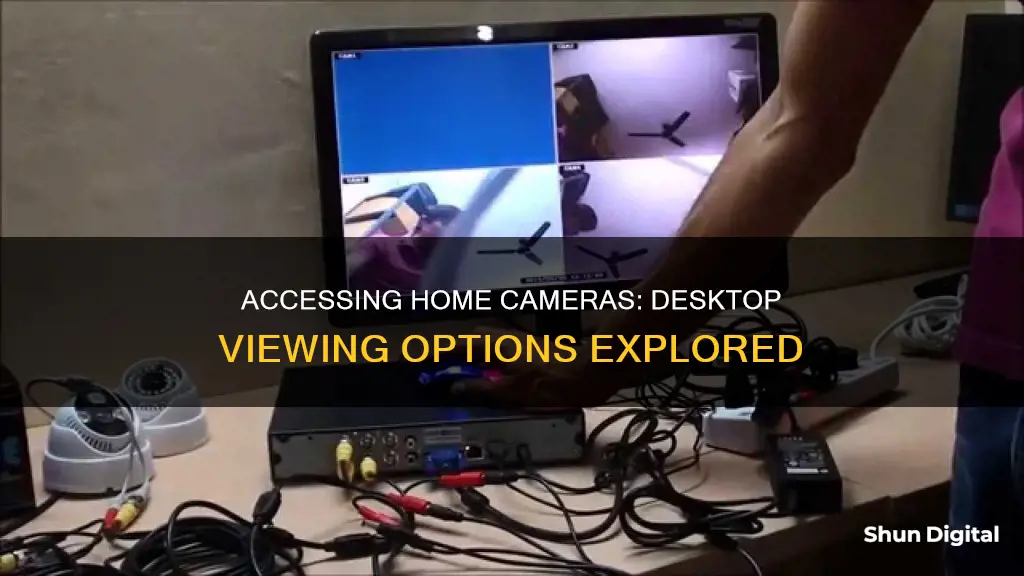
There are several ways to watch your home cameras on your desktop. If you have a Google Nest camera or doorbell, you can access it through the Google Home app on a mobile device or tablet, or by going to home.google.com on your desktop computer and signing in with your Google account. For Windows users, you can open your webcam or camera by selecting the Start button, then selecting All apps, and then selecting Camera in the list of apps. If you have multiple cameras, you can switch between them by selecting Change Camera at the top right once the Camera app is opened. You can also connect your camera to your computer using a power adapter, network cable, and router. Additionally, you can use third-party software or a USB-connected or built-in PC webcam to monitor your home.
| Characteristics | Values |
|---|---|
| Camera Type | Google Nest, Webcam, Wireless IP Camera, PoE (Wired) IP Camera, CCTV Camera |
| Connection Type | Wi-Fi, Power Adapter, Network Cable, Router, Google Account |
| Software | Reolink Client, Yawcam |
| Devices | PC, Laptop, Desktop, Mac, Mobile, Tablet |
| Camera Functions | Live Stream, Multi-Camera View, Zoom, Toggle On/Off, Wake Up |
What You'll Learn

Connecting Google Nest cameras to a desktop
To connect your Google Nest camera to your desktop, you will need to follow a few steps. Firstly, it is important to note that newer models of Google Nest cameras, such as the Nest Cam IQ, Nest Cam battery, and Nest Doorbell battery, cannot be set up on a computer and must be set up with the Google Home app or Nest app. If you have one of these newer models, skip to the section on using the Google Home app.
For older Google Nest camera models, you can set up your camera on a Windows or Mac computer. Here is a step-by-step guide:
- Place your camera near your computer in the spot where you want to set it up. For the Nest Cam Indoor, this can be on a table or another convenient surface. For the Nest Cam Outdoor, start inside your home, near your Wi-Fi router and an indoor power outlet.
- Use the included USB cable to plug your camera directly into a USB port on your computer. Do not use third-party cables as they may not deliver enough power.
- Double-click on the icon that appears on your screen once the camera finishes its startup. This will launch the Nest app, which will guide you through the setup process.
- Follow the instructions in the app to finish the setup. This will include creating an account, connecting your camera to Wi-Fi, and customizing your settings.
- After setup, bookmark the Nest web app and sign in to the Nest app on your phone to watch videos, receive alerts, and manage camera settings.
If you have a newer model of the Google Nest camera, you will need to use the Google Home app to view your camera on your desktop. Here is how you can do this:
- Go to home.google.com on your desktop computer.
- Sign in with the same Google account you use in the Google Home app.
- You will be able to see live streams from your cameras immediately.
- You can toggle between a single camera view and a multi-camera view.
- You can also turn cameras on or off, wake up battery cameras when they are inactive, and view the status of cameras.
Stream Your Arlo Camera Footage Directly to Your TV
You may want to see also

Using a USB-connected or built-in PC webcam
If you have a USB-connected or built-in webcam on your Windows PC, you can use the Camera app to view the footage. Here's a step-by-step guide:
- Open the Start Menu: Click on the Start button, usually located in the bottom-left corner of your taskbar.
- Navigate to All Apps: From the Start Menu, find and select the option to view all apps or applications. This will display a list of all the apps installed on your computer.
- Locate and Open the Camera App: Scroll through the list of apps until you find the "Camera" app. Select it to launch the application.
- Select the Correct Camera: If you have multiple cameras or webcams connected to your PC, you can switch between them by selecting the "Change Camera" option at the top-right corner of the Camera app window.
It's important to ensure that your USB-connected webcam is properly recognised and set up by your computer. Here are some additional tips to consider:
- Simplify Your Setup: If you're having issues with your USB webcam, try simplifying your setup. Restart your computer, temporarily unplug any unnecessary devices, and only open the software necessary for testing to avoid potential software conflicts.
- Direct Connection: Connect your USB webcam directly to a port on your computer, preferably one on the rear of the machine. Avoid using downstream ports on monitors or similar devices, as they may introduce connection issues.
- Avoid USB Hubs: Whenever possible, avoid using USB hubs, especially unpowered ones. Hubs can bring potential complications and issues.
- USB Extension Cables: While not recommended, if you must use a USB extension cable, opt for a high-quality one. For cables longer than 2 meters, consider getting one with a USB repeater.
- Sleep Issues: USB devices can be sensitive to sleep modes. Ensure your computer is rebooted with the USB webcam plugged in, and don't let it sleep during testing.
- USB Troubleshooting: If you're still encountering problems, verify that your computer is successfully recognising your USB webcam. You can use tools like PowerShell, USBDeview, or the Windows Device Manager to check your connected devices and troubleshoot any issues.
Pinhole Camera Eclipse Viewing: A Safe, Easy Guide
You may want to see also

Connecting CCTV cameras to a computer
Step 1: Understand the Basics
Before purchasing a CCTV system, consider factors beyond the initial cost. Think about the features you want, such as digital connectivity, as well as ongoing costs like maintenance and storage media expenses.
Step 2: Position Your Camera
Select a suitable location for your camera, ensuring it's not pointing directly into a light source. Make sure the camera is shaded, and the area you want to monitor is well-lit. Check the user manual for guidance on the camera's range and capture capabilities.
Step 3: Install the Software
Insert the software CD/DVD that came with your CCTV camera into your computer's optical drive. Alternatively, download the software from the manufacturer's website and proceed with the installation. This software will allow you to configure and view your camera feed.
Step 4: Connect the Camera to the Computer
Use the correct cabling to connect your camera to the computer. Some CCTV systems use coaxial cable, while others use standard USB cables. If your CCTV setup includes a router, connect each camera to the dedicated CCTV router, and then connect the router to your computer.
Step 5: Power the Camera
Connect the camera to a power supply. Some USB CCTV systems provide power through the USB cable itself, eliminating the need for a dedicated power source for each camera.
Step 6: Configure the Camera Software
Launch the CCTV camera software on your computer. Fine-tune the camera's position, focus, and aim to ensure optimal video quality. You may need assistance to properly focus the camera.
Additional Considerations:
- Network Connectivity: If you're using an IP camera, you can connect it directly to your network or computer. You may need to use a Power Over Ethernet (PoE) setup or a 12V DC power adapter, depending on your camera's requirements.
- Cloud-Based Surveillance: Consider using cloud-based surveillance cameras that upload footage to remote servers. These cameras often use your internet connection and may require a monthly or annual fee for storage.
- Remote Viewing: Many CCTV systems offer remote viewing options, allowing you to see images from your camera over the internet. This feature is useful if you want to monitor your cameras from anywhere.
Pet Cameras: Do Dogs Watch and Care?
You may want to see also

Using the Windows webcam
If you're using a Windows device, you can use the Camera app to access your webcam. Here's how to do it:
First, find the Camera app by selecting the Start button, then selecting All apps, and then selecting Camera from the list of apps. If you're using Windows 11, you can also click the Start button, go to the All apps list, and click on the Camera shortcut. If you're using Windows 10, open the Start Menu and scroll down the app list until you find Camera.
If you have multiple cameras, you can switch between them by selecting Change Camera at the top right once the Camera app is opened.
You can use the Camera app to take photos and videos. To take a photo, simply select the "Take Photo" button. To record a video, switch to the "Take Video" mode and click the "Take Video" button. You can also pause and resume the video recording by clicking the Pause button. When you're done, click the Stop button to finalize your video.
In addition to taking photos and videos, the Camera app also has some other useful features. For example, you can use it to scan barcodes and QR codes, take photos of documents, whiteboards, or panoramas, and set a timer for taking photos. You can also adjust the settings for your camera, such as changing the photo aspect ratio or video quality, turning location info on or off, and turning the microphone and video lamp on or off.
If you're having trouble with your webcam, make sure you have a driver installed. If you've connected a camera to your PC and it's not working, try disconnecting and reconnecting the camera, or installing driver updates from your camera's manufacturer.
Apple Watch Series 1: Camera Expectations Explained
You may want to see also

Connecting a wireless IP camera to a computer
There are several ways to connect a wireless IP camera to your desktop computer. Here is a step-by-step guide:
Connect the Camera to a Power Source and Your Network Router:
Start by connecting your IP camera to a power source using a power adapter. You will also need to connect the camera to your network router using an Ethernet cable. This allows the camera to communicate with other devices on your network and access the internet.
Find the Camera's IP Address:
You can find the IP address of your camera by using a network scanner app or checking your router's DHCP client list. A network scanner app will scan your network and display a list of connected devices and their IP addresses. Alternatively, you can access your router's settings to view the DHCP client list and find the IP address assigned to your camera.
Access the Camera's Web Interface:
Once you have the IP address, open a web browser and enter the IP address as the URL. This will bring up the camera's web interface.
Log in to the Camera's Interface:
Use the default username and password provided by the manufacturer to log in to the camera's interface. This information can usually be found in the camera's manual.
Configure the Camera's Network Settings:
Configure the camera's network settings, such as IP address, subnet mask, gateway, and DNS server. This ensures effective communication between the camera and other devices on your network.
Set Up Video and Audio Settings:
Choose the desired resolution, compression, and frame rate to achieve the best video quality for your needs.
Configure Security Features:
You can set up security features such as passwords, encryption, and access restrictions to protect your camera and its video feed from unauthorised access.
Test the Connection and Adjust Settings:
Finally, test the connection and make any necessary adjustments to ensure everything is functioning correctly.
Additional Methods:
If you have a Google Nest camera, you can view the live stream on your desktop by going to home.google.com and signing in with the same Google account used for the Google Home app. This allows you to toggle between a single camera and multi-camera view, turn cameras on or off, and view the status of your cameras.
Another method is to use a PoE (Power over Ethernet) connection, which allows for both video and power transmission through a single Ethernet cable. This eliminates the need for separate power and network connections.
Additionally, if you want to connect your wireless IP camera to a computer without using a router, you can use a network cable to connect the camera directly to your computer's network port. However, this may require disabling your computer's existing network connection.
Switching On: Apple Watch Camera Functionality Explained
You may want to see also
Frequently asked questions
If you have Google Nest cameras, you can watch them on a desktop computer by going to home.google.com, signing in with the same Google account you use in the Google Home app, and then viewing live streams from your cameras.
If you have a CCTV camera, you can connect it to your computer using a power adapter, a network cable, and a router. You can also use third-party software to connect and set up your camera.
You can connect your camera to your computer using a network cable and changing the IP address of your computer to the same network prefix as your camera.
If you have a wireless IP camera, you can connect it to your computer wirelessly via your router. You will still need a power adapter and a network cable for the initial setup.
If you just have a regular webcam, you can use a free Java webcam app like Yawcam to capture a live feed and publish the live video from your Web-connected PC.


