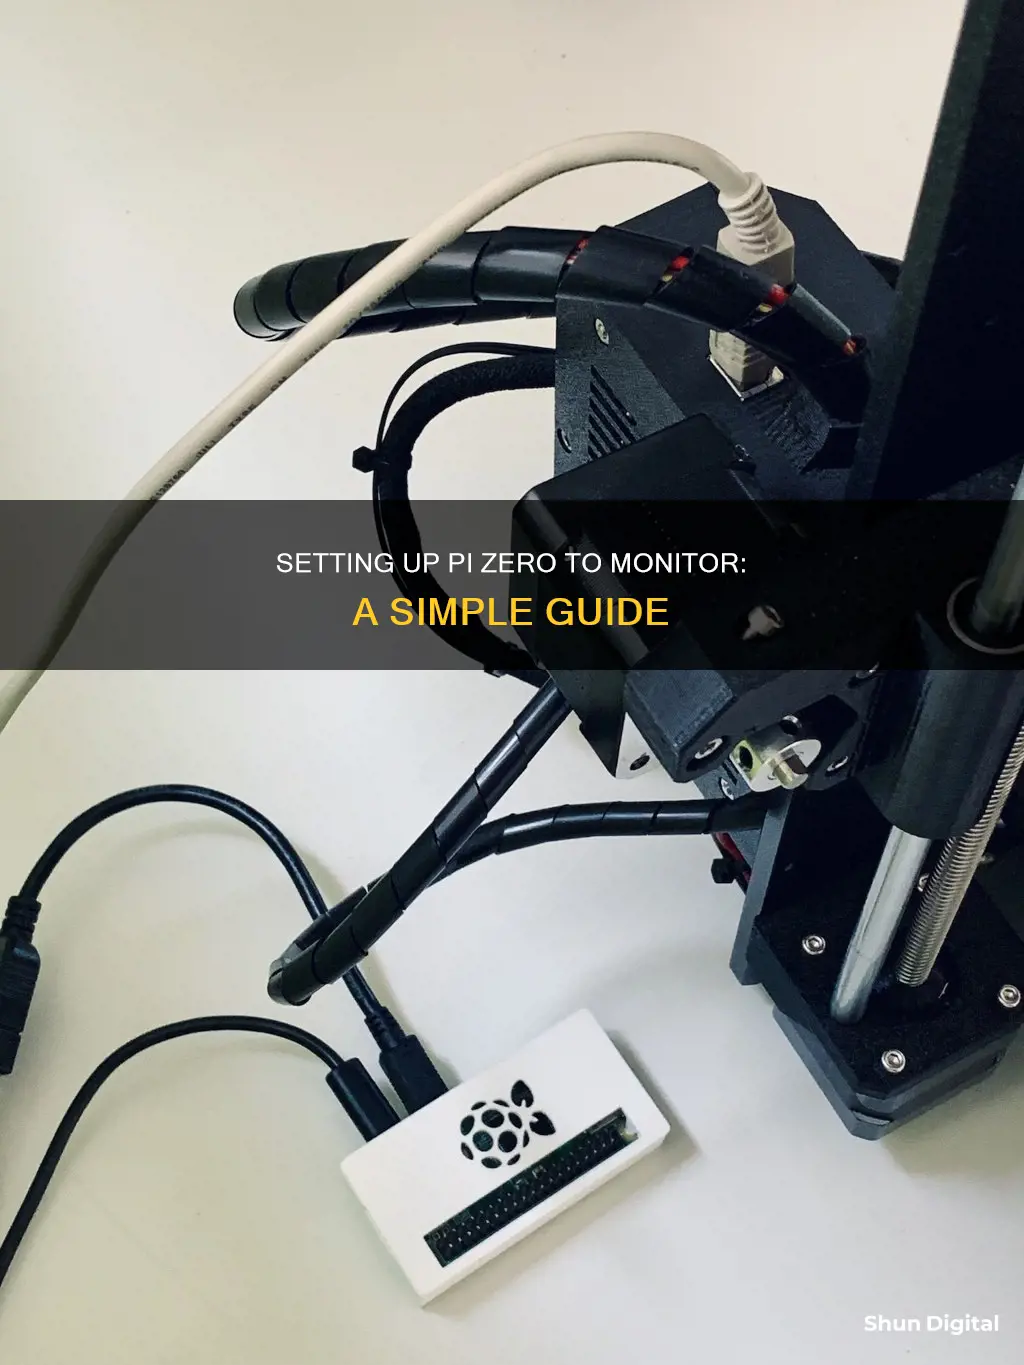
The Raspberry Pi Zero is a popular single-board computer (SBC) that is well-known for its compact size. Despite its small form factor, it is a full-fledged computer that can be embedded in a variety of projects. One of its key features is the onboard WiFi module, allowing for wireless connectivity. However, setting up the Raspberry Pi Zero can be a bit more challenging due to its smaller connectors and the need for adapters when connecting to standard devices such as monitors, keyboards, and mice.
In this guide, we will specifically focus on how to hook up a Raspberry Pi Zero to a monitor. The Raspberry Pi Zero uses a mini HDMI connector for video output, which is different from the standard HDMI connector found on previous Raspberry Pi models. To connect the Raspberry Pi Zero to a monitor or TV, you will need either a mini HDMI to HDMI adapter or a mini HDMI to HDMI cable. This adapter or cable will allow you to connect the mini HDMI port on the Raspberry Pi Zero to the standard HDMI port on your monitor or TV.
It is important to ensure that the HDMI connection is secure and tightly connected on both ends before powering up the Raspberry Pi Zero. Additionally, make sure that your monitor or TV is set to the correct input source to receive the video signal from the Raspberry Pi Zero.
By following these simple steps, you can easily hook up your Raspberry Pi Zero to a monitor and start utilizing its computing capabilities for your projects or other applications.
What You'll Learn

Connecting a Pi Zero to a monitor via HDMI
It is important to note that there is a difference between mini HDMI and micro HDMI, so ensure you have the correct adapter. Once you have the correct adapter, simply connect it to your Pi Zero and then to your monitor using an HDMI cable.
If you are having trouble getting a display, ensure that the HDMI cable is connected tightly on both ends. The Pi Zero will automatically switch to ribbon cable video output if it does not detect a display via HDMI, so a tight connection is important.
If you are still having issues, try a different HDMI cable and power supply. You may also need to disconnect any other devices, such as a camera, and start with the minimum possible configuration.
If you are connecting to a laptop, be aware that you cannot connect via the HDMI port, as this is an output, not an input. You will need to use a USB-to-Ethernet adapter or set up the Pi Zero as a USB-Ethernet gadget to connect to a laptop.
Setting Up a Home Wi-Fi Data Usage Monitor
You may want to see also

Using a USB hub for multiple devices
To connect multiple devices to a Raspberry Pi Zero, you will need a USB hub.
The Raspberry Pi Zero has a USB On-the-Go (OTG) connection. This means that, unlike other Raspberry Pi models, it does not have multiple USB ports. The OTG connection allows for multiple devices to be connected via a USB hub.
There are two types of USB hubs: powered and unpowered. Powered USB hubs have their own power source, while unpowered hubs draw power from the device they are connected to.
When connecting multiple devices to a Raspberry Pi Zero, it is recommended to use a powered USB hub. This is because the USB port on the Raspberry Pi Zero has limited power capabilities. If you are connecting devices that require a significant amount of power, such as a webcam or a WAN adapter, a powered USB hub is necessary.
To connect a powered USB hub to the Raspberry Pi Zero, you will need a cable that connects to a micro USB connector. The powered USB hub will have two connections: one for power and one for USB. The power connection will be plugged into a battery or a USB power adapter, while the USB connection will be plugged into the Raspberry Pi Zero.
Once the powered USB hub is connected to the Raspberry Pi Zero, you can connect your devices to the hub. It is recommended to connect all your devices before powering on the unit. Most operating systems support the hot-swapping of devices, but it is always best to cycle the power when connecting new hardware.
In addition to the powered USB hub, you will also need a display to connect to your Raspberry Pi Zero. The Raspberry Pi Zero has a mini HDMI connector, so you will need a mini HDMI to standard HDMI adapter or cable to connect to an HDMI monitor. You can also use a cable that has a mini HDMI connector on one end and a regular HDMI connector on the other.
With your hardware configuration complete, you can now power on your Raspberry Pi Zero and begin using your connected devices.
Monitor Broadband Usage: Track Your Data Usage Easily
You may want to see also

Setting up WiFi and SSH
- Flash the microSD card with an operating system: Download a recommended operating system like Raspbian Stretch Lite, a lightweight version designed for command-line usage. Use a tool like Etcher to burn the OS image onto the microSD card.
- Edit configuration files: After flashing the OS, remove and reinsert the microSD card. On your computer, navigate to the boot partition of the microSD card. Create two files: "ssh" (without a file extension) and "wpa_supplicant.conf". The "ssh" file will enable SSH on the Pi, and "wpa_supplicant.conf" is a configuration file for WiFi credentials.
- Configure "wpa_supplicant.conf": Open the "wpa_supplicant.conf" file and add the following lines, replacing "WIFI_SSID" and "WIFI_PASSWORD" with your network details:
> country=US
> ctrl_interface=DIR=/var/run/wpa_supplicant
> GROUP=netdev
> update_config=1
> network={
> ssid="WIFI_SSID"
> scan_ssid=1
> psk="WIFI_PASSWORD"
> key_mgmt=WPA-PSK
> }
- Insert the microSD card into the Pi: Power the Raspberry Pi Zero W using the micro USB cable. It will take about 30-90 seconds to boot up and connect to WiFi.
- SSH into the Pi: Open a terminal on your computer. If you only have one Raspberry Pi on your network, use the following command to SSH into the device:
> ssh pi@raspberrypi.local
If you have multiple Pis, a number will be attached to the hostname, indicating the order they joined the network. You can find your device's IP address by checking your router dashboard or using a network scanning tool like Angry IP Scanner.
Update and secure your Pi: It is recommended to update your device and change the default password for security reasons. Use the following commands in the terminal:
> sudo apt-get update && sudo apt-get upgrade -y
>
> sudo passwd
Install additional libraries (optional): You may also need to install pip, which can be done with the following command:
> sudo apt-get install python-pip
Now you have successfully set up WiFi and SSH on your Raspberry Pi Zero W and are ready to start building projects and controlling your device via the command line.
Choosing the Right Bolt Size for Your Monitor's VESA Mount
You may want to see also

Using a mini HDMI to HDMI adapter or cable
To connect a Raspberry Pi Zero to a monitor, you will need a mini HDMI to HDMI adapter or cable. The Raspberry Pi Zero does not have a standard-size HDMI port, so the adapter is required to connect to a standard HDMI cable.
The mini HDMI to HDMI adapter is pretty straightforward to use: plug it into the Raspberry Pi Zero, and the port will then be large enough for any standard HDMI cable.
The HDMI cable is also simple to understand and can be purchased anywhere.
The Raspberry Pi Zero W has a mini HDMI port, so you will not need an adapter to connect to a monitor.
Monitor Size for Music Production: How Big is Best?
You may want to see also

Powering the Pi Zero
One way to power the Pi Zero is by using a USB wall charger. For example, the Dodoli 12W USB wall charger can be used, along with a USB-A male to USB micro male adapter, to power the device. The Nekmit 30W USB-C charger is another option, but it requires a couple of additional adapters to work with the Pi Zero.
Another option for powering the Pi Zero is to use a USB OTG cable. The microUSB end of the cable is plugged into the Pi Zero, and your USB device is connected to the standard female USB end. If you have multiple USB devices, it is recommended to use a powered USB hub.
Additionally, the Pi Zero can be powered via the GPIO connector. This requires soldering wires, headers, or Pi Hats to the connector to access the GPIO pins for power.
It is important to note that removing power from the Pi Zero before properly shutting it down can corrupt the Raspberry Pi's image, so always ensure that the device is properly shut down before removing power.
Mounting LCD Monitors: Ergo Arm Installation Guide
You may want to see also
Frequently asked questions
You will need a mini HDMI to HDMI adapter or cable.
You can use an HDMI to VGA adapter.
You will need an adapter to convert the HDMI end to USB-C.
You will need a USB-C female to USB micro male adapter.
You will need a USB OTG cable. Plug the micro-USB end into the Pi Zero, and plug your USB devices into the standard female USB end.


