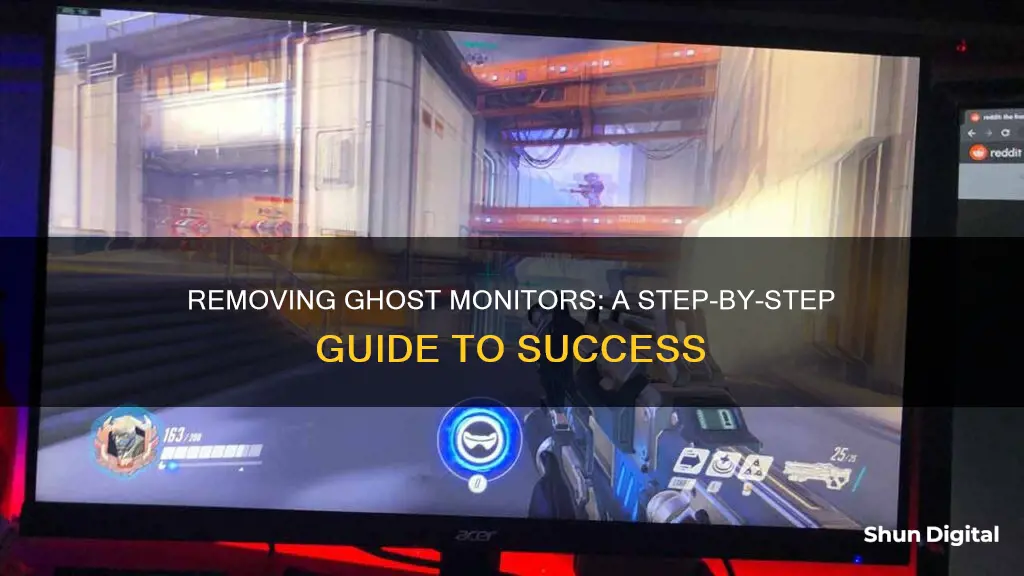
A ghost monitor is a monitor that is detected by your system but does not physically exist. This can cause issues such as icons jumping around or windows opening off-screen. This issue can occur on Windows 7, 8, 8.1, and 10. To remove a ghost monitor, you can try the following:
- Open Device Manager and go to View > Show hidden devices. Expand Monitors and if you see a display with a lighter, washed-out monitor icon, you have a shadow monitor. Right-click on it and select Uninstall Device.
- Reinstall your Intel HD Graphics driver to an older version.
- Check your monitor cable for any damage and replace it if necessary.
- Ensure no other cables are pressing against your monitor cable.
- Make sure there are no magnets near your computer.
| Characteristics | Values |
|---|---|
| Issue | Extra monitors showing in Windows Display Settings |
| Cause | Windows 10 uses default drivers until it can find and download the ones best suited to the hardware. In doing so, it sometimes creates shadow monitors. |
| Solution | Right-click and remove any excess generic PnP monitors from Devices and Printers in Control Panel. Right-click and uninstall any Generic PnP monitor(s) appearing in Device Manager. Install the latest video drivers. |
| Other causes | Faulty monitor cable, unoptimized monitor settings, other devices interfering with the monitor-to-PC connection, outdated graphics card drivers |
| Other solutions | Check monitor video port, turn on the overdrive function, adjust monitor settings, check connected devices and cables |
What You'll Learn

Right-click and uninstall generic PnP monitors
If you're experiencing issues with "ghost" or non-attached monitors showing in your Windows Display Settings, one of the recommended steps to resolve this issue is to right-click and uninstall any Generic PnP monitor(s) appearing in Device Manager. Here's a detailed guide on how to do this:
Step 1: Open Device Manager
To open Device Manager, you can either search for it in the Windows search bar or navigate to it through the Control Panel. Go to the Control Panel and select "Hardware and Sound". Then, select Device Manager under "Devices and Printers".
Step 2: Locate Generic PnP Monitor(s)
In the Device Manager window, expand the "Monitors" option. You will see all your connected displays listed here. If you see a generic PnP monitor listed, right-click on it.
Step 3: Uninstall Generic PnP Monitor(s)
In the context menu that appears after right-clicking, select the Uninstall Device option. Confirm the action by selecting Uninstall when prompted. This will remove the generic PnP monitor from your system.
Step 4: Scan for Hardware Changes
After uninstalling, click on Scan for hardware changes in the Device Manager. This will prompt Windows to detect and install the correct drivers for your display.
Step 5: Restart Your System
For good measure, it is recommended to restart your computer or laptop. This will ensure that any changes take effect, and the ghost monitor should no longer appear in your Display Settings.
By following these steps, you can effectively remove the generic PnP monitor(s) and resolve the issue of ghost or non-attached monitors in your Windows Display Settings.
ELMB ASUS Monitors: How Does It Work?
You may want to see also

Install latest video drivers
If you are experiencing issues with "phantom" or "ghost" monitors in your Windows Display Settings, even though these extra monitors are not physically connected to your computer, you can try installing the latest video drivers. This can be done by following these steps:
First, identify whether you have an onboard Intel graphics card, or an add-on NVIDIA or AMD graphics card. You can do this by accessing the Device Manager and checking under the "Display Adapters" section. Once you have identified your graphics card, follow these steps:
- Visit the official website of your graphics card manufacturer. For example, if you have an NVIDIA graphics card, visit the NVIDIA website.
- Navigate to the driver download section of the website.
- Locate the latest driver version for your specific graphics card model. Ensure that the driver is compatible with your operating system.
- Download the driver installation file to your computer.
- Open the installation file and follow the on-screen instructions to install the latest driver.
- Restart your computer after the installation is complete.
By installing the latest video drivers, you ensure that your system has the most up-to-date instructions for communicating with your graphics hardware. This can help resolve issues with ghost monitors and improve the overall stability and performance of your display.
It is important to note that you should always download drivers from official sources to avoid potential security risks and compatibility issues. Additionally, creating a system restore point before installing new drivers can be a good idea, in case any problems occur.
Understanding Monitor Types: LED, LCD, and Plasma Differences
You may want to see also

Check for faulty cables
Monitor ghosting can be caused by a faulty cable, so it's important to check your cables for any damage. A faulty cable can cause your monitor to display issues such as blurry trails of pixels or image artefacts that appear as a trail of pixels behind a moving object.
To check for a faulty cable, start by manually inspecting the wire. Run your fingers along the length of the cord to feel for any areas that may be frayed or damaged. Frayed cables can lead to overheating, which can cause a drop in your monitor's refresh rate and result in ghosting issues.
Next, you can try troubleshooting your cables by testing them against a replacement cable. If you have access to a similar cable, try swapping it out to see if the issue persists. If the problem disappears with the new cable, then you've identified the faulty cable as the cause of your ghosting issue.
Additionally, if you have multiple devices connected to your computer, try moving them away from your monitor. Sometimes, interference from other devices can cause ghosting issues. This is especially true for wireless technology, such as printers, speakers, or even your modem.
By carefully inspecting your cables, troubleshooting with replacement cables, and minimising potential interference from other devices, you can effectively check for and address any faulty cables that may be contributing to monitor ghosting issues.
Monitoring Children's Internet Usage: A Guide for Parents
You may want to see also

Update graphics card drivers
Updating your graphics card drivers is a good step to take when trying to remove ghost monitors. It is a good idea to do this regularly, especially if you play games often, as it will boost performance and help you avoid other monitor issues.
Restart the Graphics Driver Using Keyboard Shortcut
The Win + Ctrl + Shift + B keyboard shortcut is the most straightforward way to reset the graphics card driver on Windows. This is safe to do and will not affect any of your apps or unsaved work. However, it may not work while playing games as they often take control of the keyboard.
Reset the Graphics Card Driver Using Device Manager
Device Manager is a handy tool in Windows that can help you manage and troubleshoot hardware devices connected to your computer. You can reset your graphics card driver by following these steps:
- Press Win + S to open the search menu, type in Device Manager, and hit Enter.
- Expand the Display adapters section.
- Right-click on your graphics card driver and select Properties.
- In the Properties window, switch to the Driver tab and click Disable Device. Then, click Yes to confirm.
- Wait a few seconds and then click the Enable Device option.
Uninstall and Reinstall the Graphics Driver to Reset It
If the above methods do not work, you can consider uninstalling and reinstalling the graphics driver. This will remove the driver completely from your system and should resolve any glitches or compatibility issues. Here are the steps:
- Open Device Manager using the search menu.
- Expand the Display adapters section.
- Right-click on your graphics card driver and select Uninstall device from the context menu.
- Select Uninstall to confirm.
- Restart your PC after completing the above steps. Windows will detect a missing driver and prompt you to install it automatically.
Automatic Driver Update
If you don't have the time or inclination to update your driver manually, you can do it automatically with Driver Easy. This software will recognise your system and find the correct driver for your video card and Windows version. It will then download and install them for you.
Manual Driver Update
You can also manually update your driver by going to the manufacturer's website and searching for the latest correct driver. Be sure to only choose a driver that is compatible with your Windows version.
Monitoring Folder Sizes: Strategies for Effective Data Management
You may want to see also

Check monitor video port
If you're experiencing monitor ghosting, it's important to identify whether the issue lies with the monitor settings, a connected device, a faulty cable, or an outdated graphics card driver. If none of these are the cause, then the problem is likely physical, and the monitor video port should be checked.
The first step is to determine if there is an issue with the monitor video port. If you have exhausted all other options and concluded that the video port is faulty, you may need to consult a professional or a computer repair store. They can assess whether the faulty parts can be replaced. If the monitor is under warranty, you may want to send it to a service center.
Monitor video ports are essential components that enable the connection and transmission of video and, in some cases, audio signals. The most common types of monitor ports are HDMI, DisplayPort, and USB-C. HDMI ports are widely used and can be found on both PCs and laptops. They are versatile, transmitting both video and audio through a single cable. Display ports, on the other hand, are commonly found on desktops and are used exclusively for transmitting video signals.
If you're dealing with an older PC or laptop, you may encounter legacy ports like VGA and DVI. VGA ports, identified by their three rows of 5 pins, were once the standard for monitor connections but have been largely phased out. DVI ports, usually featuring three rows of 9 pins, were also commonly used before HDMI became prevalent. These legacy ports may be necessary for connecting your device to older monitors or displays.
To ensure compatibility, it's recommended to check the ports on both your device and the monitor before making a purchase. Additionally, if you require specific connections for older devices, you may need to consider adapters to bridge the gap between newer devices and legacy ports.
Safely Packing and Moving Your LCD Monitor
You may want to see also
Frequently asked questions
A ghost monitor is a monitor that your system has detected but that doesn't physically exist. It appears as if it's in an off or unavailable state.
Open Device Manager and go to View > Show hidden devices. Expand the Monitors section and if you see a display with a lighter, washed-out monitor icon, you have a shadow monitor on your system. Right-click on the shadow monitor and select Uninstall Device.
Check your device manager under video adapters. If you have a stream card, you will know as it is something you buy and use for recording or streaming. You can also click on the ghost monitor, go to multiple displays and select disconnect this display.
This issue can be caused by a faulty monitor cable, unoptimized monitor settings, or other devices interfering with the monitor-to-PC connection.
If the ghost monitor reappears, you may want to refresh or update your graphics drivers.


