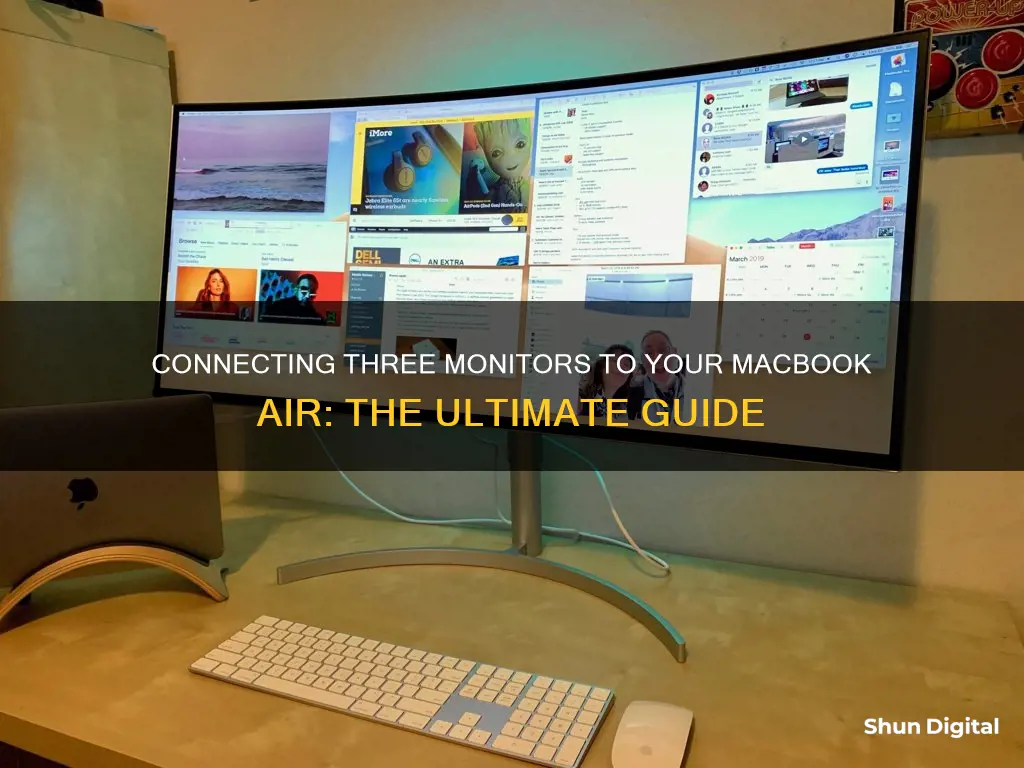
If you're looking to hook up three monitors to your MacBook Air, you've come to the right place. This paragraph will introduce you to the topic and provide some initial guidance.
First, it's important to understand the capabilities of your specific MacBook Air model. The number of external displays you can connect depends on factors such as the type of chip it uses and whether you plan to keep the laptop lid open or closed. For instance, MacBook Air models with the M1 or M2 chip are limited to one external display, while the M3 chip supports up to two external displays when the laptop lid is closed.
To connect multiple monitors, you'll need to determine the video ports on your MacBook Air, ensure it can support the desired number of displays, and gather the necessary cables or adapters. One solution to enhance your MacBook's multi-display functionality is to use a docking station or hub, which often requires installing third-party software drivers.
By following these initial steps and exploring the workarounds suggested in the upcoming sections, you'll be well on your way to successfully hooking up three monitors to your MacBook Air.
What You'll Learn

Identify the video ports on your MacBook Air
To identify the video ports on your MacBook Air, first locate the ports on the sides of your device. The ports you have will determine what kind and how many external displays you can connect and how you connect them.
Depending on your MacBook Air model, you may have one or more of the following video ports:
- Thunderbolt 3 (USB-C)
- Thunderbolt / USB 4
- Thunderbolt 4 (USB-C)
- USB-C
- Thunderbolt and Thunderbolt 2
- Mini DisplayPort
- HDMI
Note that there may be an identifying icon near each video port. If there isn't an icon, you can refer to the Apple Support article "Identify the ports on your Mac" to determine which ports you have.
Identifying Your ASUS Monitor: A Step-by-Step Guide
You may want to see also

Check how many displays your MacBook Air supports
To check how many displays your MacBook Air supports, you need to determine its model. The number of external displays you can connect to your MacBook Air simultaneously depends on its model and the resolution and refresh rate of each display.
For instance, the M1 MacBook Air can support a maximum of one external display, while the M3 MacBook Air can support two external displays if the MacBook's lid is closed (in Clamshell Mode). The first display (allowing an open MacBook lid) has a maximum 6K resolution at 60Hz. The second display (requiring the closed lid) can be up to 5K at 60Hz or 4K at 100Hz.
To get more detailed information about the type of video display your MacBook Air supports, check the tech specs for your Mac: Go to the Apple menu, then System Settings, and choose Help in the menu bar. Choose [your Mac’s name] Specifications, then scroll down to Display Support or Video Support (depending on your Mac).
Finding the Input Selection Button on Your ASUS Monitor
You may want to see also

Get the right cables and adapters
To connect three monitors to your MacBook Air, you'll need to determine the type of video ports on your MacBook, the number of displays it can support, and whether you have the right cables and adapters.
The latest M3 MacBook Air models (13- and 15-inch) are the first to support more than one external display, but only when the laptop lid is closed (Clamshell Mode). When the MacBook Air's lid is open, it can only support one external monitor.
To connect three monitors, you'll need to use a combination of display technologies and either a docking station, hub, or adapter. Here are the steps and considerations to help you get the right cables and adapters:
- Identify your MacBook Air model and video ports: The type of video ports on your MacBook Air will determine the kind and number of external displays you can connect. Common video ports on MacBook Air models include Thunderbolt 3 (USB-C), Thunderbolt 4 (USB-C), Mini DisplayPort, and HDMI.
- Determine the number of displays your MacBook Air can support: The number of external displays you can connect depends on your MacBook Air model. For MacBook Air models with the M1 or M2 chip, you can only connect one external display. The M3 MacBook Air models can support two external displays when the laptop lid is closed, and three displays using workarounds like DisplayLink or InstantView software.
- Check the resolution and refresh rate requirements: The number of displays you can connect also depends on the resolution and refresh rate of each display. For example, the M3 MacBook Air can support two external displays with up to 6K resolution at 60Hz when the lid is closed.
- Obtain the necessary cables and adapters:
- If your displays come with cables that match your MacBook Air's ports, you can use those cables for the connection.
- If your displays don't have cables or if the connectors don't match your MacBook Air's ports, you'll need to obtain the appropriate cables and adapters. For example, if you need to connect an HDMI display to a Thunderbolt port, you'll need an HDMI to Thunderbolt adapter.
- If you're using a docking station or hub, ensure it has the necessary ports and is compatible with your MacBook Air model.
- Install any required software: If you're using workarounds like DisplayLink or InstantView, you'll need to install the appropriate software on your MacBook Air. DisplayLink, for example, requires downloading the latest Mac DisplayLink driver and enabling "Screen Recording" in your System Preferences.
- Connect your displays: Once you have the right cables, adapters, and software, you can connect your displays to your MacBook Air. You may need to adjust the display settings, such as resolution, brightness, and arrangement, in your System Preferences.
By following these steps and considerations, you should be able to obtain the right cables and adapters to connect three monitors to your MacBook Air.
Monitoring Data Usage on Your MacBook Pro: A Guide
You may want to see also

Connect the displays to your MacBook Air
Now that you've determined the number of displays your MacBook Air can support, as well as the required cables and adapters, it's time to physically connect the displays to your MacBook Air. Here's a step-by-step guide:
- Identify the video ports on your MacBook Air: Before connecting the displays, check the video ports available on your MacBook Air. Common ports include Thunderbolt 3 (USB-C), Thunderbolt/USB 4, and Mini DisplayPort.
- Connect the first display: Start by connecting the first display to your MacBook Air. This will be the primary display and should support high resolutions and refresh rates.
- Adjust display settings: After connecting the first display, you may need to adjust its settings. Go to the Apple menu > System Settings, and click on "Displays" in the sidebar. Here, you can adjust the resolution, brightness, and colour profile of the display.
- Connect the second display: Once you've configured the first display, connect the second one. If your MacBook Air supports multiple displays, this will be recognised as the secondary display.
- Repeat for additional displays: If you are using a third or fourth display, connect them following the same steps as above.
- Adjust display arrangement: With all the displays connected, you can now arrange them according to your preference. You can choose to extend your MacBook Air desktop across multiple displays or mirror the content on all screens.
- Follow manufacturer's guidelines: Always refer to the documentation provided by the display manufacturer for specific instructions on connecting and configuring your displays. This will ensure that you are following the recommended guidelines for that particular display model.
Remember, if you are using a MacBook Air with an M1 or M2 chip, you may be limited to a single external display. For M3 chips, you can connect two external displays when the laptop lid is closed (Clamshell Mode).
Setting Up Triple Monitors: The Ultimate Guide for ASUS Users
You may want to see also

Adjust the displays' settings
Once you have connected your monitors to your MacBook Air, you can adjust their settings. To do this, go to the Apple menu and click System Settings. From there, click Displays in the sidebar. This will bring up the displays' settings, where you can adjust the resolution, brightness, and colour profile. You can also choose whether to extend or mirror your Mac desktop across the external displays.
If you are using a third-party display, check the documentation that came with the display to get more information on the display's video ports and cables. You can also refer to this documentation to ensure that you are connecting the display according to the manufacturer's guidelines.
If you are using a MacBook Air with an M3 chip, you may need to install macOS Sonoma 14.3 or later.
If you are using a MacBook Air with an M1 or M2 chip, you may need to install third-party software to enable multiple displays. DisplayLink and InstantView are two software solutions that can help you get around the M1/M2 single-display limitation. However, note that there is a slight risk that future macOS updates may cause these third-party software drivers to become unsupported.
Choosing the Right Rope Size for Monitor Windvane
You may want to see also
Frequently asked questions
Before connecting your MacBook Air to three monitors, you need to determine the type of video ports it has, how many displays it can support, and whether you have the necessary cables and adapters.
First, identify the video ports on your MacBook Air. Then, check how many displays your MacBook Air model supports. Ensure you have the correct cables and adapters, and connect your displays accordingly.
The standard M1 and M2 chips are limited to one external monitor. However, there are workarounds, such as using a USB-C docking station or hub with DisplayLink or InstantView software, that allow you to connect up to three monitors.
Some recommended products include the Satechi Thunderbolt 4 Docking Station with DisplayLink, Alogic DX3 Triple 4K Display Universal Docking Station, and Ugreen USB-C Revodok Pro 312 Triple Display Docking Station. These products support multiple displays and offer additional features like charging and data transfer.


