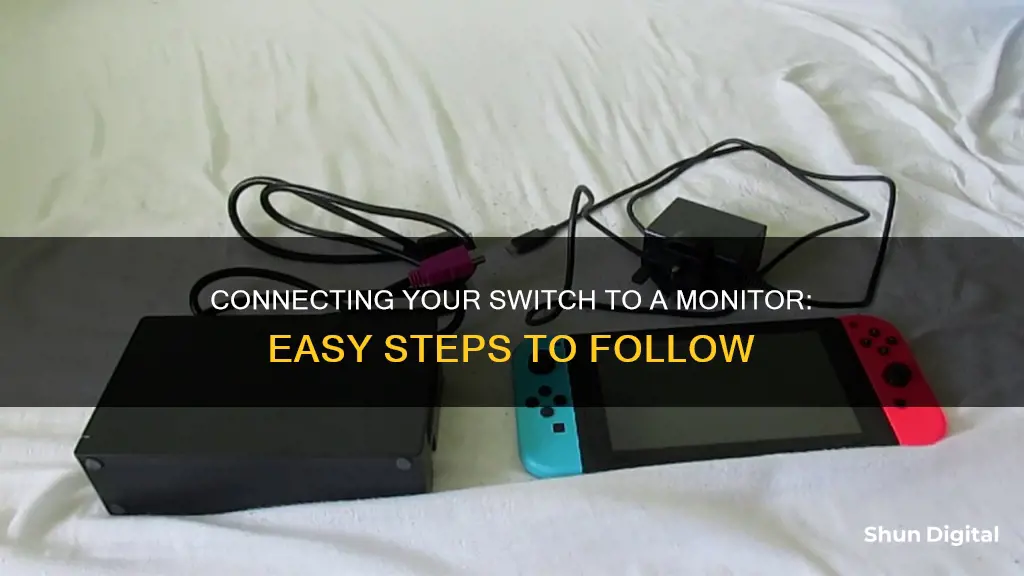
The Nintendo Switch is a hybrid console that can be used as a handheld device or connected to a TV or monitor for a bigger-screen experience. To hook your Switch up to a monitor, you'll need a few components: the Switch console and its dock, the dock's AC adapter, a monitor and its power cord, and an HDMI cable.
First, connect the dock's AC adapter into the port labelled AC Adapter, then plug the other end into a power source. Next, plug the HDMI cable into the port labelled HDMI OUT on the dock. If you have an older monitor that doesn't support HDMI, you may need an HDMI-to-DVI adapter or cable. Connect the other end of the HDMI cable to the HDMI input port on your monitor. Close the back cover of the dock, then slide the Switch console into the dock with its screen facing the front. Finally, turn on the monitor and select the correct HDMI input. Your Switch should now appear on the monitor.
| Characteristics | Values |
|---|---|
| Required devices | Nintendo Switch console, Nintendo Switch dock, Nintendo Switch AC adapter, TV/monitor |
| Required cables | HDMI cable, USB-C/power cable, 3.5mm audio cable |
| Steps | 1. Connect the Nintendo Switch dock to the AC adapter and a power source. 2. Connect the dock to the TV/monitor using the HDMI cable. 3. Connect the dock to the console. 4. Turn on the TV/monitor and select the correct HDMI input. |
What You'll Learn

Using the Nintendo Switch Dock
The Nintendo Switch Dock is the usual way to connect your Nintendo Switch to a TV or monitor. It's a straightforward process, but you'll need to make sure you have the right equipment. Here's what you'll need:
- A Nintendo Switch TV Dock with a power supply
- A gaming monitor with an HDMI 1.4 connector
- An HDMI 1.4 cable (included in the Nintendo Switch box)
- The Nintendo Switch AC Adapter (model no. HAC-002)
Once you have all your equipment, follow these steps:
- Connect the Switch Dock: Open the back of the dock and connect the HDMI cable and USB-C end of the power cable. The USB-C port for the power supply is labelled 'AC Adapter' and is located at the top, while the HDMI port is at the bottom of the dock.
- Connect the Switch Dock to your monitor: Plug the other end of the HDMI cable into the HDMI port of your monitor. Make sure to check whether you use HDMI 1 or HDMI 2, so you know which source to select on your monitor. Ensure the HDMI cable has enough slack and isn't trapped behind the monitor, as this can damage the cable and cause a bad signal or image loss.
- Connect the Switch to the dock: Place the Switch into the dock. Turn on the Switch and hold your console so that the + and - buttons are at the top. Carefully lower the Switch into the dock until you feel it click. When done correctly, the display of your Switch will move to the monitor.
- Select the right source: If the Nintendo Switch doesn't work after connecting and booting your console, you've probably selected the wrong source. You can select the correct source via the OSD of your monitor, which you can open via the buttons on your monitor. Choose the tab that allows you to select an input source, often indicated by a square with an arrow inside. Select the HDMI port you've plugged the cable into.
It's important to note that while the Nintendo Switch Lite does not support TV mode, the Nintendo Switch – OLED Model can be connected to a TV or monitor using the same steps outlined above.
Monitoring Staff Internet Usage: Strategies for Effective Oversight
You may want to see also

Connecting the HDMI Cable
To connect your Nintendo Switch to a monitor using an HDMI cable, you will need a Nintendo Switch TV Dock with a power supply, a monitor with an HDMI 1.4 connector, and an HDMI 1.4 cable (included in the Nintendo Switch box). If you don't have a dock, you will need a USB-C to HDMI adapter.
Firstly, turn off both your Nintendo Switch and the monitor. Then, connect one end of the HDMI cable to the HDMI port on the Nintendo Switch dock. If you are using an adapter, connect the USB-C power cable and HDMI cable from the dock to the adapter, and then plug the adapter into your Switch.
Next, plug the other end of the HDMI cable into the HDMI port on your monitor. Make sure to check whether you are using HDMI 1 or HDMI 2, so you know which source to select on your monitor. Ensure that the HDMI cable is not too tight or trapped behind the monitor, as this could damage the cable and cause a bad signal or image loss.
Now, place the Switch into the dock. Turn on the Switch and hold the console so that the + and - buttons are at the top. Carefully lower the Switch into the dock until you feel it click. If the image disappears from your Switch but doesn't appear on your monitor, you may have selected the wrong source.
To select the right source, use the buttons on your monitor to navigate to the on-screen display (OSD) menu. Choose the tab that allows you to select an input source, which is often indicated by a square with an arrow inside. Select the HDMI port that you plugged the cable into.
US Removes India: Currency Monitoring List Exit Explained
You may want to see also

Powering the Dock
To power the dock, you will need the Nintendo Switch dock AC adapter (model No. HAC-002). This plugs into the top terminal of the dock, labelled "AC ADAPTER". The other end of the AC adapter then connects to a wall outlet.
The Nintendo Switch console should then be inserted into the dock, with the console screen facing in the same direction as the front panel on the dock. The front side of the dock has a Nintendo Switch logo on it. You will know the Switch is properly docked when the connector at the bottom of the dock plugs into the console.
The dock should be positioned fairly close to the monitor to ensure the cable can reach comfortably.
Fixing Monitor Flicker: Easy Steps to Remove Screen Flicker
You may want to see also

Docking the Nintendo Switch
The Nintendo Switch is a hybrid console that can be used as a handheld device or connected to a TV or monitor for a more traditional gaming experience. Docking the Nintendo Switch is a simple process and can be done in a few easy steps.
Firstly, you will need to gather the necessary components: the Nintendo Switch console, the Nintendo Switch dock, the Nintendo Switch AC adapter (model no. HAC-002), and an HDMI cable. The AC adapter and HDMI cable should have been included with your Nintendo Switch when you purchased it. If you have purchased a replacement dock, it may also have come with these components.
Next, open the back cover of the Nintendo Switch dock. Connect the USB Type-C plug from the AC adapter into the top terminal of the dock labelled "AC ADAPTER", then connect the other end of the AC adapter to a power outlet. Now, connect one end of the HDMI cable to the bottom terminal of the dock labelled "HDMI OUT", and connect the other end to an HDMI port on your TV or monitor. Close the back cover of the dock.
At this point, you can remove the left and right Joy-Con controllers from the console if you wish. If the Joy-Con controllers were not previously attached to the console, they will need to be registered to the console in order to be used as wireless controllers.
Now, simply position the console so that the console screen faces in the same direction as the front panel on the dock, and insert the console into the dock. The console screen will shut off, and the game will now be displayed on your TV or monitor.
Turn on your TV or monitor and select the correct HDMI input, and you're done! Your Nintendo Switch is now docked and ready to play on the big screen.
Finding Monitor Drivers: A Step-by-Step Guide to Success
You may want to see also

Selecting the Correct HDMI Input
To select the correct HDMI input, you need to ensure that your monitor is set to the correct input source. This can usually be done through the on-screen display (OSD) or the direct input selection buttons on the monitor. The process for selecting the input will vary depending on your specific monitor or TV, so it is recommended to refer to the owner's manual for detailed instructions.
Most modern monitors have an "Auto" or "Auto Source" feature that automatically switches to a detected signal. However, this feature only works when a single device is connected and powered on. If both devices are turned on simultaneously, the monitor may not switch to the desired input. In such cases, you can manually select the input source through the OSD or input selection buttons.
Additionally, if your monitor does not have built-in input switching capabilities, you can use third-party software solutions such as NirSoft ControlMyMonitor for Windows or BetterDisplay for macOS. These utilities allow you to send Display Data Channel (DDC) messages to your monitor and switch inputs without using the physical buttons.
Alternatively, you can use an HDMI switcher or an external hub to connect multiple devices to a single display. This provides a convenient way to switch between different input sources without the need to unplug and reconnect cables.
Connecting Your Desktop to an HDMI Monitor: A Step-by-Step Guide
You may want to see also
Frequently asked questions
You'll need a Nintendo Switch dock, a Nintendo Switch AC adapter (model No. HAC-002), and an HDMI cable. First, connect the USB Type-C plug from the Nintendo Switch AC adapter into the top terminal of the dock labelled "AC ADAPTER", then connect the other end of the AC adapter to a wall outlet. Next, connect one end of the HDMI cable into the bottom terminal of the dock labelled "HDMI OUT", then connect the other end into an HDMI port on your monitor. Close the back cover of the dock, then slide the Switch into the dock with its LCD screen facing the front side of the dock. The Switch will now display on your monitor.
Yes, you will need a Nintendo Switch dock to connect your console to a monitor.
Yes, the Nintendo Switch supports Bluetooth audio as long as you have updated to the right firmware version.
Yes, you can connect your Nintendo Switch to a PC monitor. The process is the same as connecting to a TV, but you will be connecting the HDMI cable to the PC monitor instead. If you have an older monitor, you may need to purchase an HDMI-to-DVI adapter or cable.
Yes, if you don't have an HDMI cable, you can use a USB video capture device such as the Elgato HD60 S+ to connect your Nintendo Switch to a monitor.


