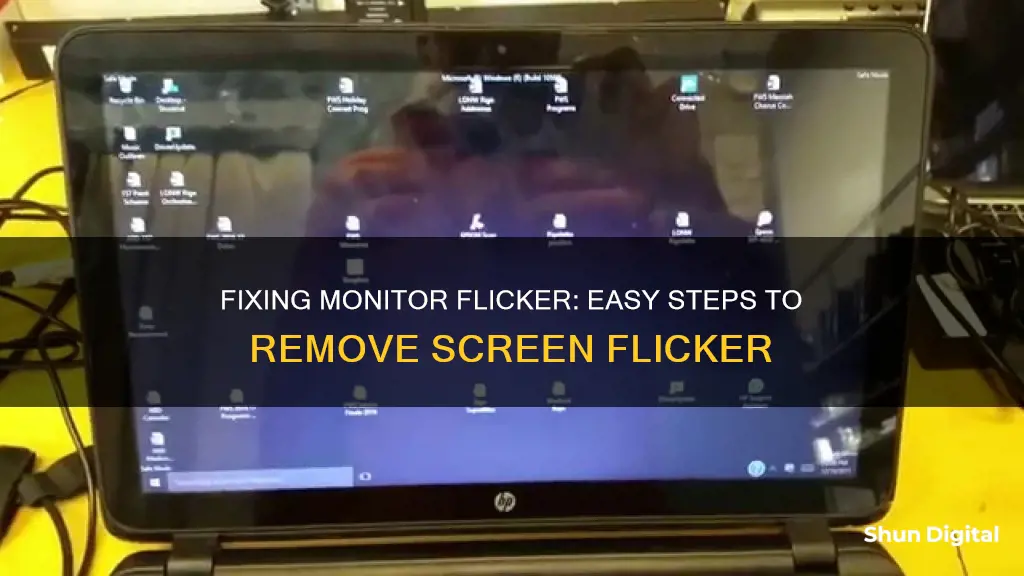
A flickering monitor can be caused by several factors, including loose or damaged connections, outdated or corrupted display drivers, hardware problems, or even incompatible applications. While it may seem like a daunting issue, fixing a flickering monitor can often be a simple task that doesn't require a trip to the repair shop. In this guide, we will explore the common causes of monitor flickering and provide step-by-step solutions to help you resolve the issue yourself.
How to Remove a Flicker on a Monitor Screen
| Characteristics | Values |
|---|---|
| Monitor cables | Check if the monitor cable is loose or damaged, and if so, replace it with a high-quality cable. |
| Display drivers | Update or reinstall display drivers. |
| Refresh rate | Adjust the monitor's refresh rate to a lower setting. |
| Incompatible applications | Uninstall any problematic or incompatible applications. |
| Hardware problems | Check for loose or damaged internal connections, and if identified, consult a professional technician. |
What You'll Learn

Check your monitor's cables are connected properly
If you're experiencing a flickering display on your monitor, there are a few things you can try to fix the problem. One of the most common causes of screen flickering is a loose or damaged cable connection between your monitor and your computer. Here are some detailed steps to check your monitor cables and ensure they are connected properly:
- Power down: Start by turning off both your computer and your monitor. It is important to turn off the devices before handling any cables to avoid any potential damage.
- Disconnect and reconnect: Locate the cables connecting your monitor to your computer. This could be a power cable and a data cable, or a single cable depending on your setup. Carefully disconnect the cables from both the monitor and the computer. Inspect the cables and ports for any signs of damage, including breaks, cuts, kinks, or bent/broken pins. If you notice any issues, replace the cables. Once you've inspected and confirmed that the cables are in good condition, reconnect them securely, ensuring that they are fully inserted and tightened.
- Refer to the manual: Consult your monitor's manual or user guide for detailed instructions on how to properly connect the cables. Different monitors may have specific connection requirements, so it's important to refer to the official documentation.
- Check cable order: If you're using a BNC connection, ensure that the connectors are in the proper order (usually red, green, blue, horizontal sync, and vertical sync).
- Test with different cables: If the issue persists, try using different cables to see if that resolves the problem. You can also try connecting your monitor to another computer to determine if the issue is specific to your original cable or computer.
- Adjust cable positioning: Ensure that your cables are not twisted, kinked, or placed too close to any sources of interference.
By following these steps, you can ensure that your monitor cables are connected properly. If the flickering issue persists, you may need to explore other potential causes, such as display settings, refresh rates, or software problems.
Blind Spot Monitoring: Is It Available on Corollas?
You may want to see also

Update your system's graphics drivers
If you're experiencing a flickering display on your monitor, there are several things you can do to try and fix the problem. One potential solution is to update your system's graphics drivers. Here's a step-by-step guide on how to do this:
For Windows Users:
- Start your PC in safe mode: You can do this by opening the Settings app and clicking on Update & Security. In the left-hand sidebar, click on Recovery, then Advanced startup, and finally Restart now. A blue screen will appear with a few options. Click on Troubleshoot, Advanced options, Startup Settings, and finally Restart on these screens.
- Boot your PC into Safe Mode:: On your keyboard, press "4" to reboot your PC into Safe Mode. You will see the "safe mode" text written on your desktop when you are in Safe Mode.
- Open Device Manager: Right-click the "Start" menu button and select Device Manager.
- Expand Display Adapters: In the Device Manager window, click the arrow next to "Display adapters".
- Update your display driver: Right-click on the adapter that shows up in the expanded menu and select Update driver. You may need to contact your PC or display adapter manufacturer to download the most recent driver for your system.
- Roll back your display driver: If updating your display driver does not fix the issue, you can try rolling it back. In the Device Manager, right-click on the adapter, then select "Properties". Choose the "Driver" tab and select "Roll Back Driver" followed by "Yes". Restart your device.
- Uninstall your display driver: If rolling back the driver does not work, you can try uninstalling it. In the Device Manager, right-click on the adapter and select "Properties". Choose the "Driver" tab and select "Uninstall Device". Check the box for "Attempt to remove the driver for this device" and then select "OK". Restart your device and Windows will attempt to reinstall the driver.
For Intel Graphics Users:
- Check with the manufacturer: If you are using a laptop, check with the manufacturer to install the recommended drivers on your system.
- Perform a Clean Installation of the Intel Graphics driver: If the previous step does not solve the issue, perform a clean installation of the Intel Graphics driver.
- Find the most up-to-date driver: For desktop users, find the latest driver for your system on the Download Center (labeled as Latest) or run the Intel® Driver and Support Assistant to automatically detect your device and install the latest driver.
- Update your operating system: Click the Start button, search for "Windows Update", and click "Check for Updates". Run all pertinent updates.
- Try different monitors and display cables: If you have a multi-monitor setup, check if the issue occurs when only one display is in operation. Try using different monitors and display cables, and use straight connections without any video adapters or dongles in between.
- Change the refresh rate to a lower setting: You can do this through the Intel Graphics Command Center or by using Windows Advance Display Settings.
Remember that updating your system's graphics drivers may not always fix a flickering display issue. There could be other causes such as loose or faulty cables, incompatible apps, or hardware issues. It is recommended to try a few different troubleshooting methods if updating your graphics drivers does not solve the problem.
Acer Predator Monitors: Worth the Investment?
You may want to see also

Adjust your monitor's refresh rate
Adjusting your monitor's refresh rate can be an effective way to resolve screen flickering issues. The refresh rate refers to the number of times the screen image is refreshed per second, measured in Hertz. If your monitor's refresh rate is too slow, you may experience flickering and lag.
Here's a step-by-step guide to adjusting your monitor's refresh rate:
Windows 10 and 11:
- Go to the Start menu, then select "Settings".
- Choose "System".
- Select "Display", then navigate to "Advanced display settings".
- Under Multiple displays, click on Advanced display settings.
- Locate the Refresh rate drop-down menu and select a new refresh rate. Try a lower rate than the current one to see if that resolves the flickering issue.
Mac:
- Click on the Apple menu, then select "System Preferences".
- Choose "Displays".
- Select the "Refresh Rate" pop-up menu and choose a new refresh rate.
- If you're using macOS Catalina or Big Sur, hold the "Option" key while selecting the "Scaled" button to access the refresh rate menu.
Android Smartphones or Tablets:
- Open your device's "Settings".
- Scroll down and tap on "Display".
- Scroll down again and toggle the "Flicker Prevention" setting.
- If this doesn't fix the issue, go back to Settings and Display, then scroll to "Display refresh rate".
- Choose between "Auto", "60Hz", or "120Hz".
IPhone:
- Go to "Settings" on your iPhone.
- Scroll down and tap on "Accessibility".
- Select "Motion" under the "Vision" category.
- Toggle on the "Limit Frame Rate" option to change the refresh rate from "120Hz" to "60Hz".
- Alternatively, you can enable "Low Power Mode" by going to "Settings", selecting "Battery", and turning on the Low Power Mode toggle.
Remember, adjusting the refresh rate can impact your device's performance and battery life. A higher refresh rate can improve gaming and browsing experiences, while a lower refresh rate can conserve battery power. Choose a refresh rate that balances performance and power efficiency for your needs.
Blind Spot Monitoring: Which SUVs Have This Feature?
You may want to see also

Uninstall any problematic apps
If you're experiencing a flickering display, it could be due to a problematic app. Here's what you can do to address this:
Identify the Problematic App
Begin by opening the Task Manager. You can do this by pressing Ctrl + Shift + Esc on your keyboard. If the Task Manager is not flickering while the rest of the screen is, then it's likely that a third-party app is the issue.
To identify the specific app, consider when the flickering started. If it began after you installed a particular app, that app is likely the cause.
Update the App
Before uninstalling the app, check the official site for a newer version. If one is available, install it, as this may resolve the issue.
Uninstall the App
If no newer version is available, or if you know exactly which app is causing the issue, you should uninstall it. Here's how:
- Open Settings by pressing Windows + i on your keyboard.
- Click on "Apps" in the Settings window.
- Scroll down and find the problematic app.
- Click on the app and select "Uninstall".
- Select "Uninstall" again in the prompt to confirm.
- Restart your computer to check if the problem has been resolved.
If the issue persists, you may need to try other fixes, such as reinstalling display drivers or modifying your monitor's refresh rate.
Expanding Your iMac: Utilizing Three Monitors for Enhanced Productivity
You may want to see also

Reinstall the display drivers
If you're experiencing a flickering display, there are a few things you can try to resolve the issue. One common solution is to reinstall your display drivers. Here's a step-by-step guide on how to do this:
- Open the "Settings" menu by pressing Windows + i.
- In the "Settings" window, click on "Update & Security".
- In the left-hand sidebar, click on "Recovery".
- On the right-hand side, find "Advanced startup" and click on "Restart now".
- This will bring up a blue screen with a few options. Click on "Troubleshoot", then "Advanced options", then "Startup Settings", and finally, "Restart".
- Press "4" on your keyboard to reboot your PC into Safe Mode. You'll know you're in Safe Mode when you see the words "safe mode" on your desktop.
- Once in Safe Mode, right-click on the "Start" menu button and select "Device Manager".
- In the "Device Manager" window, click on the arrow next to "Display adapters".
- Right-click on the adapter that shows up in the expanded menu and select "Uninstall device".
- In the "Uninstall Device" window, make sure to enable the "Delete the driver software for this device" option, then click "Uninstall".
- After uninstalling the device, restart your PC. Windows will attempt to reinstall the driver.
If you're using a Windows operating system, screen flickering is often caused by a display driver issue or an incompatible app. Reinstalling your display drivers can help resolve this problem. However, it's always a good idea to check your monitor cables and try other troubleshooting methods before proceeding with a driver reinstall.
Monitoring Internet Usage: Track Activity by Device
You may want to see also
Frequently asked questions
First, check that your monitor cables are properly connected. If the issue persists, try replacing the cable with a new one. If this doesn't work, check your monitor's refresh rate and adjust it to a lower rate. If you're still experiencing issues, try updating your display driver or checking for Windows updates.
Unplug your monitor's cable and plug it back in securely, both from the back of the monitor and the PC. Ensure that the cable is fully tightened and doesn't feel loose.
On Windows, open Settings, then click on System. Click on Display in the left-hand sidebar and scroll down. Under Multiple displays, click on Advanced display settings and locate the Refresh rate drop-down menu. Try selecting a new, lower refresh rate.
Open Device Manager and locate your display adapter. Uninstall the device and let Windows automatically install the latest driver, or manually download and install it.


