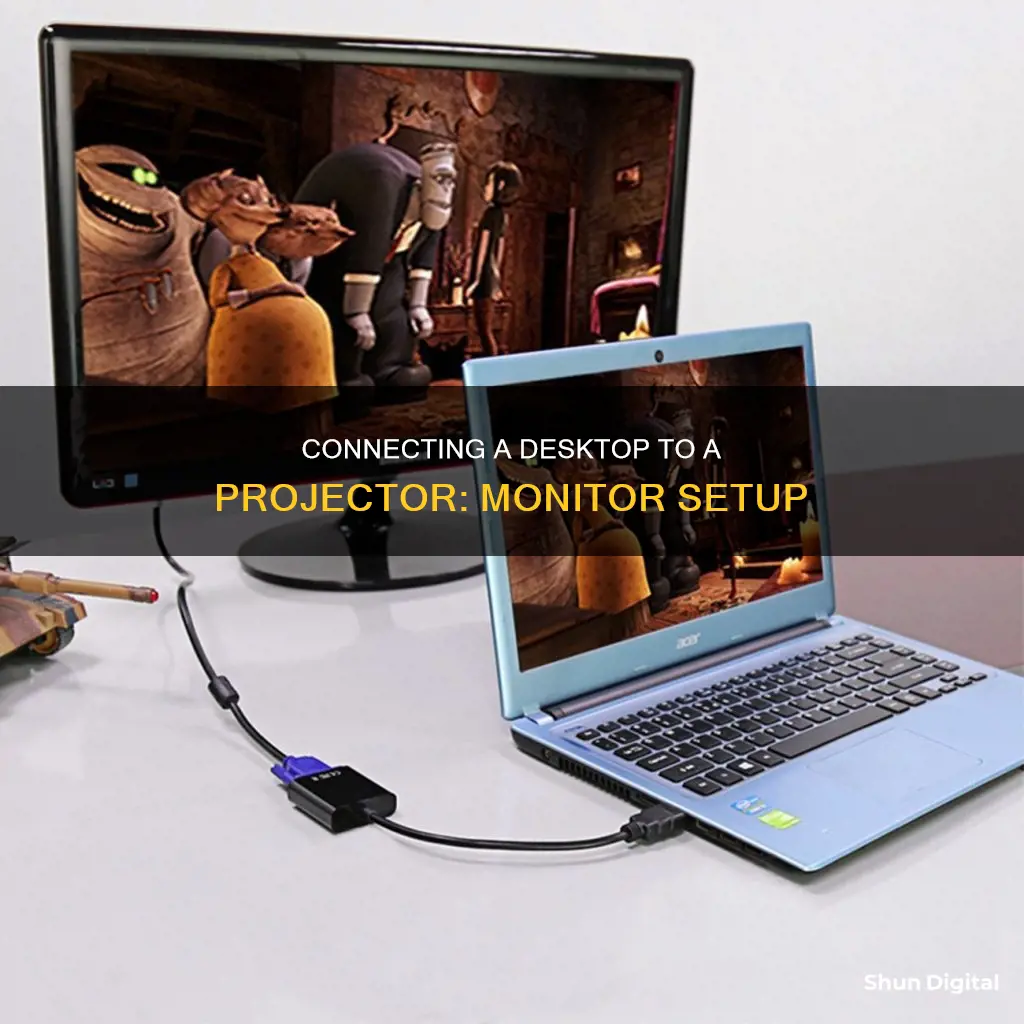
Connecting a desktop to a projector is a simple process. First, you need to check the connections on both the desktop and the projector. Most desktops have multiple connectors, such as a 15-pin VGA connector, a DVI connector, and/or an HDMI connector. Almost all projectors offer a D-Sub port, which supports 15-pin VGA connections, and some also provide an HDMI port. Once you've identified the correct connection, you can insert the appropriate cable and adjust your display settings.
How to hook a desktop with a monitor to a projector
| Characteristics | Values |
|---|---|
| Connection types | VGA, DVI, HDMI, USB-C, DisplayPort, Mini HDMI |
| Cable | VGA, DVI, HDMI, USB-C |
| Adapter | DVI to HDMI, DVI to VGA, VGA to DVI, HDMI to DVI, HDMI to DisplayPort, USB-C to HDMI |
| Display settings | Duplicate, Extend, Second screen only, PC screen only |
| Aspect ratio | 16:9, 4:3, 16:10, etc. |
What You'll Learn

Check for matching ports on your desktop and projector
Before you attempt to connect your desktop to a projector, it is important to check for matching ports on both devices. The available ports on your desktop will depend on the model of your computer. On a desktop computer, the ports are normally at the rear of the case. They may also be on a dedicated graphics card; the number of display connections may vary depending on the graphics card you have installed.
The most common connections are:
- HDMI (High-Definition Multimedia Interface) – HDMI is the most common connection type and is found on most modern televisions and projectors. It is also becoming more prevalent on desktop computers. HDMI connections carry both audio and video signals and are known for their high-quality.
- VGA (Video Graphics Array) – VGA used to be the most common connection type for desktops and laptops, and it is still found on many projectors. VGA cables have a 15-pin connector on each end that connects to a VGA port on each device.
- DVI (Digital Visual Interface) – DVI is newer than VGA and offers a sharper image. It is found on desktop computers for use with monitors. There are special cables that can convert DVI to VGA or HDMI, and vice versa.
- USB – Most computers have standard USB (Universal Serial Bus) ports, which are not typically used to connect to a projector. However, USB-C ports, found on many new laptops and Android smartphones, can send audio and video and are used for displaying video.
Once you have identified the ports on your desktop, you will need to check the ports on your projector. Look on the back of the projector, or consult the specification list, to see what kind of connectors it supports. Almost all projectors offer a D-Sub port, which supports 15-pin VGA connections. Some projectors also provide an HDMI port, or less commonly, DVI or USB connections.
If your desktop and projector do not have matching ports, you may need to purchase an adapter to connect the two devices. For example, if your desktop has a VGA port and your projector has an HDMI port, you can use a VGA-to-HDMI adapter to connect the two.
Enhancing Your ASUS GeForce GT 710 Monitor Experience
You may want to see also

Get the right cable to connect the two devices
To connect your desktop to a projector, you'll need to get the right cable to establish a connection between the two devices. The first step is to identify the available connection ports on both your desktop and the projector. Look on the back of your desktop or the side of your monitor to see what kind of connections your computer has. Most desktops have multiple connectors, but they may vary in type. The most common types of connectors are:
- VGA (Video Graphics Array) connection: This used to be the most common connection type and is still found on many desktops and projectors. The VGA cable has a 15-pin connector on each end that connects to a VGA port on each device.
- HDMI (High-Definition Multimedia Interface) connection: HDMI is currently the most common connection type and is supported by nearly all modern televisions and projectors. It carries both audio and video signals, offering a high-quality display.
- DVI (Digital Visual Interface) connection: DVI is newer than VGA and offers a sharper image. It is found on desktop computers for use with monitors and can be used with projectors.
- USB-C: While standard USB ports are not used to connect to a projector, USB-C ports can send audio and video signals. They are found on many new laptops and Android smartphones and are replacing HDMI ports in newer devices.
Once you've identified the connection ports on your desktop and projector, you'll need to get a cable that matches the connection type on both devices. For example, if both your desktop and projector have HDMI ports, you'll need an HDMI cable to connect them. If you can't find a cable that matches both connection types, you may need to use an adapter. For instance, you can use a simple adapter to transform a DVI connector into HDMI or VGA.
LCD Monitor Vertical Lines: What's the Issue?
You may want to see also

Power on the projector and your desktop
Now that you've connected your desktop to the projector, it's time to power on the devices and get started with your presentation.
First, plug your projector into an electrical outlet and turn it on. Power up your desktop as well. If you are using a laptop, ensure that it is powered off before connecting it to the projector. If you are using a Windows laptop, you may need to press the "Fn" key along with either the F4, F5, F7, or F8 keys to bring up the display settings. This will vary depending on your laptop model.
Once your desktop is on, press the "Win-P" key combination, then select your preferred display option. You can choose to "Extend" or "Duplicate" your screen. "Extend" will allow you to use the projector as an extension of your regular desktop, while "Duplicate" will mirror your monitor, projecting the same content on both screens.
If you are using a Windows computer, you can also press the Windows logo key + P to change how the screen is displayed. This will give you four options: "PC screen only," "Duplicate", "Extend," and "Second screen only." "PC screen only" will display everything on your PC, while "Second screen only" will show everything on the connected screen, keeping your desktop screen blank.
If you are using a Mac computer, go to "System Preferences," then "Displays." Click on "Arrangement" and select the "Mirror Displays" option to mirror your screen.
Now that your projector and desktop are powered on and connected, you can begin using your projector as an extended display or a mirrored screen.
Monitors: Size Consistency for the Ultimate Setup
You may want to see also

Press the Windows logo key + P, then choose from the four options
Pressing the Windows logo key + P is a quick way to connect your laptop to a second screen or projector. After pressing these keys, you will be able to choose from four options:
PC screen only
You will see everything on your PC. If you are connected to a wireless projector, this option will change to 'Disconnect'.
Duplicate
You will see the same things on both screens. This option will allow you to mirror your monitor.
Extend
You will see everything across both screens, and you can drag and move items between the two. This option lets you use the projector as an extension of your regular desktop.
Second screen only
You will see everything on the connected screen. The other screen will be blank.
These options allow you to extend or duplicate your computer's display onto a larger canvas, which is great for viewing company reports or displaying presentations.
Enhance Productivity: Dual Monitors via HDMI Port
You may want to see also

Change your display settings
Once you have connected your desktop to the projector using the appropriate cable, you can adjust your display settings.
Windows 11/10
If you are using Windows 11 or 10, press the Windows logo key + P, and then choose one of the four options:
- PC screen only: You'll see everything on your PC. If you're connected to a wireless projector, this option changes to "Disconnect."
- Duplicate: You'll see the same things on both screens.
- Extend: You'll see everything across both screens, and you can drag and move items between the two.
- Second screen only: You'll see everything on the connected screen, while the other screen will be blank.
If your PC and the projector both support Miracast, you might not need a cable at all. In that case, press the Windows logo key + K, choose a projector, and you're set.
Windows 7
If you are using Windows 7, press "Win-P," and then select either "Extend" to use the projector as an extension to your regular desktop, or "Duplicate" to mirror your monitor.
Adjusting Image Quality
If the projected image isn't as clear as you would like, you can modify the screen resolution to improve the quality. Right-click on any blank space on your desktop and click "Screen Resolution" to open the Screen Resolution dialog box. In Windows Vista, click "Personalize" and select "Display Settings." Adjust the resolution setting until you achieve the desired picture quality on the projected images. If you have both a monitor and a projector connected, you must first select the display number representing the projector before making any changes.
Throw Distance
Remember that the "throw distance" (the distance between the projector and the screen) affects the size and clarity of the projected images. If the projector is placed too close or too far from the screen, the images may appear distorted, even after adjusting the resolution settings. Refer to your owner's manual for specific information about your projector's throw distance.
Luma's Monitoring Features: Keeping Tabs on Device Usage
You may want to see also
Frequently asked questions
First, check that your desktop and projector have the same type of connection. Common connections include HDMI, VGA, and USB-C. If your devices don't have the same connection type, you may need to purchase an adapter.
You will need either a VGA or HDMI cable to connect the devices.
Ensure both your desktop and projector are turned off before connecting them via the cable. Then, power on the projector and your desktop. Depending on your laptop, press the "Win-P" or "Fn" key on your keyboard, along with either the F4, F5, F7, or F8 keys to bring up the display settings. From here, you can choose how you want to project your screen.
On a Windows computer, go to "Control Panel" and then "Display." From the "Multiple Displays" drop-down menu, select "Duplicate Display." On a Mac, go to "System Preferences" and then "Displays." Click on "Arrangement" and check the box next to "Mirror Displays."
HDMI is the most common connection type and is supported by most modern televisions, projectors, and laptops. It is capable of carrying both audio and video signals, offering a high-quality display.


