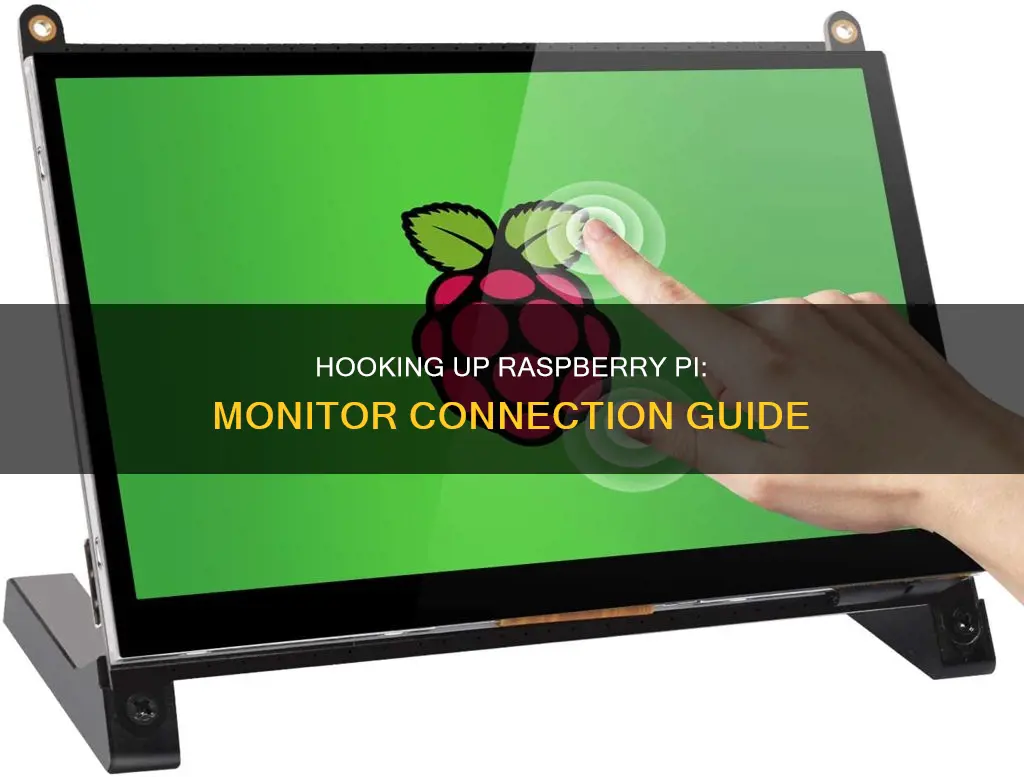
There are several ways to connect a Raspberry Pi to a monitor, including HDMI, DSI, GPIO, RCA, and USB-C. The most common method is HDMI, which is supported by all Raspberry Pi models and can be used with a standard HDMI cable. For the Raspberry Pi Zero, a mini HDMI adapter is required. Other methods include using a Display Serial Interface (DSI) cable, which is designed to enable touch controls and is available on all Raspberry Pi A and B models except the Raspberry Pi Zero. Alternatively, a GPIO pin array can be added to the Raspberry Pi Zero, and a connector can be soldered to the board. For the Raspberry Pi 4 and 400, dual display setups with up to 4K at 60FPS are supported through micro-HDMI ports.
What You'll Learn

HDMI connection
HDMI is the current standard for device-to-display connections. All Raspberry Pi models have an HDMI connector, so you can easily connect the device to your television or monitor.
To connect your Raspberry Pi to a monitor using HDMI, you will need a good-quality HDMI cable. Simply connect the HDMI cable to your Raspberry Pi on one end and to your monitor on the other.
If you are using a Raspberry Pi Zero, you will need a mini HDMI adapter. Other models, such as the Raspberry Pi 4 and Raspberry Pi 400, have micro-HDMI ports and require a micro-HDMI cable.
If your monitor does not support HDMI, you can use an HDMI-to-VGA adapter, as almost every PC monitor has a VGA port.
To set up a dual-monitor display with your Raspberry Pi, you will need two micro HDMI-to-HDMI cables. Take one cable and insert one end into the left monitor and the other end into the left micro-HDMI port of the Pi board, labelled HDMI0. Now, take the second cable and connect one end to the right monitor and the other end to the micro-HDMI port of the Pi board, labelled HDMI1.
If you are connecting your Raspberry Pi to a DVI display, you will need an HDMI-to-DVI cable or an HDMI cable with a DVI adapter. Note that DVI does not support audio.
For a seamless connection, ensure that you use good-quality cables and adapters.
Muting an ASUS Monitor: Quieting Volume with Simple Steps
You may want to see also

DVI display
Connecting a Raspberry Pi to a DVI display is a straightforward process. The Raspberry Pi has an HDMI port, so you can use an HDMI-to-DVI cable or an HDMI cable with a DVI adapter to connect it to a monitor with a DVI port.
If you are using a Raspberry Pi Zero, you will need an adapter to convert the Mini HDMI to an HDMI socket. You can then insert the HDMI cable into the Raspberry Pi board or the Pi Zero converter and connect the other end to your monitor.
When using a DVI display, it is important to note that the DVI standard does not support audio. Therefore, if you require audio, you should consider using an HDMI connection instead, as HDMI also supports HD audio.
Additionally, ensure that you have an HDMI-to-DVI adapter or cable and not a DVI-to-HDMI adapter, as the latter may not work with the Raspberry Pi.
If you encounter issues with your setup, it is recommended to try a different cable or adapter, as some users have reported problems with certain combinations working while others do not. You can also try adjusting the settings in the config file, such as hdmi_force_hotplug and config_hdmi_boost, to see if that helps.
In summary, connecting a Raspberry Pi to a DVI display can be achieved using an HDMI-to-DVI cable or an HDMI cable with a DVI adapter. Remember to consider the limitations of DVI regarding audio and ensure you have the correct type of adapter or cable. If you encounter issues, try different cables or adapters, and adjust the settings in the config file if necessary.
Monitor Smart TV Data Usage: Tips for Parents
You may want to see also

Composite video
If you're looking to connect your Raspberry Pi to a monitor using composite video, there are a few ways to go about it depending on the model of your Raspberry Pi and the type of monitor you're connecting to.
Connecting to a Television
If your television has an HDMI socket, it is recommended to use that for the best results. However, if you wish to use the composite video socket, you will need to use a special RCA cable. On the Model A and B, the composite video socket is a round, yellow-and-silver socket on the top edge of the board. On the Raspberry Pi 3, Pi 2, and Model B+, the socket is the same as the audio output on the bottom of the board.
Connect the RCA cable to the socket, and the other end to the Video In socket on your television, which is likely to be silver-and-yellow. You may need to use your TV's remote control to switch to the external signal coming from the Raspberry Pi.
Connecting to a Monitor
If you are connecting to a monitor using composite video, you will need to use a 3.5mm to A/V cable. Note that the Pi Zero and Zero W do not have a composite video socket, but they do have composite video output. You can solder your own connector to the board where it is labelled TV.
Enabling SDTV Output
After imaging the memory card, you will notice one of the two partitions is formatted with FAT and is readable. There is a config.txt in the root of this volume that you will need to edit.
For users in North America, use the following settings:
Sdtv_mode=0 sdtv_aspect=1 enable_tvout=1
The sdtv_mode=0 setting tells the device that you want NTSC 480i. If you want to force 240p, use sdtv_mode=16 instead. The sdtv_aspect=1 setting tells the device that you want a 4:3 aspect ratio. The enable_tvout=1 setting is necessary on the Pi4, as it disables composite video out by default due to its inability to play nice with 4K settings for HDMI.
Enlarging Your Monitor Display: Simple Steps to Increase View Size
You may want to see also

USB-C
Connecting a Raspberry Pi to a monitor using USB-C can be a little tricky, as the USB-C port on the Raspberry Pi is primarily used for power and data transfer, and may not support video output or display protocols such as DisplayLink or Thunderbolt. However, with the right adapters and setup, it is possible to achieve this connection.
If your monitor supports USB-C input for both power and video, you can try using an HDMI-to-USB-C adapter. However, it's important to note that these adapters are typically designed to work in the opposite direction, from USB-C output to HDMI input. As such, finding an adapter that works the other way around may be challenging.
If you have a Raspberry Pi 4 or 400, you can take advantage of its dual-display capabilities. Connect your Raspberry Pi to the monitor using an HDMI cable, and then use the USB-C port for power. This way, you can utilise the monitor's display capabilities while still benefiting from the USB-C connection for power.
Additionally, if you have a USB-C hub, you can connect it to the Raspberry Pi's USB-C port and then use an HDMI-to-VGA adapter to output the display to your monitor. However, keep in mind that the USB-C port on the Raspberry Pi is a USB 2.0 port, so it may have limited functionality in terms of video output.
In some cases, you may need to modify the configuration settings in the config.txt file to resolve display issues or configure display settings like resolution and refresh rate.
When attempting to connect your Raspberry Pi to a monitor using USB-C, it's important to consider the specific models and capabilities of both the Raspberry Pi and the monitor. This will help determine the best approach and any necessary adapters or workarounds.
LCD Monitor Overheating: Why It's Hot and How to Fix It
You may want to see also

DSI display
The Raspberry Pi has a small connector for a 15-pin ribbon cable, which supports the Display Serial Interface (DSI) standard. This allows for high-speed communication between LCD screens. The DSI interface is widely used in mobile phones, laptops, wearables, and various other devices.
The Raspberry Pi Touch Display is an LCD display that connects to the Raspberry Pi using the DSI connector. The Touch Display is compatible with all models of Raspberry Pi except the Raspberry Pi Zero and Zero 2 W, which lack a DSI connector. The display has a number of key features, including an 800x480 RGB LCD display, a 140-degree horizontal and 120-degree vertical viewing angle, and a 10-point multi-touch touchscreen.
To connect the Raspberry Pi to a DSI display, follow these steps:
- Attach the Raspberry Pi board to the back of the display using the screws and standoffs provided.
- Carefully connect the ribbon cable to both the Pi board and the display control board, noting the orientation of the ribbon cable pins.
- Be sure to carefully release the tabs on either side of the socket, which allows the cable to slide in all the way, then secure it by pressing down on the tabs until they lock in. You shouldn't have to force the cable.
- To power the display, you can either connect the included jumper wires from the 5V and Ground on the Pi GPIO pins to the control board or connect the power supply to the control board and then connect a second, small micro USB cable from the USB port on the control board to the micro USB on the Pi for power.
It's important to note that if you're using an older model of the Raspberry Pi, such as the Raspberry Pi 1 Model A or B, the DSI connector does not have the I2C connections required to communicate with the touchscreen controller and DSI controller. To work around this issue, you can use the additional set of jumper cables provided with the display kit. Connect the SCL/SDA on the GPIO header to the horizontal pins marked SCL/SDA on the display board.
Choosing the Right TV Size for a Lobby Monitor
You may want to see also
Frequently asked questions
All Raspberry Pis have an HDMI connector. Simply power down your Pi, plug one end of an HDMI cable into the HDMI port on your Pi, and the other end into the HDMI port on your monitor.
Yes, but you will need an adapter on the screen end of the cable. Plug the HDMI cable into the adapter and then plug the adapter into your monitor.
Yes, but you will need a special RCA cable. Plug the RCA cable into the socket on your Pi, and connect the other end to the Video In socket on your monitor, which is likely to be silver-and-yellow.
This depends on the monitor. Some monitors have a USB-C input, but you may need to use an adapter to connect to the HDMI output on the Raspberry Pi.
Yes, but this method is not recommended for a primary display as it takes up all of the GPIO headers. You may also need to install extra drivers.


