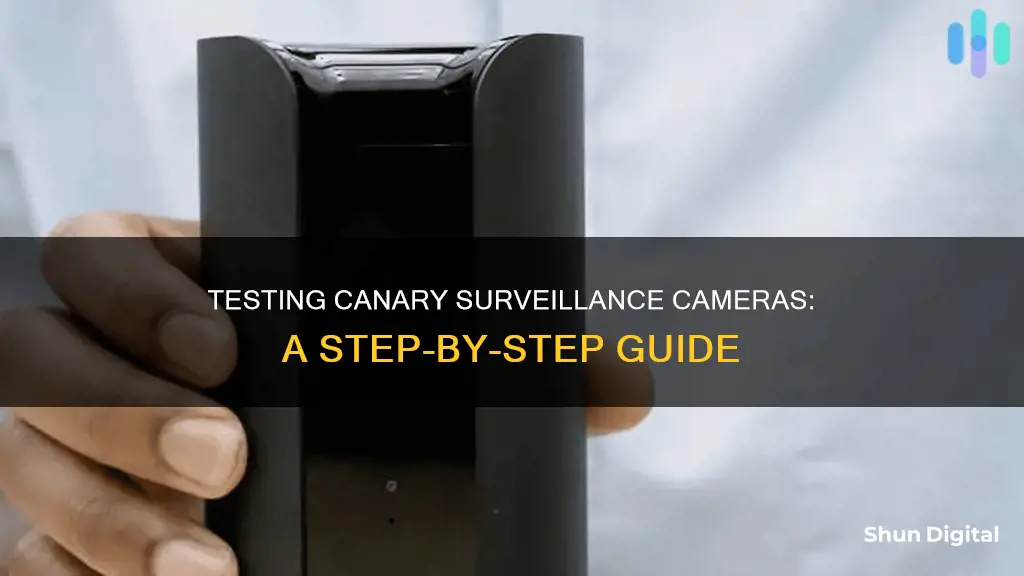
The Canary surveillance camera is an all-in-one home security device that offers a feature-rich experience without the need for multiple pieces of equipment. The camera is available in two indoor models, the View and the Pro, and one indoor/outdoor model, the Flex. All three cameras connect through Wi-Fi and offer advanced person detection, free cloud storage for one day's worth of clips, and integrations with voice assistants such as Alexa, Google Assistant, and Apple Watch. The Pro model also includes climate monitoring, with temperature, humidity, and air quality sensors, making it stand out from other cameras on the market.
When it comes to testing the Canary surveillance camera, there are several key aspects to consider. Firstly, the video quality should be evaluated to ensure it meets the expected standards. The camera should provide clear and crisp footage in 1080p HD resolution. Additionally, the night vision capability should be tested to ensure effective monitoring in low-light conditions. The night vision range and illumination should be assessed to determine its effectiveness in different lighting conditions.
Another crucial aspect to test is the motion detection feature. The camera should accurately detect and alert the user to any relevant motion within its field of view. The sensitivity of the motion detection can be adjusted to reduce false alerts caused by minor movements or shadows. It is also important to test the two-way audio feature, which allows for remote communication through the camera and can be useful in various scenarios.
The ease of setup and installation is another important factor to consider. The Canary camera should be straightforward to set up using the provided instructions and the accompanying mobile app. The app should also be user-friendly and intuitive, allowing for easy access to various features such as livestreaming, notification settings, and camera controls.
Furthermore, testing the smart platform integrations is essential. The camera should seamlessly integrate with voice assistants such as Alexa and Google Assistant, allowing for voice commands and additional functionality. The artificial intelligence capabilities, such as person detection, should also be assessed to ensure accurate differentiation between people and other moving objects.
Finally, evaluating the convenience and value of the camera is crucial. The Canary camera should offer a good balance between its features and price, especially when considering the optional monthly membership. The camera's convenience features, such as geofencing and privacy mode, should be tested to ensure they enhance the user experience without compromising security.
What You'll Learn
![]()
How to set up a Canary surveillance camera
Setting up a Canary surveillance camera is a straightforward process that can be done in under ten minutes. Here is a step-by-step guide on how to do it:
Step 1: Download the Canary App
You can download the Canary app on your iPhone or Android device. The app is available on the Apple App Store or Google Play Store.
Step 2: Create a Canary Account
Open the Canary app and create an account using your email address and a unique password. You will also need to provide your name and phone number. During this step, you can also choose whether to allow the app to access your location, which enables features like automatically detecting when you are home or away.
Step 3: Set Up Your Canary Camera
- Plug in your Canary camera to a power outlet. The camera will automatically boot up, and you will see a white LED glow on the bottom of the device.
- In the app, select the type of Canary device you are setting up (e.g., Canary Flex or the original Canary camera).
- Choose how you want to connect the camera to the app: via Bluetooth or an audio cable. The Canary typically comes with an audio cable, but Bluetooth is usually more convenient.
- If using Bluetooth, touch the top of the Canary camera until the light at the bottom starts flashing blue. Then, in the app, tap on the serial number of your camera to continue.
- Choose your connection type: Ethernet or Wi-Fi. Ethernet provides a more reliable connection, while Wi-Fi is useful when you can't run a cable to the camera's location.
- If you choose Wi-Fi, select your Wi-Fi network (it must be a 2.4GHz network) and enter the password.
- Give your Canary camera a name by choosing a pre-existing name or creating a custom one.
Step 4: Complete the Setup
- Your camera may install updates at this point. You can tap "Continue" to learn more about the camera and app or wait for the updates to finish.
- Once the updates are complete, you will be taken to the main screen in the app, where you can access the live view, watch saved recordings, and adjust settings.
And that's it! Your Canary surveillance camera should now be set up and ready to use.
Understanding Camera Modes: Unleashing Your Photography Skills
You may want to see also
![]()
How to test the camera's motion detection
To test the motion detection of your Canary surveillance camera, you can follow these steps:
- Set up your Canary camera: This includes downloading the Canary app, connecting the camera to your Wi-Fi network, and setting up your preferred modes and settings.
- Test motion detection alerts: You can do this by triggering the motion sensor yourself. Walk in front of the camera or make a noticeable movement within its field of view. Check your phone to see if you receive a motion alert.
- Adjust motion sensitivity: If you're not receiving alerts or are receiving too many false alerts, adjust the motion sensitivity settings in the app. You can also create "masks" or "activity zones" to exclude certain areas from detection, reducing false alarms.
- Test different modes: Canary has three operating modes: Away, Home, and Night. Test the motion detection in each mode to ensure it functions as expected. For example, in Away mode, the camera should record motion and send alerts when users are away. In Home mode, it may be set to not record video but still send motion alerts.
- Analyze video clips: When motion is detected, Canary records video clips. Review these clips to ensure they capture the desired area and that the motion detection is working correctly.
- Utilize third-party integration: Canary can integrate with certain smart home systems, such as Wink Hub or IFTTT. Test motion detection functionality with these systems if applicable.
By following these steps, you can effectively test the motion detection capabilities of your Canary surveillance camera and make any necessary adjustments to ensure optimal performance.
Priority Mode: Understanding Camera's Creative Control Feature
You may want to see also
![]()
How to test the camera's night vision
To test the night vision on your Canary surveillance camera, you can try the following:
Firstly, ensure that your camera is set up correctly. The Canary camera should be placed in an area where it can pick up the desired field of view without any obstructions. The camera has a wide-angle lens and a night vision mode that will illuminate the whole room. Make sure the camera is plugged into a power source, connected to Wi-Fi, and that the app is set up on your phone.
Next, test the night vision mode. Canary cameras automatically enter and exit night vision mode using an ambient light sensor. To test this, cover the camera with a thick blanket or towel so that no light can enter the lens. Leave it covered for two minutes, then remove the cover and shine a flashlight directly into the camera lens for 30 seconds. After this, turn off the lights in the room and check if the camera has entered night vision mode. You should see the 12 infrared LEDs turn on automatically, illuminating the room.
If your camera fails to enter night vision mode, you can try resetting your Canary device. To do this, disconnect the Micro USB cable from the back of the camera, then reconnect it to restart the device. Hold the power button down for 12 seconds until the light in the front turns off, then continue to hold the button until the camera reboots (you will see a white spinning light). Release the power button and test the night vision mode again.
If you are still having issues with the night vision, you can try re-calibrating the ambient light sensor. Make sure you are using the Canary-provided USB AC power adapter, or a secondary USB power adapter from an iPhone or Android device. Gently shake or tap the sides of the Canary to see if the IR-cut filter dislodges. If the issues persist, contact the Canary support team and include screenshots of your device's live view during the day and night.
Mastering Bokeh: Understanding Camera's Bokeh Mode
You may want to see also
![]()
How to test the camera's two-way audio
Testing the two-way audio on your Canary surveillance camera is simple. First, ensure that your Canary camera is set up correctly and connected to your Wi-Fi network. You can do this by downloading the Canary app and following the setup instructions. Once your camera is set up, open the Canary app and log in to your account.
On the app's home screen, you will see a list of your Canary devices. Select the camera you want to test. This will open a live feed from the camera. In the bottom right corner of the live feed screen, there will be an icon that looks like a speech bubble. Tap this icon to enable two-way audio.
Once two-way audio is enabled, you will be able to talk into your phone, and your voice will come out of the speaker on the Canary camera. You will also be able to hear audio from the camera's microphone. You can adjust the volume of the audio by using the volume buttons on your phone.
To test the two-way audio, simply speak into your phone as if you were having a conversation with someone on the other end. If the audio is working correctly, you should be able to hear your own voice coming from the camera's speaker. You can also ask someone else to stand near the camera and speak, and you should be able to hear them through your phone.
In addition to testing the two-way audio, you can also use this feature to communicate with people or pets in your home remotely. This can be useful if you need to give instructions to someone in your home or check in on your pets while you are away.
Charging Your A6000: A Step-by-Step Guide to Powering Your Camera
You may want to see also
![]()
How to test the camera's siren
To test the siren on your Canary surveillance camera, follow these steps:
- Ensure your Canary camera is set up and connected to your Wi-Fi network.
- Download and open the Canary mobile app on your smartphone or tablet.
- Log in to your Canary account within the app.
- From the app's home screen, locate and select the option to "Watch Live."
- Once you are viewing the live feed from your Canary camera, look for an option to activate the siren. This may be located within a menu of additional settings.
- Trigger the siren to test its functionality. Depending on your device and app version, you may be able to sound the siren by tapping a button or icon on the live feed screen.
- Observe the camera's response. The siren should emit a loud, attention-grabbing noise, typically rated at 90 decibels or higher.
- Ensure that the siren volume is adequate and that there are no distortions or malfunctions.
- Test the siren at different times of the day and in various locations to ensure consistent performance.
- If you have multiple Canary cameras, repeat the above steps for each device to ensure all sirens are functioning properly.
By following these steps, you can effectively test the siren on your Canary surveillance camera and ensure it is in good working condition.
How Camera Improvements Revolutionized Visual Storytelling
You may want to see also
Frequently asked questions
To test your Canary surveillance camera, you can check the video quality, audio quality, motion detection, and night vision. You can also test the camera's smart features, such as two-way audio, geofencing, and activity zone masking. Additionally, you can test the camera's integration with smart home devices such as Amazon Alexa and Google Assistant.
To know if your Canary camera is working, you can check the live video feed on the Canary app. You can also test the camera's motion detection by triggering the sensor and ensuring that you receive a notification on your phone.
To test the night vision on your Canary camera, wait until it is dark and observe the camera's infrared LED lights. Ensure that the lights are not visible and that the camera can capture clear footage in low-light conditions.
To test the audio on your Canary camera, you can use the two-way audio feature to have a conversation through the camera and your phone. Ensure that the audio is clear and easy to understand.