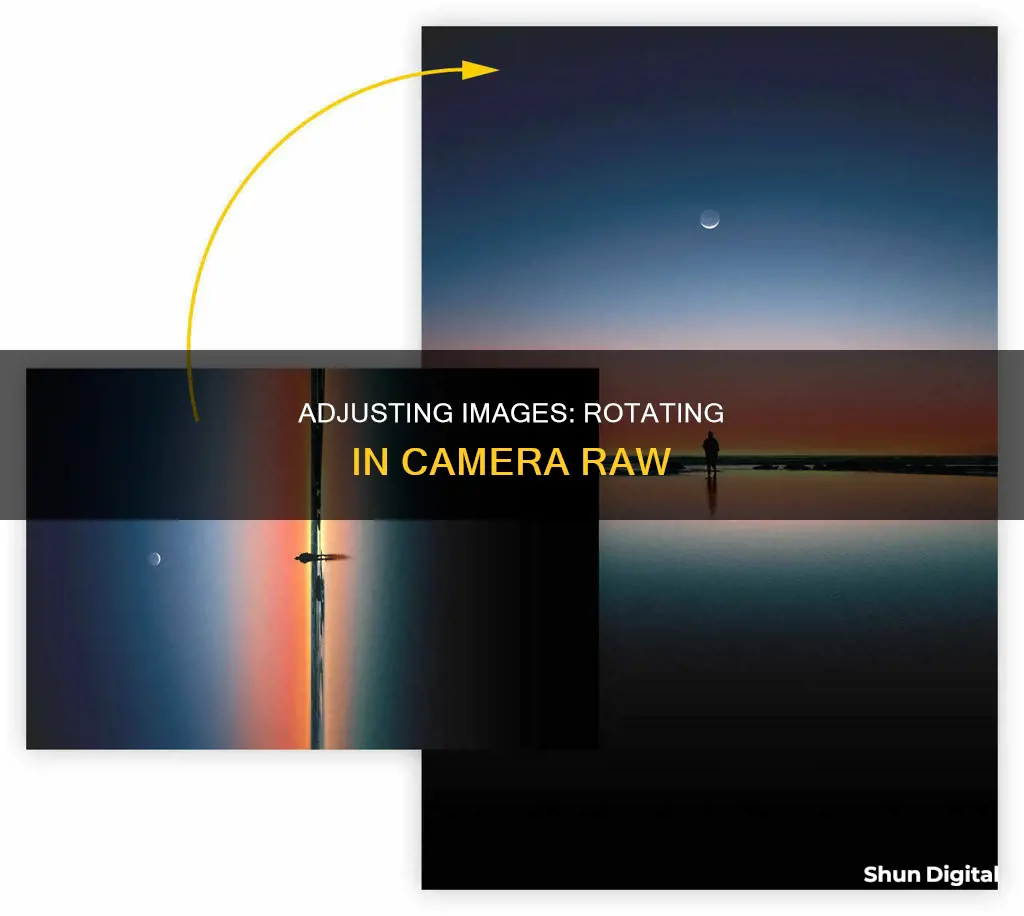
There are several ways to rotate an image in Camera Raw. One way is to use the Crop Tool and adjust the aspect ratio of the image. This can be done by selecting the Crop Tool from the toolbar and choosing a preset aspect ratio or by entering a custom aspect ratio. Another way to rotate an image in Camera Raw is by using the Straighten Tool. This can be done by selecting the Straighten Tool from the toolbar and dragging it in the preview image to baseline horizontal and vertical. Additionally, you can rotate an image in small increments using the up and down arrow keys or by pressing L or R on your keyboard to rotate the image 90 degrees counter-clockwise or clockwise, respectively.
| Characteristics | Values |
|---|---|
| Rotate image clockwise | Press R or click the Rotate Image 90° Clockwise button |
| Rotate image counter-clockwise | Press L or click the Rotate Image 90° Counter Clockwise button |
| Straighten image | Select the Straighten tool or press A |
| Rotate in small increments | Use the up/down arrow keys |
What You'll Learn
![]()
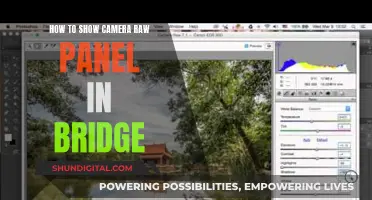
Use the Rotate Image buttons in the Camera Raw dialog box
To rotate an image in Camera Raw, you can use the "Rotate Image" buttons in the Camera Raw dialog box. This dialog box contains the tools and settings required to import and process camera raw data.
The "Rotate Image" buttons are located at the top of the Camera Raw dialog box, and they allow you to rotate the image 90 degrees clockwise or counter-clockwise. To rotate the image 90 degrees counter-clockwise, click the "Rotate Image 90° Counter Clockwise" button or press "L" on your keyboard. Similarly, to rotate the image 90 degrees clockwise, click the "Rotate Image 90° Clockwise" button or press "R" on your keyboard.
In addition to these buttons, you can also use the Straighten tool in the Camera Raw dialog box to adjust the rotation of your image. To use this tool, select it from the toolbar or simply press the "A" key on your keyboard. Then, drag the Straighten tool within the preview image to align it with the baseline horizontal and vertical axes. Once you've made your adjustments, the Crop tool will automatically activate, allowing you to crop the image if needed.
If you prefer to work with keyboard shortcuts, you can also use the up and down arrow keys to rotate your image in smaller increments without needing to specify the exact angle of rotation.
Mounting a Battery Plate: A Guide for Cameramen
You may want to see also
![]()
Use the Straighten tool in the Camera Raw dialog box
To use the Straighten tool in the Camera Raw dialog box, first, open your image file in the Photo Editor. This will open the image in the Camera Raw dialog box.
Next, locate the Straighten tool in the toolbar. The toolbar is located at the top left of the Camera Raw dialog box. The Straighten tool is to the right of the Crop tool. You can select the Straighten tool by clicking on its icon or by pressing 'A' on your keyboard.
Now, look for a point in your image that should be straight, either horizontally or vertically. This could be the horizon, for example. Click on one end of this point and, keeping the mouse button held down, drag your cursor to the other end, then release. You can zoom in on your image by pressing and holding 'Ctrl + Spacebar' on Windows or 'Command + Spacebar' on a Mac, which will allow you to make more precise adjustments.
Once you have drawn a line, Camera Raw will automatically switch to the Crop tool and draw a crop box around your image. The crop box will be rotated to the same angle as the line you drew with the Straighten tool. If you need to, you can resize the crop box by clicking and dragging any of the handles. When you are happy with the crop, press 'Enter' on Windows or 'Return' on a Mac to straighten and crop your image.
If you are not satisfied with the result, you can easily try again. Simply press 'C' on your keyboard to reselect the Crop tool and make adjustments to the crop box. While the Crop tool is active, you can temporarily switch back to the Straighten tool by pressing and holding 'Ctrl' on Windows or 'Command' on a Mac.
Vicohome Camera Charging: A Step-by-Step Guide
You may want to see also
![]()
Use the Crop tool in the Camera Raw toolbar
The Crop Tool in the Camera Raw toolbar can be used to rotate and straighten images. To use the Crop Tool, first, click on the icon in the toolbar to select it. You can also hold down your mouse button for a second to display the Crop Tool's menu and select a preset aspect ratio for your crop.
Once you have selected the Crop Tool and your desired aspect ratio, click inside the image and drag out an initial cropping box. The area inside the crop box is what will be kept, while everything outside of it will be cropped away.
To straighten the image, simply rotate the box by moving your mouse cursor outside the crop box and clicking and dragging your mouse to rotate it. The image will remain locked in place while the crop box rotates.
To make straightening easier, you can display a grid overlay inside the crop box by choosing "Show Overlay" from the Crop Tool menu. This will help you line up the grid lines with something in the photo that should be straight, such as the horizon line.
Once you have everything lined up, you can resize your crop box by clicking and dragging any of its handles. Press Enter (Windows) or Return (Mac) to crop and straighten the image.
If you are not happy with the crop or rotation angle, you can easily go back and try again by pressing the letter C on your keyboard to reselect the Crop Tool.
Replacing Camera Batteries: Powering Your Camera with AC
You may want to see also
![]()
Use the arrow keys to rotate in smaller increments
If you want to rotate an image in smaller increments without adding a specific number of the angle of rotation, you can use the arrow keys on your keyboard. To rotate an image in Adobe Camera Raw, press the R key to rotate the image clockwise or use the keyboard shortcut Command + "]" (Mac) or Control + "]" (Windows). To rotate the image counter-clockwise, press the L key or use the keyboard shortcut Command + "[" (Mac) or Control + "[" (Windows).
Additionally, you can use the up and down arrow keys to make more precise rotations. This allows you to fine-tune the rotation of your image without having to specify the exact angle of rotation. This can be especially useful when you need to make small adjustments to the orientation of your image.
By using the arrow keys, you can rotate your image in smaller increments, giving you more control over the final positioning of your image. This can be helpful when you are editing multiple images in Camera Raw and need to make precise adjustments to each one.
Overall, using the arrow keys to rotate your image in Camera Raw gives you greater flexibility and precision in your image editing workflow.
The Magic Behind Polaroid Cameras Charging
You may want to see also
![]()
Press 'L' or 'R' to rotate left or right
Pressing "L" or "R" to rotate an image in Camera Raw is a simple and efficient way to make adjustments to your photos. Here are some detailed instructions and tips to help you master this technique:
The Basic Method:
- With your image open in Camera Raw, simply press the "L" key on your keyboard to rotate the image to the left or "R" to rotate it to the right.
- You can continue pressing either "L" or "R" to rotate the image completely around as needed.
Additional Tips:
- This method is a handy shortcut that saves you time and effort, as you don't need to access the Camera Raw Toolbox each time you want to rotate an image.
- The rotation happens instantly with each keypress, so you have immediate control over the orientation of your image.
- Keep in mind that pressing "L" and "R" rotates your image in 90-degree increments. If you require more precise adjustments, you can use other tools within Camera Raw, such as the Straighten Tool or the Crop Tool.
- You can also use keyboard shortcuts to access these tools; the Straighten Tool can be selected by pressing "A," and the Crop Tool by pressing "C."
- The Straighten Tool allows you to drag and drop a line to baseline horizontal and vertical elements in your image, and the Crop Tool lets you adjust the image's aspect ratio and orientation further.
By utilizing the "L" and "R" keys, along with the additional tools mentioned, you'll have full control over the rotation and orientation of your images in Camera Raw.
Simplisafe Camera Battery: Charging Time Explained
You may want to see also
Frequently asked questions
To rotate an image in Camera Raw, you can use the Crop Tool. Simply click and drag to create an initial cropping box, then move your cursor outside the box and drag to rotate the image.
Yes, you can use the up and down arrow keys to rotate the image in small increments.
Yes, you can press 'L' to rotate the image to the left and press 'R' to rotate it to the right. Pressing either key repeatedly will rotate the image completely.
You can straighten an image by using the Straighten Tool (press 'A') or by using the Crop Tool in combination with the Straighten Tool. First, select the Straighten Tool and drag it along the baseline horizontal or vertical in the preview image. Then, use the Crop Tool to draw a cropping box. The Crop Tool will automatically become active after using the Straighten Tool.
Yes, you can use the commands in the Edit menu to rotate images in Adobe Bridge without having to open the Camera Raw dialog box.