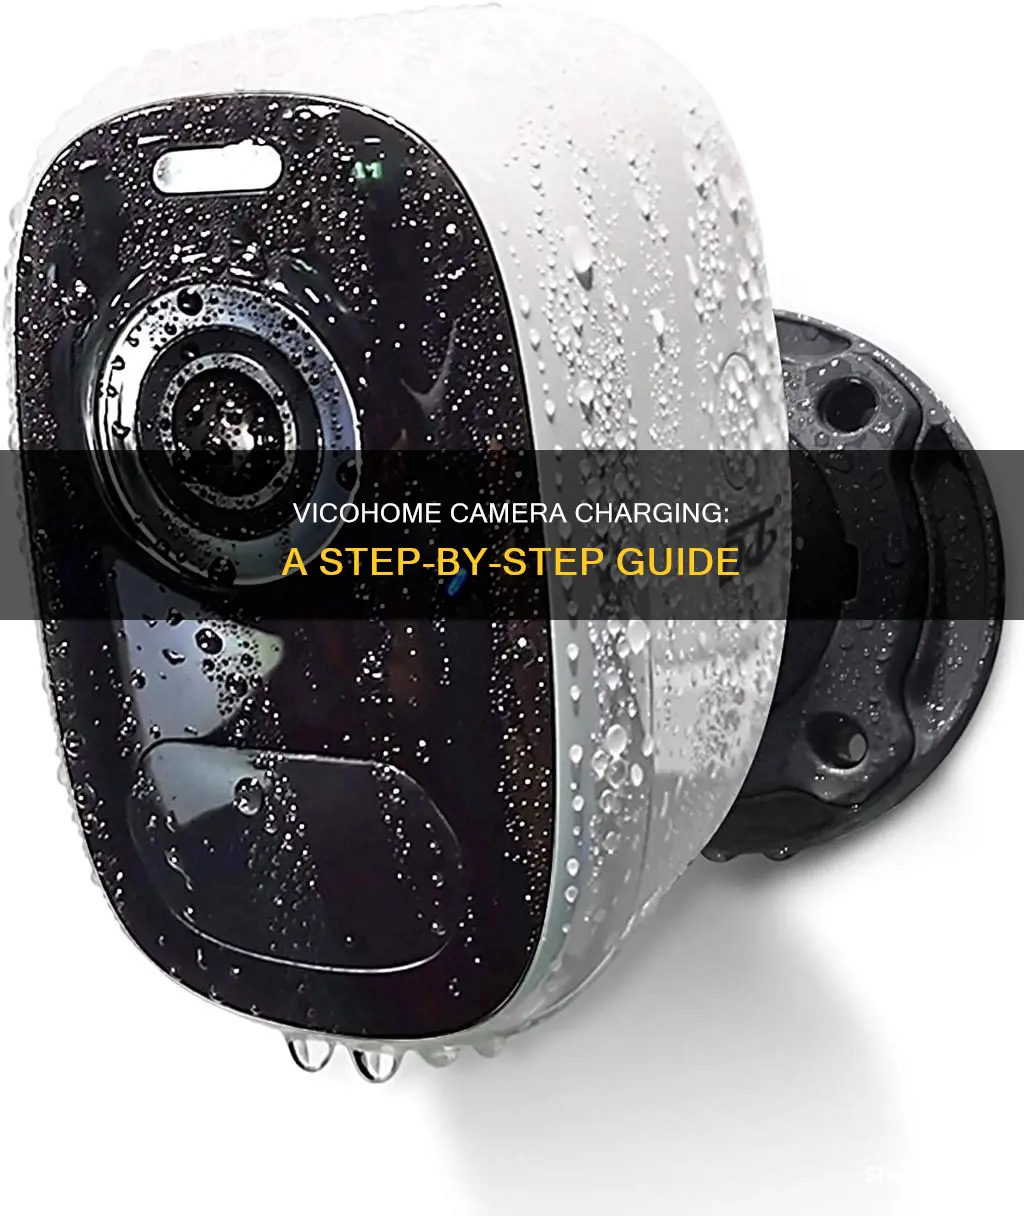
The VicoHome camera is a leading surveillance system that offers state-of-the-art technology for both homes and businesses. It is user-friendly and provides advanced features such as motion detection, night vision, and two-way audio. To harness the full potential of a VicoHome camera, it is essential to understand its setup and features. This includes downloading the VicoHome app, ensuring a stable power and network connection, and adjusting camera settings. One important aspect is charging the camera, which can be done using a USB charging cable and a charger with a 5V output voltage. The charging process involves plugging the Micro USB connector into the camera, connecting it to a power outlet, and waiting for the yellow charging light to turn green, indicating a full charge.
| Characteristics | Values |
|---|---|
| Charging method | USB charging cable and a charger |
| Charger output voltage | 5V |
| Recommended charger | DC 5V/1.5A |
| Charging cable length | No longer than 16ft (5m) |
| Charging environment temperature | 0°C ~ 45°C |
| Battery life | Several months on a single charge |
| Battery capacity | 5000mAh/5200mAh, 6700mAh, 9000mAh |
What You'll Learn
![]()
Charging cable and power source
To charge your Vicohome camera, you will need a charging cable and a power source. The camera comes with a USB charging cable in the box, which should be used to charge the device. The Micro USB connector of the charging cable plugs into the Micro USB port of the camera, and the USB connector plugs into a power source.
It is important to note that the Vicohome camera is quite specific about the type of charger it supports. The camera only supports a charger with a 5V output voltage and a DC 5V/1.5A charger is recommended. Using a charger with an output lower than 1.5A may result in slow charging. The camera will indicate a yellow light while charging and a green light when it is fully charged.
Regarding the charging cable, there are a few things to keep in mind. Firstly, ensure that you are using the Micro USB charging cable that came with the camera. If you are experiencing charging issues, try using the cable to charge another device, such as your phone. If the other device does not charge, you may need to replace the charging cable. Additionally, the length of the charging cable should not exceed 16 feet or 5 meters. If your cable is longer, consider using a shorter one.
When charging your Vicohome camera, ensure that the charging ports on both the camera and the charger are clean and free of debris. Also, make sure that the charger's port, the Micro USB charging cable, and the camera's charging port are firmly connected and in good contact.
In terms of the charging environment, it is important to maintain a suitable temperature. Too high or too low of a temperature will lead to charging failure. The ideal temperature range for charging the camera is 0°C to 45°C.
By following these instructions and ensuring that your charging cable and power source are compatible and in good condition, you should be able to successfully charge your Vicohome camera.
Charging the Kitmesh Camera: A Quick Guide
You may want to see also
![]()
Charging time
The charging time of your VicoHome camera depends on several factors, including the battery capacity and the charging current.
To ensure optimal charging, it is recommended to use a 5V/1.5A charger. If the charging current is lower than 1.5A, the charging process may be slower. The camera will indicate a yellow light while charging and a green light when it is fully charged.
The battery life of the VicoHome camera can vary depending on various factors, such as the total working duration of the camera, the frequency of motion detection, and the usage of features like live streaming and night vision. To extend the battery life, it is advisable to reduce motion detection sensitivity, minimise the number and duration of live streams, and avoid placing the camera in extremely cold environments.
Additionally, the Wi-Fi connection can impact battery life. A poor or unstable Wi-Fi connection will cause the camera to actively search for the network, draining the battery faster. To mitigate this, ensure the camera is placed close to the Wi-Fi router and avoid obstructions that may interfere with the Wi-Fi signal, such as thick walls, large metal objects, or electromagnetic devices.
By following these recommendations and optimising the camera's settings, you can maximise the battery life and reduce the frequency of charging.
Charging Camera Batteries: DIY Home Hacks
You may want to see also
![]()
Battery life
The battery life of the VicoHome camera depends on several factors, including usage, specific model, and settings. Here are some detailed tips to maximise the battery life of your VicoHome camera:
Charging
To charge the VicoHome camera, you will need a USB charging cable (included with the camera) and a charger. The camera only supports a charger with a 5V output voltage, and a DC 5V/1.5A charger is recommended.
Charging Steps:
- Plug the Micro USB connector of the charging cable into the Micro USB port of the camera.
- Plug the USB connector of the charging cable into the DC 5V/1.5A charger.
- Plug the DC 5V/1.5A charger into an electrical outlet.
The camera will indicate a yellow light while charging and a green light when fully charged. The time required for a full charge depends on the battery capacity, and it is recommended to use a 5V/1.5A charger for faster charging.
Extending Battery Life
The total working duration of the camera plays a significant role in determining its battery life. Here are some ways to extend the battery life:
- Reduce motion detection: Change the position of the camera to avoid false triggers, such as plants or trees. Adjust the motion detection sensitivity to "Low" or "Medium" to shorten the distance the PIR sensor can perceive. Enable the "Cool down time" feature (if available) to prevent the camera from recording again within a set time interval.
- Optimise recording settings: Change the recording duration to 10 seconds and the resolution to SD.
- Schedule sleep mode: Set non-working dates and hours for the camera, during which motion detection and related functions will be inactive, conserving battery life.
- Improve Wi-Fi connection: Place the camera as close to the Wi-Fi router as possible, avoiding thick walls, electromagnetic devices, large metal objects, and other potential signal interferers. If issues persist, consider using a better Wi-Fi router or a Wi-Fi extender.
- Minimise live streaming: Reduce the number and duration of live streams, as frequent and extended live streaming can deplete the battery.
- Avoid extreme temperatures: Do not place the camera in an extremely cold environment, as this will reduce its battery life.
- Adjust Night Vision settings: Night vision improves shooting performance in low light but consumes more battery power. To reduce battery consumption, adjust the "Light Sensitivity Level" to "Low" or "Medium" to delay the camera's entry into night vision mode.
By following these tips and optimising your camera's settings, you can extend the battery life of your VicoHome camera and ensure uninterrupted surveillance.
Charging Your Alto Camera: A Quick Guide
You may want to see also
![]()
Troubleshooting
If you are having issues charging your VicoHome camera, there are several factors that may be causing the problem.
Firstly, ensure that you are using a charger with a 5V output voltage and a charging cable that is no longer than 16ft (5m). Check that the charging port on the camera, the charging cable, and the charger port are clean and in good contact. If your camera still won't charge, try using the charger and cable to charge another device, such as your phone. If your phone also cannot be charged, you may need to replace your charger or charging cable.
Additionally, the charging environment may be a factor. The camera should be charged in a temperature environment of 0°C ~ 45°C. If the camera is in an extremely cold or hot environment, move it to a suitable temperature location.
If you are still unable to charge your VicoHome camera, submit feedback and request technical assistance.
Other Common Issues
Wi-Fi Password Error
If your camera prompts a Wi-Fi password error, confirm that the Wi-Fi password is correct and try adding the camera again.
Authentication Error
VicoHome cameras do not support enterprise-level networks. Ensure your Wi-Fi network is not enterprise-grade and that it has a security level below WPA-2.
Wi-Fi Not Found
Check that you have selected or entered the correct Wi-Fi name and that your device is near the Wi-Fi router. Ensure the router is powered on. Note that VicoHome cameras do not support 5Ghz Wi-Fi.
Retrieving IP Timeout
This error may occur if too many devices are connected to your router. Try disconnecting devices that are not in use or restart your router to clear unconnected devices.
Cloud Service Connection Fail
Check that your router is connected to the external network and that your network connection is stable. Try temporarily disabling any firewalls and connect again.
Short Battery Life
The battery life of the VicoHome camera depends on the total working duration of the camera. To extend the battery life, you can reduce motion detection by changing the position of the camera, setting motion detection sensitivity to "Low" or "Medium", enabling "Cool down time", changing the recording duration and resolution, and scheduling sleep for the camera. Additionally, try to ensure a good Wi-Fi connection by placing the camera close to the Wi-Fi router and reducing the number and duration of live streams. Avoid placing the camera in an extremely cold environment, and reduce night vision sensitivity to save battery power.
Charging the Kami Doorbell Camera: A Step-by-Step Guide
You may want to see also
![]()
Solar charging
The Vicohome camera can be charged using a solar panel. Here is a step-by-step guide on how to set up solar charging for your Vicohome camera:
- Open the rubber plug on the back of the camera: This is the first step to initiate the connection between the camera and the solar panel.
- Separate the waterproof silicone port-protector of the solar panel cable: This step ensures that the cable can be safely connected to the camera without any interference or damage from water or moisture.
- Insert the cable of the solar charger into the Micro USB port of the camera: This establishes the direct connection between the solar panel and the camera, enabling the transfer of solar energy for charging.
- Cover the waterproof silicone port-protector of the charging port: After inserting the cable, it is important to secure the connection by covering the port with the provided waterproof silicone port-protector. Ensure that the silicon surface of the solar charger is flat against the camera surface for a seamless fit.
- Ensure optimal solar charging conditions: The charging performance of the solar panel is dependent on the weather and sunlight exposure. For efficient charging, make sure the solar panel receives direct sunlight for several hours each day. Place the solar panel in an area that receives maximum sunlight throughout the day.
- Check the USB connector: Make sure that the USB connector is fully plugged into the camera. When properly connected, there should be no gap between the connector and the camera, and their surfaces should be flush with each other.
- Protect the camera connectors: Utilise the waterproof silicone port-protector and any other necessary accessories to safeguard the connectors on your camera from potential damage or interference.
By following these steps, you can effectively charge your Vicohome camera using solar power. This method not only provides a sustainable and renewable energy source for your camera but also ensures that it remains charged and operational even in locations without direct access to electrical outlets.
Charging Reolink Cameras: A Step-by-Step Guide
You may want to see also
Frequently asked questions
To charge the camera, you need a USB charging cable (included in the box) and a charger. The camera only supports a charger with a 5V output voltage. A DC 5V/1.5A charger is recommended. Plug the Micro USB connector of the charging cable into the camera, the USB connector into the charger, and the charger into an electrical outlet.
There are several reasons why your camera may not be charging. The charger may not be supported or could be defective, the Micro USB charging cable may be defective, the charging port connections may not be clean or properly connected, the charging cable may be too long, or the charging environment may not be suitable (i.e., too hot or too cold).
The time required for fully charging the camera depends on the battery capacity. It is recommended to use a 5V/1.5A charger, as a lower charging current may result in slower charging.
The camera indicates a yellow light for charging and a green light for a full charge.