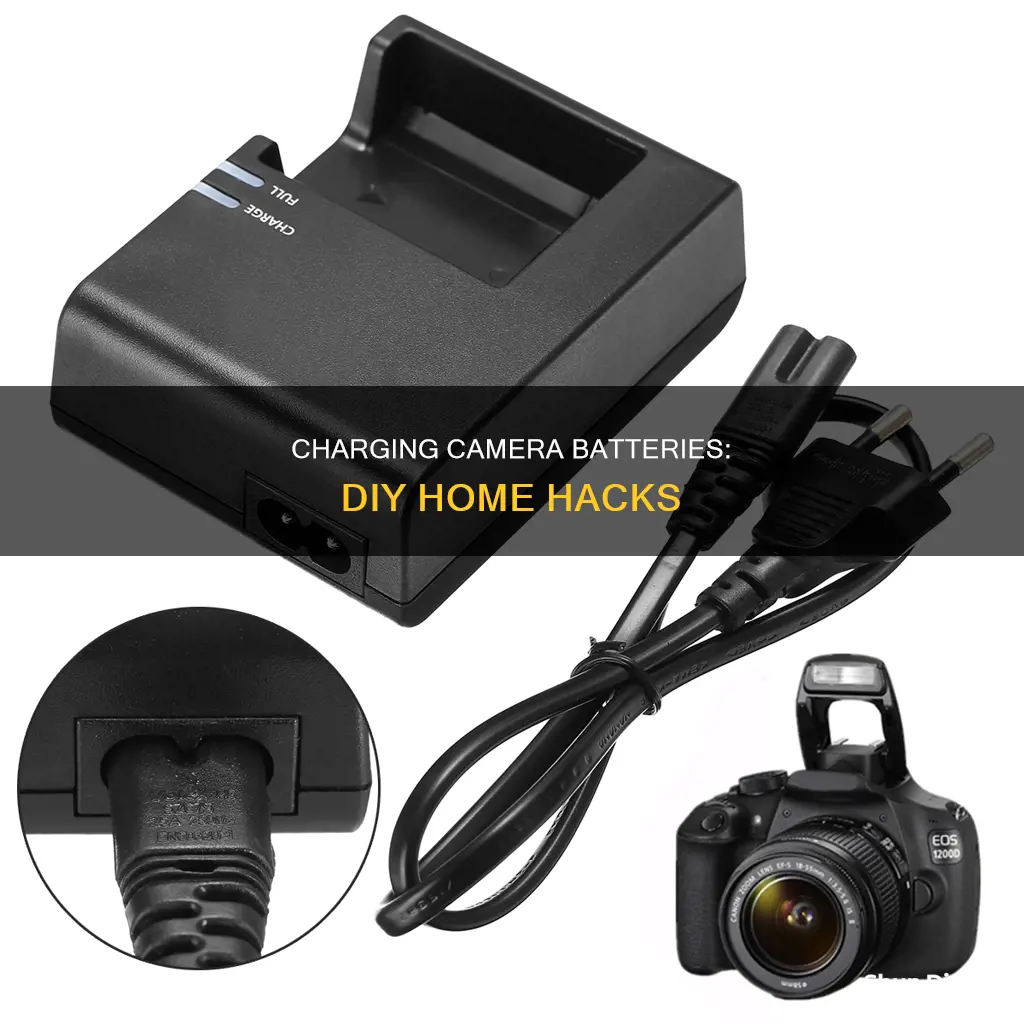
Charging a camera battery at home is a simple process, but it's important to be aware of a few key considerations. Firstly, always refer to the camera's user manual for specific instructions, as different camera models may have varying requirements. Secondly, ensure the use of compatible charging equipment to avoid any potential damage to the camera or battery. Now, let's go through the steps of charging a camera battery at home.
| Characteristics | Values |
|---|---|
| Charging methods | USB cable and wall plug, power bank, computer |
| Charging time | 2-3 hours |
| Charging indicator | Light on the camera or v-mount external battery |
| Charging cable | USB cable |
| Charging port | USB-C port |
| Charging adapter | USB wall adapter |
| Charging location | Wall outlet |
| Charging precautions | Avoid overcharging, use original charger, remove battery when not in use |
What You'll Learn

Charging a camera battery with a power bank
Step 1: Check Your Camera's USB Charging Capabilities
Before you begin, it's important to check if your camera supports USB charging. Not all cameras do, and some may require a special adapter. Consult your camera's user manual to confirm if USB charging is supported.
Step 2: Choose the Right Power Bank
When selecting a power bank, ensure it has enough capacity to fully charge your camera battery. The power bank's capacity should be higher than your camera battery's capacity. As a general rule, a 10,000mAh power bank can charge most DSLR cameras up to 1-5 times, depending on the camera model.
Additionally, check the power output of the power bank. Your camera's battery may require a specific voltage, so ensure the power bank can deliver the required voltage. Some power banks have adjustable voltage outputs, which can be handy if your camera requires a higher voltage.
Step 3: Connect the Camera to the Power Bank
Now it's time to connect your camera to the power bank. Here are the steps:
- Install the battery inside your camera.
- Turn off the camera. This is important because some cameras may not charge while they are turned on.
- Connect your USB cable to the camera. Usually, the USB port is located under a rubber cover that hides the camera's connections and ports.
- Connect the other end of the USB cable to the power bank.
Step 4: Monitor the Charging Process
Depending on your camera model, there may be indicators to show that the battery is charging. This could be a blinking light or a battery icon on the camera's LCD screen. Refer to your camera's user manual to understand the specific indicators for your model.
Additional Tips:
- Always use compatible charging equipment with your camera. Using incorrect voltages or connectors can damage your camera.
- Keep your camera turned off while charging to ensure efficient charging.
- If your camera doesn't support direct USB charging, you may need to use a special adapter or a dummy battery with a USB connection.
- Consider using a power bank designed specifically for cameras, as they provide higher energy output and faster charging times.
Charging Your YI 4K Camera: How Long Does It Take?
You may want to see also

Charging a camera battery with a computer
Firstly, refer to your camera's handbook to ensure that your camera model can be charged via a computer. Some camera models, such as certain Sony cameras, cannot be charged via a computer's USB port and require the supplied AC adapter or battery charger.
If your camera can be charged via a computer, follow these steps:
- Power off your camera. It is crucial to turn off your camera before attempting to charge it, as it cannot charge while it is turned on.
- Insert a memory card into your camera. Some camera models will not charge if a memory card is not inserted, as they may interpret the connection to your computer as a data transfer connection.
- Connect your camera to your computer using a USB cable. Use the USB cable that came with your camera or a compatible USB cable. Attach one end of the USB cable to your camera, and the other end to a USB port on your computer.
- Verify that the charging process has started. Look for a charging indicator light on your camera, or refer to the screen to see if it indicates that the camera is charging.
- Keep your computer turned on and allow the battery to charge fully. Charging a camera battery via a computer may take longer than using a dedicated charger, so it is recommended for non-emergency situations.
It is important to note that frequent use of alternative charging methods may affect your camera battery's life. Whenever possible, it is recommended to use the original charger supplied with your camera to prolong battery life. Additionally, always refer to your camera's handbook for specific instructions and precautions related to charging your camera battery with a computer.
Congestion Charge Cameras: Effective or Invasive?
You may want to see also

Charging a camera battery with a wall plug
First, ensure that you have the correct equipment. Most cameras come packaged with a USB charging cable and a small power adapter. If you don't have the original cable and adapter, make sure any replacements are compatible with your camera in terms of connectors, voltage range, and current.
Next, turn off your camera. It cannot be charging while it is turned on. Then, attach the USB charging cord to the camera or the external battery pack. This is usually located inside the rubber cover that protects the ports and connectors of your camera.
After that, attach the USB wall adapter to your USB cord, and plug it into a wall socket. You should see a charging light turn on, indicating that your camera is charging.
The charging time will vary depending on the remaining capacity of the battery and the charging conditions, such as temperature. As a general guideline, a fully depleted battery at room temperature (25°C/77°F) will take approximately 2-3 hours to charge fully.
Once the battery is fully charged, the charging light will turn off. At this point, you can unplug the camera from the wall socket and disconnect the charging cable from the camera.
It is important to note that you should not leave your camera plugged in continuously or repeatedly charge it without using it if it is already fully charged or nearly fully charged. Doing so may cause a deterioration in battery performance. Additionally, always refer to the operator's handbook for your specific camera battery before attempting to charge it.
Charging Your 808 Camera: How Long is Too Long?
You may want to see also

Charging a camera battery with a third-party charger
If you don't have your original camera battery charger to hand, you can use a third-party charger or mobile power supply. These devices usually support a variety of battery models with multiple ports.
However, it's important to be cautious when using third-party chargers. Firstly, confirm the compatibility of the third-party charger or mobile power source to ensure that it supports your camera battery type. Check that its voltage and current specifications match those of your camera's battery to avoid damage to the battery or camera.
You should also be careful to choose a reputable third-party manufacturer. Some cheap, poorly-made chargers can be dangerous and may fail or cause damage to your equipment. Look for a well-known manufacturer with a track record in design and manufacturing quality. Check reviews, and be wary if the price is much lower than an official charger—this may indicate that corners have been cut during production.
Here's a step-by-step guide to charging your camera battery with a third-party charger:
- Confirm the compatibility of the third-party charger or mobile power source.
- Remove the camera battery from the camera and insert it into the third-party charger.
- Connect the power supply and confirm that the charging indicator is on.
- Wait for the battery to be fully charged, then remove it and reinsert it into the camera.
Simplisafe Camera Battery: Charging Time Explained
You may want to see also

Charging a camera battery with a USB cable
If your camera supports USB charging, you can follow these general steps:
- Find your camera battery model number: Remove the battery from your camera and locate the model number. This information will be useful when purchasing or selecting a compatible USB cable or adapter.
- Obtain a compatible USB cable or adapter: Consult your camera's handbook or specifications to determine the correct type of USB cable or adapter required. Ensure that you use a high-quality USB cable to guarantee secure and effective charging.
- Insert the battery into the camera: Open the battery compartment, ensuring that the battery is facing the correct way, and insert it until it clicks into place.
- Connect the USB cable: With the camera turned off, connect the smaller plug of the USB cable to the camera's terminal. Then, connect the larger plug of the USB cable to a power source, such as a computer's USB port, a power bank, or a compact power adapter plugged into a power outlet.
- Begin charging: Once the connections are secure, charging should start automatically. The camera may indicate the charging status through a lamp or LED lights.
It is important to note that charging times may vary when using a USB cable compared to a dedicated charger. USB charging is typically slower and may not fully charge larger batteries. Additionally, some cameras may not charge via USB if the memory card is not inserted. Always refer to your camera's manual for specific instructions and precautions.
Wireless Security Cameras: How Long Do They Last?
You may want to see also
Frequently asked questions
First, locate the USB port on your camera. Then, using the USB cable that came with the camera or a compatible USB cable, plug one end into the camera and the other into a power adapter, computer, or mobile power source. Confirm that the camera's charging indicator light is on or the screen shows that it is charging. When charging is complete, disconnect the cable.
First, ensure that your power bank has enough power to charge your camera. To do this, take out your rechargeable battery and find the specifications that indicate the number of milliamperes (mAh) that your battery uses. Then, connect one end of the USB cord to the camera's input port and the other end to the power bank's output slot. Check the indicated LEDs or the screen display to see if the digital battery is charging.
First, check your camera's handbook to ensure that it can be charged by a computer. Then, put the battery in, switch off the camera, and make sure it has a memory card installed because some cameras won't charge if it isn't. Connect your camera to the USB port on your computer using a USB cable. A pop-up may appear on your computer screen; follow the instructions to agree to charge through the port. There may be a light at the connecting site that will turn on while it's charging. Your compact lithium camera may require two to three hours to fully charge. The moment it is completely replenished, the light will go off.


