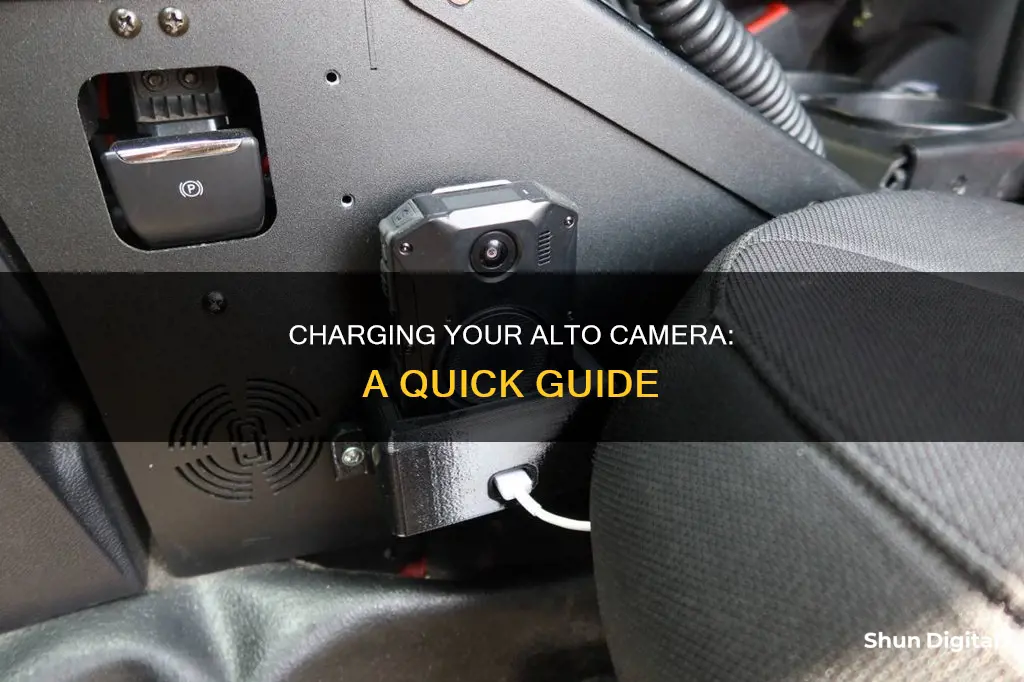
If you're looking to charge an Arlo Alto camera, you may have encountered an issue where the camera displays a power disconnected error message, even when the battery is almost fully charged. This issue may be caused by using a solar charger, which may not provide sufficient power for certain functions. To resolve this, try using a wall charger or the VMA5700 Essential 2 Outdoor Charging Cable for outdoor charging, or bring the camera indoors and use the included USB-C charging cable. For a Canon PowerShot N camera, you can use the included interface cable to connect to a computer's USB terminal or a compact power adapter to charge the battery.
What You'll Learn
![]()
Charging an Arlo camera with a solar panel
The Arlo Solar Panel Charger is a great low-maintenance solution for outdoor Arlo camera installations in hard-to-reach areas. The solar panel is designed to keep your Arlo camera battery fully charged, so you don't need to worry about recharging it. The 2-watt panel provides year-round trickle charging to keep your camera's battery topped up, rather than charging it from low to full.
The VMA5600 solar panel is compatible with the Arlo Ultra, Ultra 2, Pro 3, Pro 4, Pro 5S 2K, Pro 3 Floodlight, and Go 2 cameras. It is weatherproof and connects to your camera using the included weather-resistant 8-foot (2.4 m) magnetic power cable. The VMA4600 solar panel is compatible with the Arlo Pro 2, Pro, and Go cameras. It is also weatherproof and connects to the Micro-USB port on the Arlo Pro camera using a water-resistant 6-foot (1.8 m) cable. Please note that an Arlo Pro or Arlo Go rechargeable battery must be inserted into the camera for the solar panel to work.
The Arlo Solar Panel Charger has a weather-resistant design and an adjustable mount, making installation easy anywhere. It includes an 8-foot magnetic power cable. The solar panel is easy to install and convenient, as you don't have to worry about recharging your camera batteries. However, some users have reported that heavy camera usage can drain the battery faster than the solar panel can recharge it.
The Arlo Essential Solar Panel Charger is another option for charging your Arlo cameras with solar power. It is compatible with the 1st Gen Essential Cameras, including the Essential Spotlight Camera (VMC2030-100NAS, VMC2030B-100NAS, VMC2330-100NAS, and VMC2330B-100NAS) and the Essential Spotlight XL Camera (VMC2032-100NAS). This solar panel also features a weather-resistant design, an 8-foot power cable, and an adjustable mount for easy installation.
Charging Your Fujifilm Camera Battery: Alternative Methods
You may want to see also
![]()
Charging an Arlo camera with an outdoor power charger
Step 1: Purchase a Compatible Outdoor Power Adapter
Arlo offers its own official outdoor power adapter, which is designed and developed by Arlo specifically for Arlo cameras. This adapter is weather-resistant and can be used for both indoor and outdoor charging. It is compatible with the Arlo Pro, Pro 2, Go 1, and Arlo Security Lights. The cable length is 8 feet (2.5 meters), providing ample reach for most setups.
Step 2: Connect the Adapter to Your Camera
The outdoor power adapter features a magnetic charging cable that snaps into place on your Arlo camera, ensuring a secure connection. The cable is designed to withstand outdoor conditions and provide uninterrupted charging.
Step 3: Plug the Adapter into an Electrical Outlet
The Arlo outdoor power adapter comes with a power adapter that can be plugged into any standard electrical outlet, either inside or outside your house. The extra-long cable ensures that you can easily reach an outlet without causing clutter.
Step 4: Ensure Proper Charging
The power adapter provides rapid charging for your Arlo camera, with some users reporting up to four times faster charging compared to other power adapters. This ensures that your camera stays charged and operational at all times.
Step 5: Consider Additional Accessories
Arlo offers a range of additional accessories, such as solar panels, that can provide alternative power sources for your camera. You can also purchase a dual charging station to charge multiple batteries simultaneously.
By following these steps, you can ensure that your Arlo camera stays charged and functional, even when placed outdoors. The official Arlo outdoor power adapter is a reliable and weather-resistant option to keep your camera powered up and ready to capture all the important moments.
Avoid Congestion Charges: Know Your Camera Blindspots
You may want to see also
![]()
Charging a Canon PowerShot N camera with a USB cable
First, you need to insert the battery into the camera for charging. Make sure the battery is facing the right way and locks into position. Here are the steps to insert the battery:
- Slide and open the cover of the camera.
- Press the battery lock in the direction of the arrow and insert the battery until it clicks into the locked position.
- Lower the cover and hold it down as you slide it closed until it clicks into place.
Once the battery is inserted correctly, you can now connect the camera to a power source using the USB cable:
- Turn off the camera and open the *DIGITAL* terminal cover.
- Insert the smaller plug of the interface cable into the camera terminal. Make sure it is fully inserted and in the correct orientation.
- Now, you can choose to connect the camera to either a compact power adapter or a computer:
- If using the compact power adapter, insert the larger plug of the interface cable into the adapter. Then, plug the adapter into a power outlet.
- If using a computer, insert the larger plug of the interface cable into one of the computer's USB terminals.
After connecting the camera to a power source, charging will begin, and the USB charge lamp will light up. Charging takes approximately 3 hours, and it is recommended not to charge the battery continuously for more than 24 hours to protect the battery and maintain optimal condition.
While the battery is charging, you can view images by turning on the camera and entering Playback mode, but you cannot shoot photos or videos. Also, note that the camera will not turn on unless the battery is inserted.
Finally, remember that batteries gradually lose their charge over time, even when not in use. So, it is best to charge the battery on or immediately before the day of use.
Zumimall Camera Charging Time: How Long Should You Wait?
You may want to see also
![]()
Charging an Arlo camera with an indoor USB-C charging cable
To charge an Arlo camera with an indoor USB-C charging cable, you will need the original Arlo Pro power adapter and a USB-C charging cable.
Firstly, ensure that your Arlo camera is compatible with USB charging. The Arlo Pro and Arlo Pro 2 are both compatible with USB charging.
Once you have confirmed compatibility, follow these steps:
- Connect the USB-C charging cable to the power adapter: The cable should have a standard USB-A connector on one end and a USB-C connector on the other. Plug the USB-A end into the power adapter.
- Plug the power adapter into a wall outlet: Make sure the power adapter is properly inserted into a functioning wall outlet.
- Connect the USB-C end of the cable to your Arlo camera: Ensure that your camera is turned on and ready for charging. Carefully insert the USB-C connector into the charging port on your Arlo camera.
- Allow the camera to charge: The charging time will depend on various factors, including the battery capacity and the initial charge level. You can usually find specific charging times in the camera's user manual.
- Verify the charging status: Once you have connected the camera, check the battery indicator on the camera or the associated mobile app to ensure that it is charging properly.
It is important to use the original Arlo Pro power adapter or a proven compatible alternative. Not all USB power adapters are suitable for charging Arlo cameras, and using an incompatible adapter may result in an error message or damage to the camera.
Additionally, it is recommended to use a USB cable that meets the required specifications and is of an appropriate length. Standard USB 2.0 cables have a maximum usable power length of 16 feet. Longer cables may require the use of a USB active repeater cable to ensure efficient charging.
By following these steps and using the correct equipment, you should be able to successfully charge your Arlo camera using an indoor USB-C charging cable.
Charging Your Minolta Camera: A Step-by-Step Guide
You may want to see also
![]()
Troubleshooting an Arlo camera that shows 'power disconnected'
If your Arlo camera shows a power disconnected error message, there are several troubleshooting steps you can take to try and resolve the issue.
Firstly, check that your Arlo device is receiving power. If your device is plugged into an electrical outlet or solar panel charger, ensure that the connections are secure and that the outlet or solar panel is receiving power. It is recommended to use only Arlo cable accessories that are compatible with your product and to avoid third-party charging cables. If your device uses a removable battery, try removing the battery for ten seconds and then reinserting it. If you have a wired device, unplug the power for ten seconds and then plug it back in.
If your Arlo camera is still not working, check that your device is connected to the correct Wi-Fi network and that your router, Arlo SmartHub, or Arlo Base Station is connected to the internet. If your router is not connected, try unplugging it, waiting 30 seconds, and then plugging it back in. If it still does not connect, contact your router manufacturer or internet service provider (ISP).
If your camera is still showing a power disconnected error, try turning your device off and on again. If this does not resolve the issue, perform a factory reset on your device. If all else fails, remove your device from the Arlo Secure app, factory reset the device, and then reinstall it to your account.
Quick-Charging Camera Batteries: Efficient Methods to Try
You may want to see also