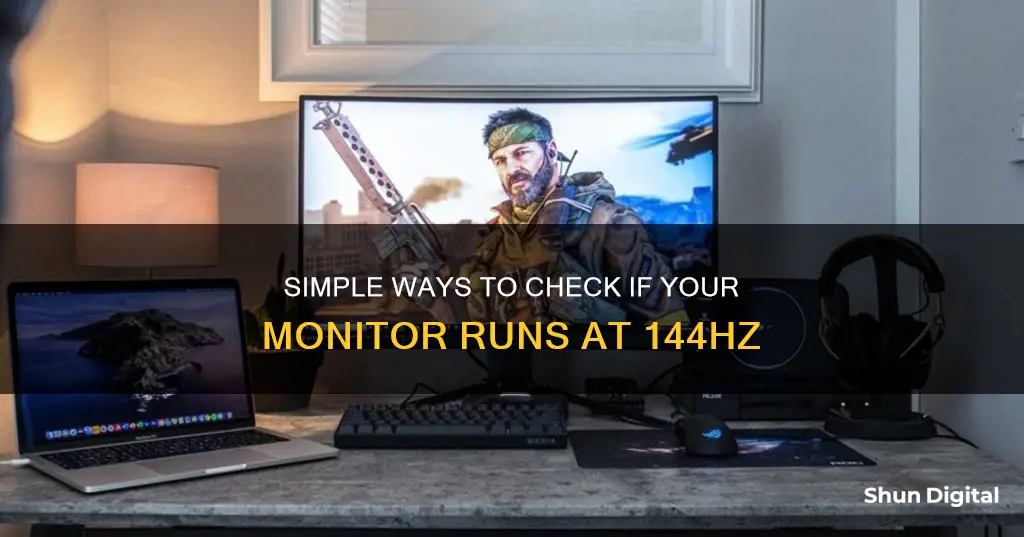
A 144-hertz monitor refreshes the display 144 times per second to show new images on high-resolution screens. If your monitor is not working correctly, it may be because your monitor is not capable of displaying at that refresh rate, or it is not plugged into the correct port. To check if your monitor is running at 144Hz, you can check your display settings on your Windows PC by navigating to Start > Settings > System > Display > Advanced Display Settings > Display Adapter Properties. Then, click on the Monitor tab and choose your monitor's advertised refresh rate from the Screen Refresh Rate list. If you are running Windows 11, you can access this setting by launching the Start menu, searching for Settings, clicking on System, navigating to Display > Advanced display, and selecting the advertised refresh rate from the dropdown box.
What You'll Learn

Check display settings
To check your display settings, follow these steps:
For Windows 10:
- Go to Settings > System > Display > Advanced Display Settings > Display Adapter Properties.
- Click on the "Monitor" tab.
- Choose your monitor's advertised refresh rate from the "Screen Refresh Rate" list.
- Click "OK."
For Windows 11:
- Launch the Start menu and search for Settings. Click on the Best match option.
- From the sidebar, click on System, then navigate to Display > Advanced display.
- In the "Choose a refresh rate" dropdown box, select the advertised refresh rate.
For Windows 7 or 8:
- Right-click on your desktop and select Screen Resolution.
- Select Advanced Settings, navigate to the Monitor tab, and choose 144Hz from the dropdown menu.
Additionally, you can enable 144Hz in your display settings through your GPU software.
If you don't see a refresh rate of 144Hz as an option, your monitor might not be capable of displaying at that refresh rate. Ensure that your monitor is plugged into the correct port, as only the display or DVI-D port will support 144Hz.
LCD Monitor: Green Line Mystery Solved
You may want to see also

Check your cables
To check if your monitor is running at 144Hz, you'll need to ensure that your cables are up to the task.
The type of cable you're using can have a significant impact on the refresh rate of your monitor. If you're aiming for a high refresh rate, it's important to pay attention to the ports your monitor is equipped with. While some monitors may use both HDMI and DisplayPort ports simultaneously, they will likely be limited to a lower refresh rate when connected via HDMI. In such cases, switching to a DisplayPort cable may be necessary.
DisplayPort generally supports higher video resolutions and refresh rates compared to HDMI. It can handle up to 3840 x 2160 pixels at 120Hz, and the maximum bandwidth sent through a DisplayPort cable is 32.4 Gbps. On the other hand, the most commonly used HDMI version, HDMI 1.4, supports 4K resolution at 30Hz, with a maximum bandwidth of 10.2 Gbps. To achieve higher refresh rates with HDMI, you'll need to use a "Premium High-Speed" HDMI cable, rather than a standard one.
Additionally, there are different types of DisplayPort cables, such as RBR (Reduced Bit Rate) cables, which only support a resolution of 1080p. For 144Hz at 1080p, you'll need a DisplayPort 1.2 or higher.
If you're using a dual-link DVI-D cable, this can also support a refresh rate of 144Hz at 1080p. However, if you try to move to a higher resolution, even with dual-link, you'll be limited to 75Hz, and you'll be stuck with a resolution of 1920 x 1080.
It's worth noting that some monitors may have limitations that affect the maximum refresh rate achievable, even with the correct cables. For example, HDMI 1.4 may be limited to 60Hz or 120Hz on certain monitors, and DisplayPort 1.4 can max out at 120Hz when compression isn't available. Therefore, it's important to consider the specifications of your monitor when choosing the appropriate cable.
Other Factors to Consider
Apart from cables, there are a few other factors that can impact your monitor's refresh rate:
- Display settings: Ensure that your display settings are correctly configured to support 144Hz. This can be done through your operating system's display settings or your GPU software.
- Graphics card: Check that your graphics card supports the monitor's resolution and refresh rate. Older graphics cards may not be able to handle higher refresh rates.
- Drivers: Update your graphics drivers to the latest version available from the manufacturer's website (e.g., NVIDIA or AMD).
- Native resolution: Set your monitor to its native resolution for the best display quality.
- In-game settings: If you're playing games, adjust the in-game graphics settings to select the monitor's native resolution and the desired refresh rate.
Printing from Serial Monitor to LCD Made Easy
You may want to see also

Check your computer's GPU
To check your computer's GPU, you can use the following methods:
Check GPU from Settings
Go to Settings > System > Display and scroll down to Related settings. Select Advanced display. Your GPU’s make and model should be shown under Display information.
Check GPU from Task Manager
Right-click on the Start button and select Task Manager from the menu. Choose GPU from the last pane of the tab. Information about your computer’s GPU will be visible in the top right corner of the GPU selection.
DirectX Diagnostic Tool
Type "dxdiag" into the desktop search bar and hit Enter to run the command. Click on the Display tab for a full report of your graphics devices and the graphics drivers that run them.
Device Manager
In the desktop search bar, start typing "Device Manager" and select it when the option appears. Click the arrow next to Display adapters and the name and model of your GPU will appear. If you double-click the name of the card, you can view device properties, inspect the details of your driver, and identify any driver updates.
System Information
Open the Start menu or go to the desktop search bar, start typing "system information" and select it when the option appears. Click the + symbol next to Components in the upper left, and then click Display on the expanded list. You’ll see the name of your graphics card, its type, and device ID.
Monitoring Internet Usage: Comcast's Device-Specific Insights
You may want to see also

Update graphics drivers
To check if your monitor is running at 144Hz, you should first check your display settings to see if they support 144Hz. You can do this by turning on your OSD and finding the setting. If it does, select 144Hz and configure it.
Next, you need to check if Windows is set to the correct refresh rate. For Windows 10, go to Settings > System > Display > Advanced Display Settings > Display Adapter Properties. Then, click the "Monitor" tab, choose your monitor's advertised refresh rate from the "Screen Refresh Rate" list, and click "OK.".
For Windows 11, launch the Start menu, search for Settings, and click on the Best match. Then, click on System in the sidebar and navigate to Display > Advanced display. Finally, select the advertised refresh rate from the "Choose a refresh rate" dropdown box.
If your monitor is not running at 144Hz, you may need to update your graphics drivers. Here's how to do it:
To update your graphics drivers, you will need to know what graphics card you have. You can find this information by opening the Task Manager and looking at the Performance tab.
Once you know your graphics card model, you can download the latest installer:
- For AMD GPUs, download the auto-detect tool from the AMD website.
- For Nvidia GPUs, go to the Nvidia website, enter your GPU model information, and download the latest game-ready driver.
- For Intel GPUs, download the auto-detect tool from the Intel website.
After you have downloaded the installer, run the file and follow the installation instructions. In most cases, you can just keep clicking "Next" until the installation is complete. If Task Manager shows multiple GPUs, be sure to update the drivers for all of them.
Finally, reboot your computer when prompted by the installer.
Additional Tips:
- Before updating your graphics drivers, it is recommended to create a system recovery point. This will back up all your current drivers, allowing you to restore your previous system state if anything goes wrong during the update process.
- To create a system recovery point in Windows, right-click on "Computer" on your desktop and select "Properties." Then, click on "System Protection" in the left-hand menu and follow the instructions to create a recovery point.
- After updating your graphics drivers, check your GPU and make sure it is up to date. You can do this by checking the date of the last graphics driver update in the Device Manager. If your graphics driver is older than a few months, you may need to update it again.
- Updating your graphics drivers can improve your system's performance and optimize it for gaming and other intensive tasks. It can also fix issues with display resolution, colour depth, and external display support.
Monitor Overclocking: Stability Testing for Beginners
You may want to see also

Check for native resolution
To check for native resolution, you should set your monitor settings to the native resolution for the best display quality. You can also refer to your user's manual for BenQ-qualified timings. Before checking for native resolution, be sure to check your GPU and update your graphics drivers.
If you are running Windows 10, follow these steps:
- Go to Settings > System > Display > Advanced Display Settings > Display Adapter Properties.
- Click the "Monitor" tab.
- Choose your monitor's advertised refresh rate from the "Screen Refresh Rate" list.
- Click "OK."
If you are running Windows 11:
- Launch the Start menu and search for Settings. Click on the Best match.
- From the sidebar, click on System and then navigate to Display > Advanced display.
- In the "Choose a refresh rate" dropdown box, select the advertised refresh rate.
Additionally, graphics cards offer a refresh rate setup interface that you can refer to.
Finding Your VESA Mount Standard: Monitor Size Guide
You may want to see also
Frequently asked questions
Check your display settings to see if they support 144Hz. If you are running Windows 10, go to Settings > System > Display > Advanced Display Settings > Display Adapter Properties. From there, click on the "Monitor" tab and choose 144Hz from the "Screen Refresh Rate" list.
Launch the Start menu and search for Settings. Click on System and then navigate to Display > Advanced display. In the "Choose a refresh rate" dropdown box, select 144Hz.
Check your cables. If you want a high refresh rate, you need to pay attention to the ports your monitor came with. Some monitors may use both HDMI and DisplayPort ports but will be limited to a lower refresh rate when connected via HDMI.
Check your computer's GPU. Integrated graphics or older discrete graphics might not support your monitor's refresh rate. Check your graphics card to see if it supports the monitor's resolution and refresh rate.
Update your graphics drivers. Check and install the latest available version from NVIDIA or AMD's website.


