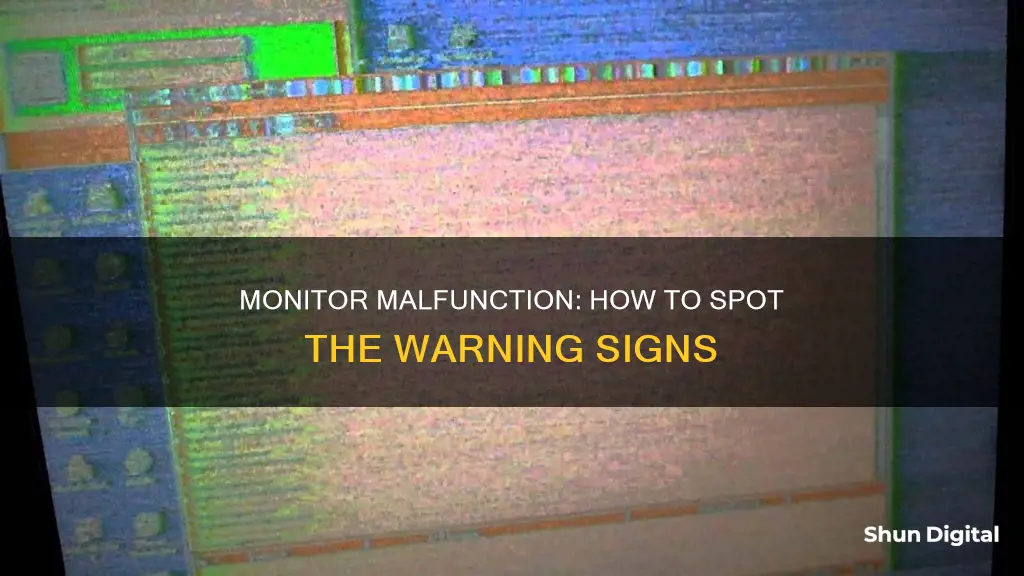
There are several warning signs that your monitor is failing. These include a long start-up time, a dimming screen, flickering or blinking images, dead pixels, burn-in images, distorted images, and random shutdowns. If you're experiencing any of these issues, it's important to take action to prevent further damage and potential data loss. In some cases, you may need to replace your monitor, while in others, you may be able to fix the issue by adjusting settings, updating drivers, or replacing cables.
| Characteristics | Values |
|---|---|
| Long time to turn on | Monitor takes more than a minute to start |
| Screen dimming | Overall reduction of brightness on the monitor |
| Flickering display | Images flicker on and off |
| Dead pixels | Pixels stop working, showing as spots of white or other colours |
| Burn-in images | Ghost-like images shown on the monitor screen |
| Vertical lines | Single-coloured lines on the screen |
| Random shutdown | Monitor shuts down while CPU continues working |
What You'll Learn

Monitor takes too long to turn on
If your monitor takes too long to turn on, it could be a sign that your monitor is failing. This is a common issue that arises with flat-panel monitors as they age. Usually, modern monitors like LCDs and LEDs take 5 to 10 seconds for an image to appear after the power button is pressed. If your monitor is taking much longer than this, there might be an internal problem that could lead to the demise of the LCD.
There are a few things you can try to fix this issue:
- Check your power supply and connections. Ensure that your monitor is properly plugged into the power source and that the power cord is not damaged.
- Try using a different power cord and video connectors. This will help you determine if the issue is with your current power cord or connectors.
- Check for swollen capacitors, poor factory soldering, and micro-cracks. These issues are fixable and could be the reason for the delay in your monitor turning on.
- Replace faulty capacitors in the power regulator. This is a more technical solution that requires soldering skills, but it could bring your monitor back to life.
- Take your monitor to a repair shop for a professional diagnosis and estimate for repair.
If you are unable to fix the issue or prefer not to attempt repairs, you may need to recycle your old monitor and purchase a new one.
OptiPlex 7070 Micro: Hooking Up Your Monitor
You may want to see also

Screen dimming
A dimming screen could be a sign that your monitor is failing. Here are some ways to identify and troubleshoot the issue:
Identifying the Issue
If you notice that the images on your screen are dimmer than usual, or that the colours are fading, there might be a problem with your monitor. This could be due to an electrical surge, or it could mean that the backlight in your screen is going out. If your monitor is an LCD or LED screen, it is likely that the backlight is failing. If your monitor is a CRT monitor, the cathode tube ray may be failing as these monitors do not use backlight technology.
Troubleshooting
Before assuming that your monitor is failing, there are some troubleshooting steps you can take:
- Check your screen settings and ensure that the brightness is set to maximum.
- Check for any deterioration of a faulty graphic card, RAM, or a bad power supply.
- Try connecting your screen to a different computer. If the monitor does not brighten, there may be a fault within the screen's hardware.
- Check that your monitor's power cable is securely plugged in on both ends.
- Restart your computer. Sometimes, a dimmed screen results from a software glitch or outdated display driver that temporarily affects the display settings.
- Check your display settings and turn off any 'adaptive brightness', 'night light', or 'automatic brightness' settings.
- Update your display driver.
- If your monitor has built-in menus, access them via controls on the bezel and check for additional brightness and contrast controls. Reset your monitor to factory default if necessary.
- Check your cables (HDMI, DVI, VGA, or DisplayPort) and try using a different cable.
If none of these troubleshooting steps work, it is likely that your monitor is failing and you will need to replace it.
Preventing Future Issues
To prevent future dimming issues and extend the lifespan of your monitor, it is important to properly care for your screen:
- Clean your monitor regularly with a soft, dry cloth to prevent dust and debris buildup.
- Ensure your monitor has adequate ventilation to prevent overheating.
- Avoid setting the brightness levels of the screen excessively high. Balance the brightness to avoid straining the backlight.
- Protect your monitor from damage during power surges by using a high-quality surge protector.
Measuring Monitor Size: Easy Tricks Without a Ruler
You may want to see also

Flickering display
A flickering screen is a common issue with monitors and can be caused by several factors. If you are experiencing a flickering display, try the following troubleshooting steps to fix the problem.
Check the cables
First, check the power and display signal cables. Try reconnecting the cables and, if that doesn't work, replace the cable with another one if possible. If the flickering persists, try connecting the display signal cable to another port on your computer or another display output port on the monitor to check if the connection ports are at fault.
Update your system's graphics drivers
Updating your graphics drivers may solve the issue. On Windows, search for "Check for updates" in the Windows search feature and then navigate to Advanced Options. From here, click on "Optional updates" and then click on the "Driver updates" drop-down menu. Finally, click "Download & Install" to update your system and any outdated drivers. For Mac users, update your macOS version in System Settings.
Change the monitor refresh rate
The monitor refresh rate is the number of times the screen image is refreshed per second and is measured in Hertz. A slow or under-optimised refresh rate may cause issues with screen flickering and lag times.
Check the video card
Nearly all devices use a video card to display images. In desktop computers, the video card needs to be properly positioned on the motherboard or it may cause a screen flicker. Check if the video card is firmly in place. If the card is seated properly but the issue persists, the card is likely faulty. Testing this is easy if the computer has an onboard GPU that you can plug into. You can also test a new card. To do this, power down the computer, remove the video card and connect the monitor cable to the onboard card or a second video card. If the problem persists, then the issue is not related to the video card.
Inspect the monitor for physical damage
Use the monitor's onboard buttons to check for settings that may be causing the issue. If everything looks okay, try replacing the monitor with another one. If the new monitor is working properly, then your original monitor may be damaged and require a repair or replacement.
Try other troubleshooting tips for Windows and Mac
If all else fails, there are additional tips for troubleshooting Windows and Mac screens. For Windows, press Ctrl + Alt + Delete to open Task Manager. If Task Manager flickers along with everything else, a display driver is probably causing the problem and you should update, rollback, or uninstall your display driver. If Task Manager doesn't flicker while the rest of the screen is flickering, an incompatible app is probably causing the problem, and you should update or uninstall the app. For Mac, try restarting your computer, updating your macOS and apps, disabling the True Tone feature, testing your Mac with Apple Diagnostics, and resetting the NVRAM on an Intel-based Mac.
Monitor Your MacBook's CPU Usage: A Step-by-Step Guide
You may want to see also

Dead pixels
Monitor warranties usually cover a certain percentage of dead pixels, but if you notice a lot of them, it could be a sign of failing hardware or a manufacturing defect. Dead pixels are usually not fixable, so if you have a lot of them, you may need to replace your monitor.
You can check for dead pixels on your monitor using an online test, such as checkpixels.com.
Troubleshooting a Monitor: How to Know It's Broken
You may want to see also

Burn-in images
Burn-in is what happens when a still image gets retained by a screen. It is uncommon for modern LCD and LED monitors to suffer from burn-in, but it can happen if an image is left in the same position on a screen for multiple days.
Burn-in creates a ghost-like image that is always on the screen. You can avoid burn-in by using screensavers and similar software. Once burn-in occurs, you may not be able to get it off the screen, although it doesn't prevent you from seeing other images.
To fix burn-in, you can try playing a video designed to correct burn-in. These videos contain rapid flashing colours and need to be run for several hours. You can also try using a software solution like JScreenFix, Online Monitor Test, or Killdeadpixel, which fix the problem by cycling the pixels on and off or using pattern displays.
Burn-in is preventable. To prevent screen burn-in, reduce the brightness to between 45 and 50, use the sleep timer and screensavers, and turn off the device when not in use.
Hooking Up Multiple Monitors to Your Surface Pro: A Step-by-Step Guide
You may want to see also
Frequently asked questions
If your monitor is dying, you may notice some of the following signs: dim or flickering images, dead pixels, distorted images, or a long start-up time.
First, check your monitor's brightness and contrast settings and power and cable connections. If adjusting these doesn't work, try connecting a different working monitor to your computer. If that doesn't work, check for issues like a disconnected or faulty video card.
If all else fails, test your original monitor with a data cable known to work. If that doesn't work, then it's likely time to replace your monitor.


