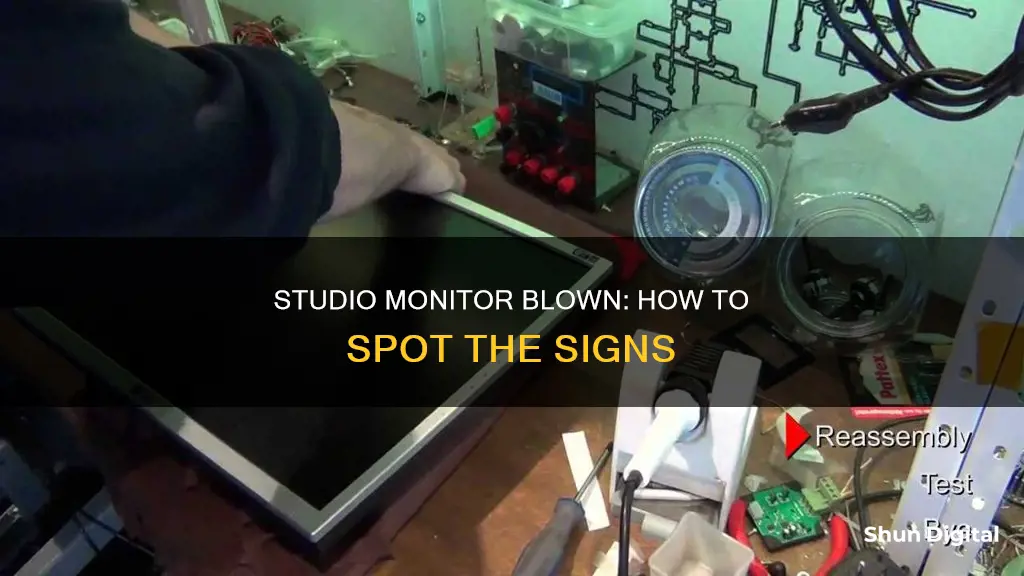
Studio monitors are specialized speakers used in recording studios to reference audio for recording, mixing, producing, and mastering. While they are built with high-quality materials and components, they can still blow due to various factors such as faulty or damaged parts, power surges, or improper use. To tell if a studio monitor is blown, you can listen for heavy distortion, pops, hissing, cracks, no sound, rumbling, or humming. You can also compare the suspected monitor with another system by playing the same track at different volumes to identify any discrepancies. Additionally, you can inspect the physical condition of the speaker for any damage, such as cracks or tears in the speaker cone, and check the wires and connections. If you suspect a blown monitor, it is important to take action promptly to prevent further issues.
| Characteristics | Values |
|---|---|
| Sound | Distortion, pops, hissing, cracks, no sound, rumbling, humming |
| Physical Condition | Cracks or tears in the speaker cone |
| Wires and Connections | Loose, damaged, or broken |
| Amplifier | Blown |
What You'll Learn
- Compare two systems, one being the suspected blown monitor, playing the same track at several volumes
- Check the physical condition of the speaker for any visible damage
- Check the wires and connections to ensure they are secure and not damaged
- Connect another speaker to the same amplifier to see if it produces sound
- Check the fuses and crossover components to diagnose electrical issues

Compare two systems, one being the suspected blown monitor, playing the same track at several volumes
If you suspect that your studio monitor is blown, comparing it to another system is a great way to find out. Here's a step-by-step guide on how to do this:
- Set up the two systems: the suspected blown monitor and a known working system. Ensure they are connected to the same audio source and have similar volume settings.
- Play the same audio track on both systems simultaneously. It is best to choose a track with a wide frequency range and dynamic volume levels to test the monitors at different volumes.
- Start with the volume at a comfortable level and listen for any distortions, crackling, popping, hissing, or unusual noises. Pay close attention to the suspected blown monitor and compare its sound quality to the other system.
- Slowly increase the volume on both systems and continue to compare the audio. A blown monitor may exhibit more distortion, noise, or other issues as the volume increases.
- If possible, try playing the same track at different volume levels multiple times to ensure consistency. This will help you identify any issues that may only occur at certain volume levels.
- Take note of any differences in sound quality between the two systems. If the suspected blown monitor consistently produces distorted or abnormal sounds, it is likely blown.
- Additionally, pay attention to the physical condition of the monitor. Inspect the speaker cone for any cracks or tears, as this can also affect sound quality and cause distortion.
By comparing the two systems, you can identify whether the suspected monitor is blown or if there is an issue with the audio source or another component in the system. This method provides a relative comparison, allowing you to pinpoint any abnormalities in the suspected blown monitor's performance.
Monitoring iPhone Memory Usage: A Step-by-Step Guide
You may want to see also

Check the physical condition of the speaker for any visible damage
When checking the physical condition of the speaker for any visible damage, you should look for cracks or tears in the speaker cone. Damage to the cone can affect the sound quality and cause distortion. In addition to the cone, you should also inspect the dust cap and the surround for any physical damage.
It is also important to check the wires and connections to ensure they are secure and not damaged. Loose or damaged cables are a common cause of blown studio monitors. If you notice any damage, replace the cables immediately to prevent further damage to your speakers.
If your monitor turns on but no sound is coming from it, the amplifier may be blown. This is a less common issue, but it is worth checking. To test this, connect another speaker to the same amplifier to see if it produces sound. If the other speaker works, then the issue is likely with your monitor.
Hotels and Internet Privacy: Monitoring Guest Online Activity
You may want to see also

Check the wires and connections to ensure they are secure and not damaged
When diagnosing a blown studio monitor, it is important to check the wires and connections to ensure they are secure and not damaged. This includes the wires connecting the monitor to the power source and any other devices, as well as the internal wiring of the monitor itself.
To check the external wires and connections, make sure that all cables are properly connected and that there are no loose connections. Visually inspect the cables to ensure they are not damaged or frayed. If you notice any damage, replace the cables immediately to prevent further issues.
For internal wiring, you can use a multimeter to check if the current is flowing correctly. You can also visually inspect the wires to ensure they are not bent, damaged, or broken. If there are any issues with the internal wiring, you may need to solder the wires or replace them entirely.
In addition to checking the wires and connections, you should also verify that the monitor is properly connected to your audio interface or amplifier. Utilize balanced cables to minimize noise and interference, and ensure that all connections are secure.
Hooking Stage Monitors to a Presonus Digital Soundboard
You may want to see also

Connect another speaker to the same amplifier to see if it produces sound
If your studio monitor turns on but no sound is coming from it, the amplifier may be blown. This is a less common issue, but it's worth troubleshooting. To test this, connect another speaker to the same amplifier to see if it produces sound. If the other speaker works, then your monitor is likely the issue.
Before assuming that your monitor is blown, try troubleshooting the issue by adjusting the settings or moving the monitor to a different location. Issues with sound quality can sometimes be caused by factors such as incorrect settings or interference from other devices.
If you are unable to determine the cause of the issue, try performing a listening test to check for unusual sounds or distortions. You can also use a multimeter to check the resistance of the speakers.
How TP-Link HS105 Monitors Your Energy Usage
You may want to see also

Check the fuses and crossover components to diagnose electrical issues
Checking the fuses and crossover components is an important step in diagnosing electrical issues with your studio monitor. This can help you identify whether the problem lies with the monitor's output or other factors.
To check the fuses, you should first ensure that the monitor is turned off and unplugged from the power source. Locate the fuse, which is usually found near the power input or inside the monitor's casing. Inspect the fuse for any signs of damage, such as a blown or burnt-out appearance. If the fuse is damaged, it will need to be replaced.
For the crossover components, you will need to identify the location of the crossover circuit within the monitor. This can vary depending on the monitor model, so referring to the user manual or seeking guidance from an expert may be necessary. Once you have located the crossover, carefully inspect the components for any signs of damage or wear and tear. Look for loose connections, broken wires, or burnt-out components. If you identify any issues, these components may need to be repaired or replaced.
It is important to note that working on electronic devices without proper knowledge or training can be dangerous. If you are unsure about any aspect of the process, it is best to consult a professional technician for assistance. They will have the expertise and equipment to safely diagnose and repair your studio monitor.
Additionally, regular maintenance and inspection of your studio monitor can help prevent electrical issues. This includes visually inspecting the components, ensuring proper ventilation, and keeping the monitor free from dust and debris. By taking a proactive approach, you can reduce the likelihood of experiencing problems with your studio monitor.
Raising the PB287Q: A Step-by-Step Guide to Adjusting Your ASUS Monitor
You may want to see also
Frequently asked questions
There are several signs that your studio monitor may be blown. One of the most obvious signs is distortion in the sound. If you notice that your audio is sounding distorted or crackling, it could be a sign that your studio monitor is blown. Other signs include popping, hissing, no sound at all, rumbling, and humming.
If your studio monitor is blown, you should contact the manufacturer to ask about replacement parts. If parts are unavailable, they will likely be able to refer you to a qualified technician who can repair your studio monitor.
To prevent your studio monitor from blowing, ensure that your volume is not too high, as this can cause the speakers to blow out. Also, make sure that your studio monitor is properly connected to your audio interface or amplifier using balanced cables to reduce noise and interference.


