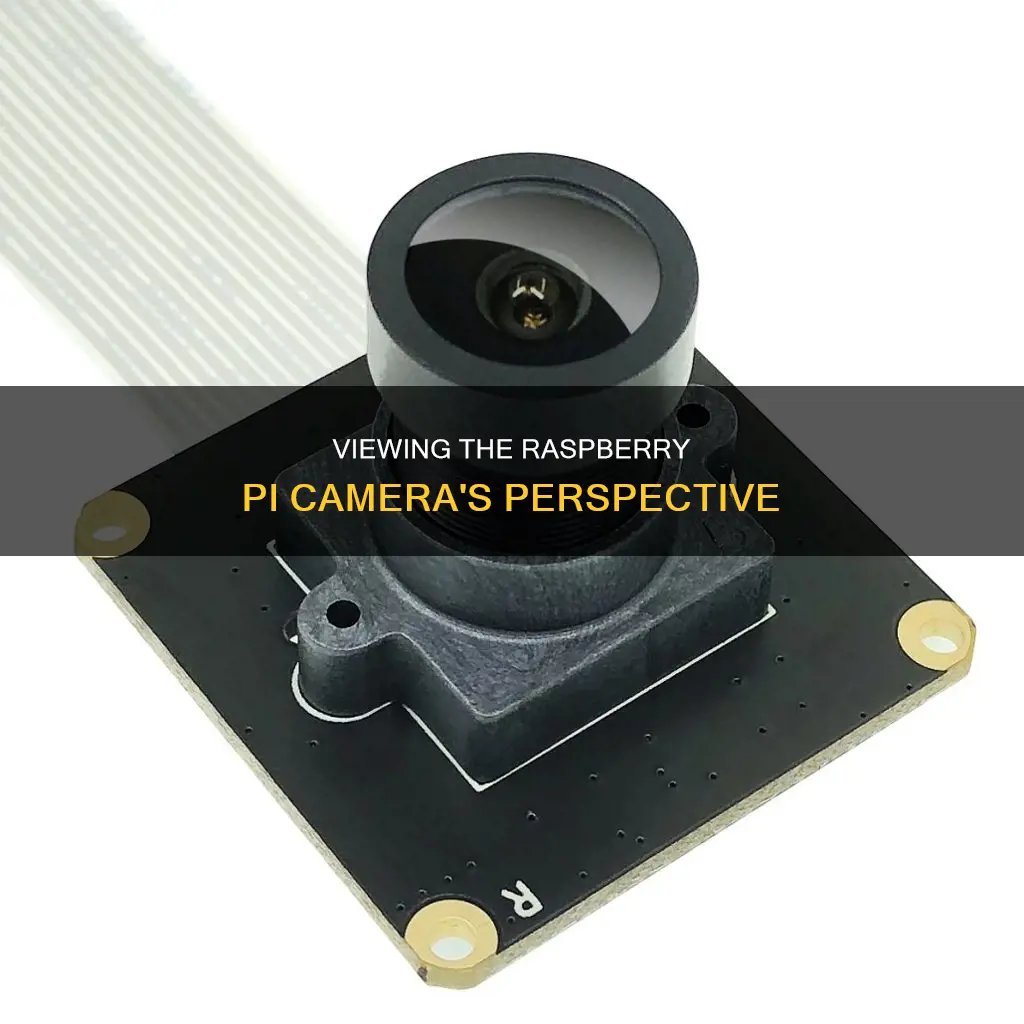
The Raspberry Pi camera is a great addition to your Pi, allowing you to develop more advanced applications with vision. To see what the camera is seeing, you can take a test image or video.
First, ensure that the camera is enabled in the Raspberry Pi Configuration tool. Then, open a terminal window and enter the command: libcamera-still -o test.jpg or raspistill -o testshot.jpg. You should see a preview window for about 5 seconds before the image or video is taken.
You can then view the image or video file using the xdg-open command in the terminal or by opening a file manager and locating the file.
| Characteristics | Values |
|---|---|
| Camera connection | Make sure the camera is connected correctly and enabled. |
| Camera detection | Use the command vcgencmd get_camera to check if the camera is detected and supported by the operating system. |
| Camera preview | Use the command libcamera-still -o test.jpg to see a preview of the camera image. |
| Camera image | Use the command raspistill -o testshot.jpg to take a still image and check the files in your directory with the command ls. |
| Camera video | Use the command raspivid -o testvideo.h264 -t 5000 to shoot a 5-second video and use omxplayer testvideo.h264 to view it. |
| Camera resolution | Use the options -w and -h to set the width and height of the image, respectively. |
| Camera flip | Use the option -vf to flip the image vertically. |
| Camera timeout | Use the option -t to set the timeout duration in milliseconds before taking a picture. |
| Camera contrast | Use the option -co to adjust the contrast of the image. |
| Camera brightness | Use the option -br to adjust the brightness of the image. |
| Camera saturation | Use the option -sa to adjust the saturation of the image. |
| Camera text | Use the option -a to add text to the image. |
| Camera filters | Use the option -ifx to apply image effect modes, such as cartoon for a cartoon-like picture. |
What You'll Learn

Check the camera is enabled in the Raspberry Pi Configuration tool
To check that the camera is enabled in the Raspberry Pi Configuration tool, you need to follow these steps:
- Open the Raspberry Pi Configuration tool.
- Click on 'Preferences' from the menu.
- Choose the 'Interfaces' tab.
- Ensure that 'Enable' is checked for the Camera option.
It is also recommended to enable the I2C interface while you're in the Configuration tool. If it was not previously enabled, you will need to reboot your Raspberry Pi for the setting to take effect.
On the latest Raspberry Pi OS versions, the camera port is enabled by default, so you can skip this step if this is the case for your device.
Viewing Wyze Cameras on PC: A Simple Guide
You may want to see also

Take a test image
Once you have connected your Raspberry Pi camera, the first thing you should do is take a test image to ensure it works. Here is a step-by-step guide:
Open a terminal window:
This is where you will be typing in the commands to take the test image.
Make note of the current directory:
Before you take the test image, make sure you know where to look for the image by taking note of the current directory. This is important so you can easily find and access your image later.
Enter the command:
Type in the following command:
> libcamera-still -o test.jpg
This command will initiate the process of taking a test image.
Preview window:
After entering the command, a preview window should pop up on your screen. This window will display what your Raspberry Pi camera is currently seeing. The preview will last for about 5 seconds.
Find and view the image:
If everything goes well, you can now find the test image in the current directory that you noted earlier. Open the image to view it and confirm that your Raspberry Pi camera is working properly.
Troubleshooting:
If you encounter any issues or error messages during this process, there are several troubleshooting steps you can take to identify and resolve the problem. This may include checking your camera settings, verifying hardware connections, or seeking further technical support.
Taking a test image is a crucial step in setting up your Raspberry Pi camera. By following these steps, you can ensure that your camera is properly configured and functional, allowing you to capture images and explore various photography projects with your Raspberry Pi device.
Viewing VRChat and Your Camera Simultaneously: A Guide
You may want to see also

Check the image appears in the current directory
Once you have taken a test image to ensure your Raspberry Pi camera is working, you will need to check the current directory to find the image.
First, open a terminal window and make a note of the current directory so you know where to look for the image.
Then, enter the command: `libcamera-still -o test.jpg`. You should see a preview window pop up for about 5 seconds.
If all goes well, you will find the image in the current directory, and you will be able to open it.
If that doesn't work, or if you get an error message, you may need to troubleshoot your camera installation.
Linking Wyze Cam to Fire TV: A Step-by-Step Guide
You may want to see also

Open the image
Once you have taken a test image to ensure your Raspberry Pi camera is working, you can open the image in a few different ways.
If you are using the Desktop version, you can use the File Manager to find your files and the Image Viewer to see them.
You can also open the image from the command line interface. Click the Terminal icon at the top of the screen to start. It has a >_ symbol on it. To take a still photo, type in this command:
`raspistill -o testshot.jpg`
You should see what the camera sees onscreen for a moment before it takes the picture. You can verify that the image was created by looking at the files in your directory with this command:
`ls`
You can also use the utility "fbi" to display a single image with the "auto-zoom" option:
`fbi -a testshot.jpg`
Press ESC to return to the command line.
To display all the images in the current directory, use the following command:
`fbi *.jpg`
The PageUp/PageDown keys can be used to cycle through the images selected by the “*.jpg” filter.
Hisense Smart TV Camera Location Explained
You may want to see also

Check the hardware installation
To check the hardware installation of your Raspberry Pi camera, you'll want to ensure that the camera is properly connected to the Raspberry Pi.
First, be sure to discharge yourself by touching an earthed object, such as a radiator, to avoid damaging the camera with static electricity.
Next, insert the cable into the Raspberry Pi camera port. The cable slots into the connector situated between the USB and micro-HDMI ports, with the silver connectors facing the micro-HDMI ports. If in doubt, make sure the blue part of the cable is facing the USB ports on the Raspberry Pi.
Once the cable is connected, boot your Raspberry Pi and update it by running the following command in a terminal window:
Sudo apt full-upgrade
After your Raspberry Pi is updated, you can test your camera to see if it's working.
Stream Swann Camera Footage to Your TV
You may want to see also
Frequently asked questions
To check if your Raspberry Pi camera is working, open a terminal window and enter the command: libcamera-still -o test.jpg. You should see a preview window pop up for about 5 seconds. If all goes well, you’ll find the image in the current directory.
To enable the camera interface, go into the Raspberry Pi Configuration tool and click on Interfaces. Then, select Enabled beside the Camera option.
To take a picture, use the raspistill command and provide the name of the file for the output, so raspistill can save the photo into that file. For example: raspistill -o ~/Pictures/first_image.jpg.
To open the image, use the xdg-open command in the terminal: xdg-open ~/Pictures/first_image.jpg. Alternatively, you can open a file manager and use your mouse to find the file and double-click on it.
To change the resolution and flip the image, use the following command: raspistill -o ~/Pictures/new_image.jpg -w 1280 -h 720 -vf -t 2000. This will set the resolution to 1280 x 720, flip the image vertically, and reduce the timeout to 2 seconds.


