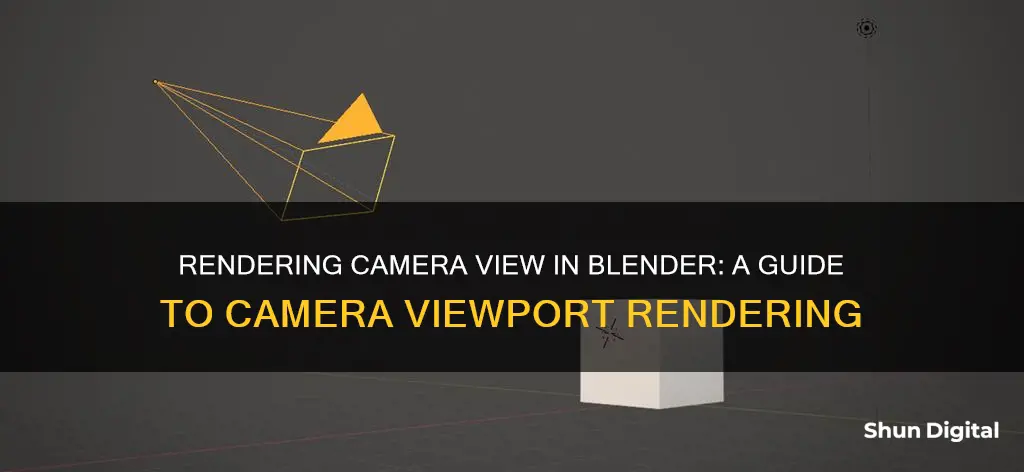
Rendering only what the camera sees in Blender is a useful skill to have for previewing how your final image will look. This can be achieved by setting a render border and then switching to 'Rendered' mode. In Blender 3.x, the shortcut for this is Ctrl + B, but in Blender 4.0.2, the setting is located in the Output tab under Format - Render Region. Alternatively, you can select a border larger than the camera, disable it, and then re-enable the render border. This will only render what is inside the camera view.
| Characteristics | Values |
|---|---|
| Blender Version | 3.x, 4.0.2, 4.2 |
| Method | Ctrl + B, Output tab > Format > Render Region checkbox, Dimensions tab > Border checkbox, Amaranth Toolset addon, Render Region |
| Zoom | Scroll wheel |
What You'll Learn

Use Ctrl + B in Blender 3.x
In Blender 3.x, you can use the shortcut Ctrl + B to render only what the camera sees. This is a quick and easy way to define a render border, allowing you to render just a portion of the viewport instead of the entire scene. This can be particularly useful when working with complex models and scenes, as it helps you focus on a specific area.
To activate this feature, simply press Ctrl + B, and then define the border by clicking and dragging your mouse to create a rectangle in the desired 3D View. This will become your clipping volume, and you will only see what is inside this volume.
If you want to remove the render border, you can do so by pressing Ctrl + Alt + B. This will delete the border and restore the full 3D space view.
Additionally, you can also adjust the render settings to only render the camera view. To do this, go to Scene > Format > Render Region in the settings menu and check the "Render Region" box. This will ensure that only the camera view is rendered when you are in 'Rendered' mode.
By utilising these tools, you can efficiently work with your 3D scenes and render specific areas as needed, streamlining your workflow and enhancing your overall Blender experience.
The Mystery of the Lone TV Camera
You may want to see also

Go to Render Settings, then Dimensions, and click Border
To render only what the camera sees in Blender, you can follow these steps:
- Go to the Render Settings. This is where you will define the parameters for your render.
- Navigate to the Dimensions tab. This tab allows you to set the dimensions and boundaries of your render output.
- Locate the "Border" checkbox and click it. Enabling this option restricts the render output to the boundaries of the camera view.
- Ensure that you are in 'Rendered' mode. Now, when you render your scene, only the area within the camera view will be rendered.
By following these steps, you can focus your rendering efforts specifically on what is visible through the camera, saving time and computational resources. This is particularly useful when you want to preview how your final render will look without needing to process the entire scene.
Additionally, you can use the "Ctrl + B" shortcut in Blender 3.x to quickly set a render border. This allows you to define the boundaries of your render area. If you need to remove the render border, you can use the "Ctrl + Alt + B" shortcut or set the render border outside the camera view.
Hiding from Cameras: Block Their View Effectively
You may want to see also

Use the shortcut Ctrl + Alt + B to delete the Render Area
When rendering in Blender, you may want to clear the render border, especially if you have been tweaking a small part of the scene and want to save time. To do this, use the shortcut Ctrl + Alt + B. This shortcut will remove the render border.
Alternatively, you can go to the Space menu and type "render border" to access the same option.
It is important to note that there is also a legacy shortcut, *Shift + B, which only works when looking through the camera. This is because Blender allows for different render borders for the viewport and the camera.
If you are using Blender 3.x, you can also go to the Settings and check the Scene > Format > Render Region box to render only the camera view when in 'Rendered' mode. In Blender 4.0.2, this option is found in the Output tab under Format.
Accessing Your Camera Feed Remotely: A Guide
You may want to see also

Use the Output tab in Blender 4.0.2
To use the Output tab in Blender 4.0.2, you can follow these steps:
- Go to the Output tab in the Properties panel.
- Set the output options, including render size, frame rate, pixel aspect ratio, output location, and file type.
- Use the slider to adjust the size of the rendered image relative to the X/Y values. This is useful for test renders.
- Control the shape of the pixels with the pixel aspect ratio option to ensure correct rendering and prevent re-scaling, which can lower image quality.
- Define the size of the render border using the Render Border documentation.
- Set the start and end frames, as well as the frame rate, for rendering animations.
- Choose the location to save the rendered frames.
- Set a custom padding size for the frame number in the file name by adding # to the file name.
- Expand relative paths by using the // prefix, which represents the directory of the current blend-file.
- Enable or disable the Overwrite option to overwrite existing files when rendering.
- Create empty placeholder frames by enabling the Placeholders option.
- Ensure correct file extensions by enabling the Auto Extension option.
- Improve performance, especially for heavy compositing, by saving the rendered image to a multi-layer EXR file in a temporary location.
- Choose the file format and the associated options, such as channels, bit depth, and compression level.
- Choose the color format to save the image.
By following these steps, you can effectively utilize the Output tab in Blender 4.0.2 to set up and customize your rendering process.
Accessing Home Cameras: Desktop Viewing Options Explored
You may want to see also

Use the Scene tab in the Properties pane
To render only what the camera sees in Blender, you can utilise the "Scene" tab in the Properties pane. This tab allows you to set the active camera for rendering and customise its behaviour. Here's a step-by-step guide on how to use the "Scene" tab for camera rendering:
- Open the Properties pane in Blender. You can usually find it on the right side of the interface.
- Navigate to the "Scene" tab within the Properties pane.
- In the "Scene" tab, you will find options related to the active camera.
- To set the current active object as the camera, go to "View > Cameras > Set Active Object as Camera". This will also switch your view to the camera perspective.
- Alternatively, you can directly select the camera object in your scene and set it as the active camera.
- The active camera defined at the scene level will be used for rendering and will be the viewpoint when you choose the camera view.
- You can also make a camera the active one within a specific viewport only. This is known as the "Local Camera".
- By default, a scene contains only one camera, but you can add multiple cameras and bind them to specific time points in your animation to create dynamic cuts and viewpoints.
- To frame your camera view within the viewport, go to "View > Cameras > Frame Camera Bounds". This will centre the camera view and resize it to fit within the viewport area.
- To preview how your scene will look when rendered, use the "Zoom Camera 1:1" option by navigating to "View > Navigation > Zoom Camera 1:1". This will match the camera frame with the output resolution, giving you an accurate representation of the final render.
- You can further adjust the camera's position and orientation using the transform tools. Select the camera and enter object rotation mode by pressing "R". You can then perform rolls, pans, dollies, and tracks to manipulate the camera's viewpoint.
Remember that the "Scene" tab in the Properties pane offers a straightforward way to set up and customise your camera for rendering. By following these steps, you can ensure that your render includes only what the camera sees, providing a clear and focused perspective of your Blender scene.
Capturing Views: Cameras See Over Fences
You may want to see also
Frequently asked questions
In Blender 3.x, press Ctrl + B. Alternatively, go to Settings > Scene > Format > Render Region and check the box.
Use your scroll wheel.
Go to View > Cameras > Frame Camera Bounds.
Go to View > Align View > Align Active Camera to View.


