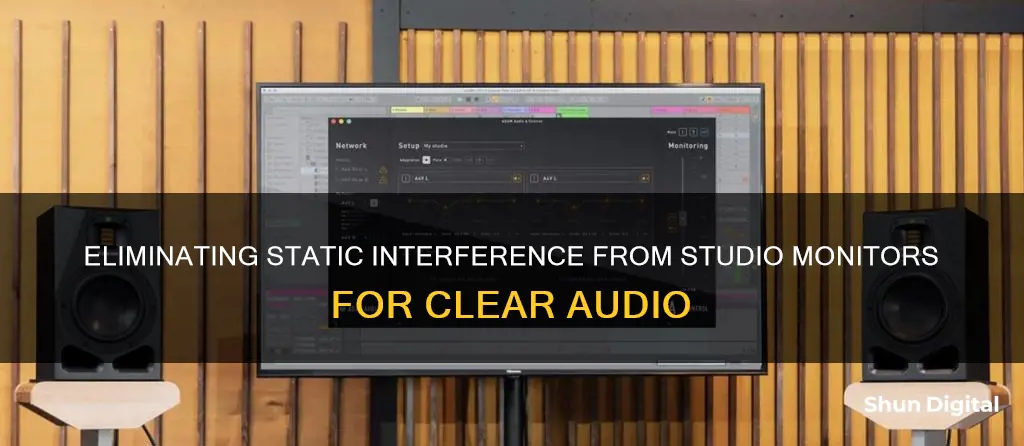
Studio monitors are a crucial component of any recording setup, but they can sometimes introduce unwanted static noise into your audio signal. This static noise can be caused by various factors, such as power supply issues, improper gain staging, or interference from other electronic devices. In this article, we will explore the common causes of static noise in studio monitors and provide practical solutions to help you achieve a clear and noise-free audio signal. By following these troubleshooting tips, you can optimise your studio setup and ensure the best possible sound quality for your recordings and productions.
| Characteristics | Values |
|---|---|
| Cause of static noise | Gain turned up too high, digital distortion, feedback, improper grounding, power issues, improper driver install, software issues, environmental interference, improper cabling |
| Troubleshooting steps | Use "balanced" cables, connect speakers to a different power source, use a power conditioner, adjust gain staging, use a ground loop isolator, use a hum eliminator, use XLR or quarter-inch cables, use a power conditioner |
What You'll Learn

Check your power source
If you're experiencing static noise from your studio monitors, one of the first things you should do is check your power source. This is because the power source can be a significant contributor to static noise in studio monitors.
Firstly, ensure that your monitors and playback solutions are connected to a separate power source from your computer and other digital hardware. Having them connected to the same power source can result in a ground loop, which can cause a humming or buzzing noise in your speakers. This is because when your computer is under a heavy load, it puts a draw on the electrical line, which then passes through the speakers. To test this, try plugging your speakers into a different power grid or a different power outlet from your computer. If this solves the issue, you may need to invest in a ground loop isolator, which you can purchase online.
In addition, if you are experiencing issues with USB ports, you may want to try a different USB cable, switch between USB 2 and USB 3, or purchase a USB isolator, which can help with audio equipment that uses USB ports.
If you are still experiencing static noise, it may be due to power issues such as power sag or improper grounding. Power sag can occur when too much power is going into one power strip, causing a dip in electrical power. This can be resolved by using multiple power strips to distribute the power load more evenly. Improper grounding can be caused by outlets that are not properly grounded, which can often be identified by dimming lights when certain appliances are powered on. To improve grounding, try connecting the chassis to the ground pin of a power socket, which can help even out the ground plane.
By addressing these power source-related issues, you can effectively reduce static noise in your studio monitors.
Discovering OIDs for SNMP Device Monitoring
You may want to see also

Use a ground loop isolator
If you're experiencing static or buzzing noise from your studio monitors, one solution is to use a ground loop isolator. Ground loops occur when there are multiple paths to the ground, creating a loop. This can cause interference and noise in your audio setup.
To fix this issue, you need to "lift" or break the ground loop by using a ground loop isolator between your audio interface output and your studio monitor input. This device will isolate the ground connection, ensuring that there is only one path to ground.
There are a few different types of ground loop isolators available, such as the Pyle isolator and the ART box. When choosing a ground loop isolator, make sure to select one that is compatible with your audio interface and studio monitors. It should also be placed correctly in the signal chain, typically between the interface output and monitor input.
Additionally, you can try using balanced cables, such as TRS or XLR cables, to connect your interface to your monitors. These cables are less susceptible to environmental interference and can provide better noise immunity.
It is important to note that using a ground loop isolator may not always be the only solution. In some cases, you might need to combine it with other techniques, such as using a different power strip for your speakers or ensuring proper grounding of your equipment.
Identifying Your Main Monitor: A Guide to Multiple Displays
You may want to see also

Check audio interface levels
To check audio interface levels, you must first understand the role of an audio interface. An audio interface acts as a bridge between the analog and digital audio worlds, converting analog audio signals from microphones or instruments into digital data that your computer can process. It also performs digital-to-analog conversion when you want to listen to your recordings through speakers or headphones.
When checking audio interface levels, it is important to ensure that the input signal is not clipping or distorting. Adjust the gain or trim knob while speaking or playing an instrument, and watch for the signal/clip indicator to turn red. If you see this, turn the knob down until the indicator is green. The ideal level for most potentiometers is between one and four o'clock.
The amount you need to turn the knob depends on factors such as the volume of the source, the sensitivity of the microphone, the maximum input and gain range of the preamp, and the gain curve of the potentiometer. Make sure you also set the EQ and dynamics after adjusting the input gain.
If you are using a Digital Audio Workstation (DAW) like Cubase, you may encounter issues with the software overriding your Windows volume settings. In this case, you may need to adjust the levels within the DAW to achieve the desired volume.
Additionally, when dealing with static noise in studio monitors, it is important to identify the type of noise. "White" noise, for example, is a constant high-frequency hiss that can be caused by the gain being turned up too high on the monitor, in the software, or from the audio interface. Digital distortion, on the other hand, is accompanied by grinding or buzzing sounds and is often caused by an issue with the audio interface or power source.
To summarise, when checking audio interface levels, adjust the gain to ensure the input signal is not clipping, set the EQ and dynamics, and troubleshoot any software-related volume issues. Additionally, be mindful of different types of noise and their potential causes when dealing with static in studio monitors.
Wireless In-Ear Monitors: Mixer Connection Guide
You may want to see also

Use balanced cables
If you're experiencing static noise with your studio monitors, one solution is to use balanced cables. Balanced cables are designed to eliminate noise and deliver a clear signal to your studio monitors. They achieve this through a clever use of phase cancellation, where any noise interference is cancelled out when the signals from the three cable conductors are combined at the output.
Balanced cables are particularly effective at reducing interference over longer cable lengths. If you're using a long unbalanced cable, it can act as an antenna for unwanted frequencies, picking up interference from static electricity or radio transmissions. By switching to a balanced cable, you can immediately reduce or eliminate this interference.
To identify a balanced cable, look for cables with three conductors, such as XLR or TRS (Tip-Ring-Sleeve) jacks. XLR connectors have three pins, while TRS jacks have two bands on them. Unbalanced cables, on the other hand, have only two conductors and are more prone to picking up interference, especially at longer cable lengths.
When choosing cables, it's important to match the cable output of your interface with the input on your studio monitors. If your audio interface output is balanced, using a balanced cable will help optimise the clarity of the sound.
Additionally, balanced cables are generally of better quality and are a worthwhile investment for your studio setup. They are more expensive than unbalanced cables due to their construction and the materials used, such as silver or gold for the conductors and connectors.
By using balanced cables, you can significantly reduce static noise and improve the overall sound quality of your studio monitors.
Unlocking Monitor: Removing OSD Lock with Easy Steps
You may want to see also

Try a different USB port
If you're experiencing static noise from your studio monitors, one solution is to try using a different USB port on your device. This is because USB ports can sometimes be a source of electrical interference, which can cause the static noise you're hearing.
If you're using a desktop PC, try switching from a USB 2 port to a USB 3 port, or vice versa. These ports operate at different speeds and have different power requirements, so this simple change might help reduce electrical interference.
If you're using a laptop, try moving from a USB port on the left side to one on the right side, or vice versa. Laptop USB ports are often divided between the two sides, with each side having its own power supply and controller. By switching sides, you may be able to reduce electrical interference and thus eliminate the static noise.
Additionally, try using a different USB cable. Not all USB cables are created equal, and some may be better shielded against electrical interference than others. A higher-quality cable may help reduce the static noise you're experiencing.
If you've tried all the different USB ports on your device and you're still experiencing static noise, you may need to take more drastic measures. One option is to purchase a USB isolator, which can help reduce electrical noise coming from the USB port. Another option is to use a powered USB hub, which can provide cleaner power to your devices and may help reduce electrical interference.
Finally, make sure your devices are plugged into a power source that can provide stable and consistent power. Power surges or fluctuations can cause electrical interference, so using a surge protector or power conditioner might help reduce the static noise you're hearing.
Monitoring Internet Usage: Who's Watching and How?
You may want to see also
Frequently asked questions
First, identify the type of noise you are hearing. Common types of noise include "white" noise, digital distortion, feedback, and pops or crackles. Once you know the type of noise, you can try the following solutions:
- Use balanced cables to connect your interface to your monitors.
- Connect your speakers to a different power strip or supply than your computer.
- Use a power conditioner to cut down on noise and protect your equipment from power spikes and surges.
- Ensure you are not over-amplifying by checking the levels of your interface, software, and speakers.
- If you suspect a ground loop, try using a ground loop isolator or a hum eliminator.
- Try using different USB ports or a different USB cable.
- If you live in an area with a lot of electrical interference, try shielding your monitors with aluminium foil or copper plates.
- Use headphones during tracking instead of speakers to avoid feedback.
There can be several causes of static noise in studio monitors. It could be due to issues with gain staging, improper grounding, power surges, electrical interference, or USB port issues.
If you suspect a ground loop, try plugging your speakers into a different power outlet or power strip than your computer and other digital equipment. If the noise goes away, then it was likely a ground loop issue.
A ground loop isolator is a device that helps to eliminate ground loop issues, which can cause static noise in audio equipment. You can purchase a ground loop isolator online from retailers like Amazon.


