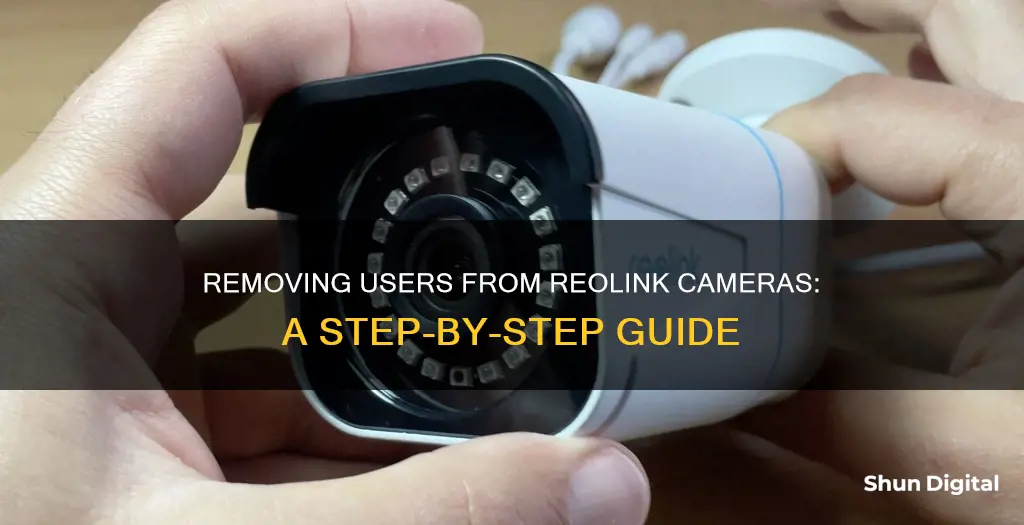
If you want to remove someone's access to your Reolink camera, there are several methods you can use. The first method is to delete the user account you created for them. Once deleted, they will no longer be able to access your camera with that account. Alternatively, you can change the user password for the account you created for them. After changing the password, they won't be able to access your camera with the old password. If you want to completely delete a camera or NVR from your Reolink App or Client, you can do so by following the relevant instructions provided by Reolink.
How to Remove Someone from Reolink Camera
| Characteristics | Values |
|---|---|
| Method 1 | Delete the user account created |
| Method 2 | Change the user password |
| Method 3 | Disable the UID of the camera/NVR |
| Delete from Reolink App | Tap the gear icon to enter the Settings page, then tap Delete |
| Delete from Reolink Client | Right-click the camera/NVR, then click the Delete button |
| Delete from Reolink NVR | Go to Settings > Channel > Channel Management. Click on the camera and tap the Delete button |
What You'll Learn

Delete user accounts
If you want to remove someone's access to your Reolink camera, you can delete their user account. This will prevent them from accessing your camera via that account. Here is a step-by-step guide on how to do this:
- Ensure you are the default admin user of the camera/NVR. Only the default admin user has the authority to delete user accounts.
- Log in to your Reolink camera account.
- Locate the user account you want to delete.
- Follow the steps to delete the user account. This process may vary depending on the specific Reolink camera model you have. Refer to the Reolink support page for detailed instructions on "How to Delete User Accounts for Reolink Devices".
- After successfully deleting the user account, the person will no longer be able to access your camera through that account.
Note: This method does not apply to Reolink battery-powered cameras. These cameras only have the default admin user and do not support adding additional user accounts. For these cameras, you may consider alternative methods to restrict access, such as changing the default admin password or disabling the UID of the camera.
Removing Moisture from Your Camera: Effective Strategies
You may want to see also

Change user passwords
To change user passwords for your Reolink camera, follow these steps:
- Launch the Reolink App and log in to your camera.
- Navigate to Settings > Advanced > User Management.
- Choose the user whose password you want to change.
- Type in the old password and set a new one.
- Confirm the new password and click Save to save the configuration.
Note that this process applies to all Reolink NVRs and Cameras.
If you have forgotten your Reolink device password, there are a few methods to recover or reset it:
- Restore the password on Reolink software if you have any device that can access the camera. This method will restore all configurations, so you'll need to reinitialize and create a new password, but recordings will not be lost.
- Hard reset the password by pressing the reset button if no devices can access the camera. The reset button is located on the Reolink device body, so you may need to remove the camera if it's installed.
The default Reolink username is "admin", and the default password is blank (no password).
Removing Black Dots on Camera Lenses: A Step-by-Step Guide
You may want to see also

Disable UID
To disable the UID on your Reolink camera, follow these steps:
- Launch the Reolink Client on your device.
- Navigate to the Device Settings > Network Settings > Advanced page.
- Locate the "Enable UID" option and turn it off.
It is important to note that this method applies to all Reolink devices except for battery-powered cameras and cameras in the NVR kit. If you are using a Reolink battery-powered camera, it can only be accessed using the UID, so this feature cannot be disabled.
If you are using a Reolink camera with an old user interface, the steps are slightly different:
- Log in to your device via a web browser and go to the device settings page.
- Navigate to Network > Advanced.
- Find the UID enable option and uncheck it to disable the UID.
Disabling the UID will prevent remote access to your Reolink camera via the UID. If you still want to access your camera remotely, you may need to set up port forwarding manually.
Additionally, if you want to completely remove a camera or NVR from your Reolink system, you can do so through the Reolink App or Client. In the app, tap the gear icon to enter the Settings page, then tap "Delete" to remove the camera or NVR. In the Reolink Client, right-click on the camera or NVR and select the "Delete" option.
Spotting Cameras: Tips to Identify Them Discreetly
You may want to see also

Delete camera from Reolink App
To delete a camera from the Reolink App, follow these steps:
- Tap the gear icon to enter the Settings page.
- Tap "Delete" to remove the camera from your Reolink App.
Note: If you delete the camera in LAN while the camera is still connected, please disable "Add Devices Automatically" first and then delete the camera; otherwise, the camera will show up again after being deleted.
To delete a camera from the Reolink Client, follow these simple steps:
- Right-click on the camera.
- Click the "Delete" button.
Note: Similar to the Reolink App, if you delete the camera in LAN while the camera/NVR is still connected, please disable "Add Devices Automatically" first and then delete the camera/NVR; otherwise, the camera/NVR will show up again after being deleted.
To delete a camera from a PoE NVR:
- Log into your PoE NVR on a monitor.
- Go to Menu > IP channel page.
- Unplug the camera from the PoE NVR, and the camera's status will turn to Offline after a while.
- Change the Channel of the disconnected IP camera to "None" and then click the "Apply" button to save your settings.
- Click the "Scan" button to refresh the list; the disconnected camera will no longer show on the list.
Exploring F1 Onboard Cameras: A Spectator's Guide
You may want to see also

Delete camera from Reolink Client
To delete a camera from the Reolink Client, follow these steps:
- Right-click on the camera you want to delete.
- Click the "Delete" button.
- If you are deleting the camera while it is still connected, be sure to first disable the "Add Devices Automatically" feature. Otherwise, the deleted camera will reappear in your Reolink Client.
These steps apply to all Reolink cameras and NVRs.
Removing Corel Camera Plugin: A Step-by-Step Guide
You may want to see also
Frequently asked questions
If the person has access to your camera through a user account, you can delete their account or change the password. Alternatively, you can disable the UID of the camera, which will prevent remote access.
If you are the default admin user, you can delete the user account you created for the person accessing your camera. Refer to the Reolink support page on "How to Delete User Accounts for Reolink Devices" for detailed instructions.
No, you can simply change the password for your user account. For Reolink battery-powered cameras, you will need to change the password of the default admin account. Refer to the Reolink support page on "How to Change User Password for Reolink Device" for detailed instructions.
Disabling the UID will prevent remote access to your camera. Please note that if you disable the UID, you will also lose remote access. To disable the UID, refer to the Reolink support page or contact their customer support team for assistance.


