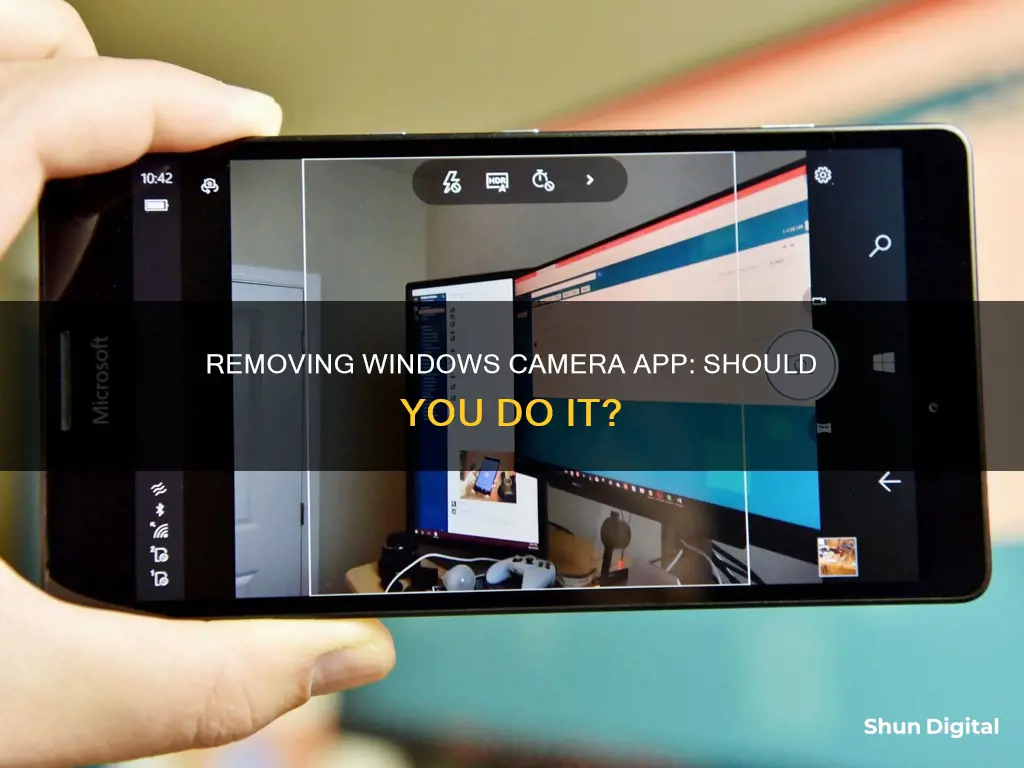
The Windows Camera app is a built-in app that allows users to capture videos and photos without the need for third-party programs. While the app offers convenience, some users may have concerns about privacy and security, especially with the possibility of malware taking control of the camera. Disabling the camera app can be done through the Device Manager, where users can turn off the camera for all apps or specific apps. For a more permanent solution, users can also uninstall the Windows Camera app using PowerShell, a third-party app, or by resetting the app to its default settings. Reinstalling the app is an option if users encounter software problems or change their minds.
| Characteristics | Values |
|---|---|
| Ease of Removal | The Windows Camera App cannot be uninstalled through the Search function or the Apps & Features function. It can be uninstalled through the Command Prompt or PowerShell. |
| Reinstallation | The Windows Camera App can be reinstalled through the Microsoft Store. |
| Resetting | The Windows Camera App can be reset through the Settings app. |
| Disabling | The Windows Camera can be disabled through the Device Manager. |
What You'll Learn

How to remove the camera app with PowerShell
The Camera app is a built-in app in Windows 10 and 11, and it can be tricky to remove it. Unlike other Microsoft Store apps, the Camera app does not allow itself to be removed from Settings. However, it is still possible to remove it using PowerShell.
- Open PowerShell as an administrator. You can do this by pressing the Windows + X key together to open the option menu, and then clicking on "Windows PowerShell (Admin)". Alternatively, you can search for Windows PowerShell, right-click on it, and select "Run as administrator".
- Once PowerShell is open, type the following command:
```
Get-appxpackage *Microsoft.WindowsCamera* | remove-appxpackage
```
- Press Enter to run the command.
- Wait for PowerShell to finish the removal process. This should only take a few seconds.
- The Camera app is now removed from your device.
If you wish to reinstall the Camera app, you can do so by opening the Microsoft Store and searching for the Windows Camera app. Simply click the "Get" or "Install" button to reinstall it.
GMC's Camera Technology: Seeing Behind Trailers
You may want to see also

How to reinstall the camera app
If you are having issues with your Camera app on Windows 10/11, you can try to reset or reinstall it. Here is a step-by-step guide on how to do this:
How to Reset the Camera App in Windows 10/11:
- Click Start -> Settings -> Apps -> Apps & features.
- Scroll down to find Camera app in the app list. Click it.
- Click the Advanced options link under the Camera app.
- In the new Camera settings window, click the Reset button under the Reset section to revert the Camera app to its default settings.
Since the Camera app is built into Windows 10/11, Microsoft does not allow users to easily uninstall the built-in apps. However, you can try to uninstall the Camera app using CMD or PowerShell utility, and then reinstall it from the Microsoft Store. Here's how:
- Press Windows + X and select Windows PowerShell (Admin) to open PowerShell.
- In the PowerShell window, type Get-AppxPackage and press Enter. This will list all apps installed on your computer.
- Right-click the title bar of PowerShell and select Edit -> Find. Type "camera" and click the Find Next button to locate the Windows Camera app in the list.
- After locating the Windows Camera app, copy the text next to PackageFullName.
- Type the command Remove-AppxPackage PackageFullName and press Enter. Replace "PackageFullName" in the command with the text you copied in the previous step to uninstall the Camera app.
- Once the Camera app has been uninstalled, open the Microsoft Store app and search for the Windows Camera app to download and install it again on your PC.
Please note that you can also try uninstalling the Camera app using a third-party app such as O&O AppBuster, which allows you to pick and choose which apps to remove and restore them if needed.
Removing Honda Odyssey's LaneWatch Camera: A Step-by-Step Guide
You may want to see also

How to disable the camera for all apps
Disabling the camera for all apps on a Windows PC is a straightforward process. This is a great way to maintain control over your camera's interaction with apps and enhance your computer security.
For Windows 10:
- Right-click on the Windows Start button.
- Select "Device Manager" from the menu that appears.
- A new window will open. Select the arrow next to "Imaging devices" to expand the menu.
- Right-click on the name of your camera and select "Disable device."
- Click "Yes" in the confirmation box.
For Windows 11:
- Press the Start button and then click on "Settings." If you can't find "Settings," press Windows + I.
- Click on "Bluetooth & devices" and then select "Cameras."
- Find the "Connected cameras" list and choose your camera.
- Under the webcam preview, click on "Disable."
- A confirmation box will appear. Press "Yes."
Once you've completed these steps, the camera will be fully disabled, and no apps will have access to it. If you need to enable the camera again, you can follow similar steps and choose the "Enable device" option.
Should I remove the Windows camera app?
The decision to remove the Windows camera app depends on your specific needs and concerns. While the app can be uninstalled using PowerShell or a third-party app, it's important to note that Microsoft doesn't allow users to easily uninstall built-in apps.
Disabling the camera for all apps or specific apps can be a good alternative to removal, as it gives you more control over your camera's usage while still allowing you to use the built-in camera app when needed. This can be especially useful if you have privacy concerns or want to prevent unauthorized access to your camera.
Becoming a TV Camera Person: Skills and Steps
You may want to see also

How to disable the camera for specific apps
There are several reasons why you may want to disable your webcam, such as security concerns or safeguarding children. Disabling the camera for specific apps can be done in Windows 11, 10, or 8 by following these steps:
- Select the Settings icon in the Start menu.
- Choose Privacy (or Privacy & Security).
- In the Camera section, turn on "Allow apps to access your camera" (or Camera Access) to allow access by some apps and services.
- Tap the slider next to each app or service in the list to allow some apps and services to access the webcam while preventing others from doing so.
This method allows you to restrict camera access for specific apps, such as social media or chat sites, while still allowing access for others.
If you want to disable the camera for all apps and services, you can do so by following these steps:
- Right-click on the Windows Start button and select Device Manager.
- In the Device Manager window, select the arrow to expand Imaging devices.
- Right-click on your camera's name and select "Disable device."
- Choose "Yes" when asked to confirm.
To enable the camera again, return to the Device Manager window, right-click on your camera's name, and select "Enable device."
In addition to disabling the camera for specific apps, you can also uninstall the Camera App using PowerShell or a third-party app. However, it's important to note that the Camera App is built into Windows, and Microsoft doesn't allow users to easily uninstall built-in apps.
Tesla Cameras: Easy Viewing or Privacy Concern?
You may want to see also

How to reset the camera app
The Windows Camera app is a useful, built-in feature that allows users to capture videos and photos without needing to install any third-party programs. However, if the Camera app is malfunctioning, you can reset it to its default settings. Here is a step-by-step guide on how to do this:
Firstly, open the Start menu by clicking the Windows icon in the bottom-left corner of your screen. From there, click on 'Settings', then 'Apps', and finally, 'Apps & features'.
Now, scroll down until you find the Camera app in the list of applications. Click on it, and then click on the 'Advanced options' link. In the new Camera settings window, you will see a 'Reset' button under the 'Reset' section. Click this button to reset the Camera app to its default settings.
Resetting the Camera app will not delete any videos or photos you have captured; it will only revert the app's settings to their original state. If the Camera app is still not functioning properly after resetting, you may need to consider reinstalling it.
How to Reinstall the Camera App:
Since the Camera app is built into Windows 10/11, Microsoft does not allow users to easily uninstall or reinstall it like other third-party applications. However, there are a few methods you can try to uninstall and then reinstall the Camera app:
- Using PowerShell: Press 'Windows + X' on your keyboard, then select 'Windows PowerShell (Admin)' from the menu. In the PowerShell window, type in the command 'Get-AppxPackage' and press Enter. This will display a list of all the apps installed on your computer. Next, right-click on the title bar of the PowerShell window and select 'Edit', then 'Find'. Type 'camera' in the search field and press 'Find Next' to locate the Windows Camera app in the list. Once you have found it, copy the text next to 'PackageFullName'. Now, type the command ''Remove-AppxPackage', followed by the PackageFullName text you copied earlier, and press Enter. This should uninstall the Camera app.
- Using a Third-Party App: You can also use a third-party application like O&O AppBuster to uninstall the Camera app. This method offers more flexibility, as it allows you to pick and choose which apps you want to remove and even restore them if you change your mind later.
After successfully uninstalling the Camera app, you can reinstall it by opening the Microsoft Store app and searching for "Windows Camera app." From there, you can download and install it again on your PC.
Blackvue: Accessing Your Camera Footage
You may want to see also
Frequently asked questions
As the Camera app is a built-in app in Windows 10, it can be tricky to get it removed. You can do it with PowerShell: open PowerShell as an administrator and type "get-appxpackage *Microsoft.WindowsCamera* | remove-appxpackage" in the console. Press Enter to run this command and wait for PowerShell to finish the removal job.
Yes, you can. Go to the Start menu, choose "Settings", then select "Privacy". Find "Camera" in the left-hand menu and click on it. Find the setting "Allow apps to access your camera" and toggle the switch. You will then see a list of apps that you can turn off access for.
If you are concerned about privacy and security, you may want to disable your integrated webcam. By doing so, you prevent any malware from taking control of your camera and spying on you. Disabling the webcam can also protect your children's safety and identities when they are using interactive websites or instant messaging platforms that may not be child-friendly.


