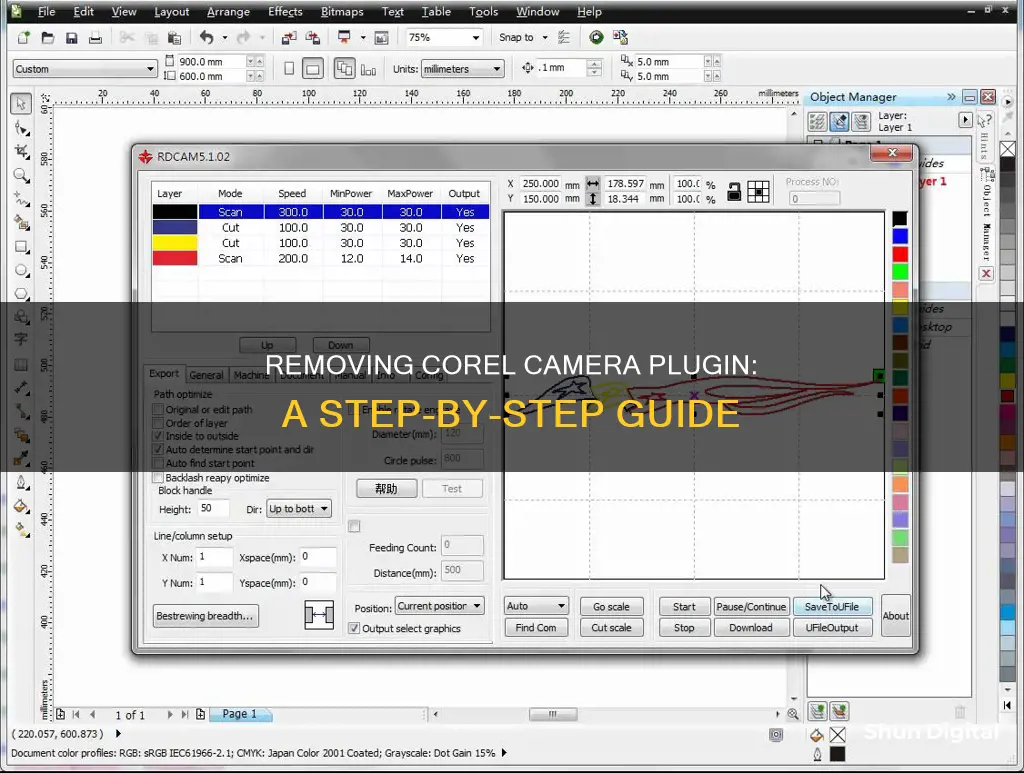
Corel is a software company that offers a range of products, including graphics, photo editing, video editing, and office software. While Corel software can enhance your experience with additional features, you may sometimes need to remove plugins to fix bugs or free up space. The process of removing a plugin will depend on the specific Corel product and your operating system. For example, if you are using a Windows PC, you can uninstall a Corel program through the Windows Add/Remove (Programs and Features) Programs menu. On a Mac, you can uninstall a Corel program by dragging the app from the Applications folder to the Trash and then emptying the Trash. For Linux users, the steps will vary depending on the specific Linux distribution you are using.
| Characteristics | Values |
|---|---|
| Method 1 | Remove the plugin folder that contains the plugin from your AfterShot User Folder |
| Method 2 | Uninstall the Corel program through the Windows Add/Remove (Programs and Features) Programs menu |
What You'll Learn

Removing Corel Camera Plugin from the appdata folder
To remove the Corel Camera plugin from the appdata folder, you will need to perform a manual uninstall of the CorelDRAW Graphics Suite. Here is a step-by-step guide:
- Restart your operating system: Before beginning the uninstall process, make sure to restart your computer to ensure that all programs are closed and any pending Windows updates are completed.
- Open the Control Panel: Go to the Windows Control Panel and click on "Uninstall a program."
- Remove specific programs: Uninstall the following programs in this particular order if they are installed on your system:
- Corel Graphics - Windows Shell Extension
- Ghostscript GPL 8.64
- CorelDRAW Graphics Suite (select the appropriate version, e.g., 2017 or 2020)
- Ensure that the "Remove User Files" option is checked during the uninstall process. This will delete application user files such as workspaces and application preferences.
Inspect folders and registry: It is recommended to visually inspect the installation and user folders, as well as the registry, for any remaining files or entries related to CorelDRAW. These may need to be manually deleted. The specific locations to check vary depending on the version of CorelDRAW you are uninstalling. For example, for CorelDRAW Graphics Suite 2020, you would check the following locations:
- Installed folder location (default):
- 64-bit version on a 64-bit OS: C:\Program Files\Corel
- 32-bit version on a 64-bit OS: C:\Program Files (x86)\Corel
- %appdata% folder or C:\Users\
\AppData\Roaming\Corel - C:\Users\
\Documents\Corel - Public File location: C:\Users\Public\Documents\Corel
- All Users File location: C:\ProgramData or C:\Users\All Users
- ProgramData File location: C:\ProgramData\Corel
Check the Windows registry: Before making any changes to the registry, it is strongly recommended to back it up. The specific registry locations to check include:
- HKEY_CURRENT_USER\SOFTWARE\Corel\CorelDRAW\ (version number)
- HKEY_LOCAL_MACHINE\SOFTWARE\Corel (32-bit or 64-bit version depending on your OS)
- HKEY_LOCAL_MACHINE\SOFTWARE\WOW6432Node\Corel (for a 32-bit version on a 64-bit OS)
- Uninstall .msi components: Navigate to the C:\Windows\Installer folder and uninstall any remaining CorelDRAW Graphics Suite .msi components. These need to be uninstalled one at a time by right-clicking on each and choosing "Uninstall."
- Reboot your system: After completing all the above steps, reboot your system to finalize the uninstallation process.
By following these steps, you will have manually uninstalled CorelDRAW Graphics Suite, including the Corel Camera plugin, and removed any related files from the appdata folder.
Fire TV and Camera: What's the Deal?
You may want to see also

Uninstalling Corel Camera Plugin via Windows Add/Remove Programs menu
To uninstall the Corel Camera Plugin, you must first close the program by clicking the 'X' in the upper-right corner. Once the program is closed, you can begin the uninstall process via the Windows Add/Remove Programs menu.
If you are running Windows 8/8.1, follow these instructions:
- Swipe in from the right edge of the screen, then tap 'Search'.
- Enter 'Control Panel' in the search box, then tap or click 'Control Panel'.
- Under 'View by', select 'Large Icons', then tap or click 'Programs and Features'.
- Tap or click the program, then tap or click 'Uninstall'.
If you are running Windows Vista or Windows 7, follow these instructions:
- Click on the 'Start' button, then select 'Control Panel'.
- Select 'Programs', then select 'Programs and Features'.
- Choose the program to be removed, then click 'Uninstall'.
If you are running Windows XP, follow these instructions:
- Click on the 'Start' button and select 'Control Panel'.
- Select the 'Add or Remove Programs' button.
- Select the program you wish to remove and click 'Change/Remove'.
- Click 'Uninstall' in the confirmation dialog to finish removing the program.
Falcon Pro DRC376V1648-02: Easy Removal Guide for Cameras
You may want to see also

Removing Corel Camera Plugin on Mac
To remove the Corel Camera Plugin on a Mac, you will need to uninstall Corel Painter. Here is a step-by-step guide on how to do this:
Step 1:
First, make sure that Corel Painter is closed. You can do this by clicking the 'X' in the upper-right corner of the program.
Step 2:
Remove the Corel Painter launcher by dragging it to the Trash icon on your Dock, or by using the keyboard shortcut control+click, and then selecting 'Move to Trash'.
Step 3:
Remove the Applications > Corel Painter folder by dragging it to the Trash icon on the Dock.
Step 4:
Remove the following folders by dragging them to the Trash icon on the Dock:
- /Users/{username}/Library/Application Support/Corel/ com.corel.Painter, Painter, and Painter Config
- /Users/{username}/Library/Preferences/ com.corel.Painter
Step 5:
From the Finder menu, choose 'Empty Trash'. If you need to remove the serial number information (dta files, etc.), also remove this folder and its subfiles:
{MainHD}/Library/Preferences/com.corel.Painter
Note: To delete an item, you can either drag it to the Trash or use the keyboard shortcut control+click, then select 'Move to Trash'.
Method 2 - Manual Uninstall:
To go back to a state prior to the installation of Corel Painter, perform the following steps:
Step 1:
Ensure no other Corel products exist on your system. If there is one or more, then anything that does not contain the product name in the file should not be removed (e.g., CorelHelper, CUH, PCU, etc.).
Step 2:
Remove Corel Painter from your Dock, if it exists. To do this, right-click on the icon in the Dock, then select 'Options' > 'Remove from Dock'.
Step 3:
In the Finder menu, click on the following locations to reveal the files and folders to be deleted:
- {MainHD}/Applications/Corel Painter
- {MainHD}/Library/Application Support/CrashReporter/ "only things related to Corel"
- {MainHD}/Library/LaunchAgents/com.corel.CorelUpdateHelperTask.agent.plist
- {MainHD}/Library/Logs/Corel/tmpsn.plist
- {MainHD}/Library/Logs/DiagnosticReports/"only things related to Corel"
- {MainHD}/Library/Preferences/com.corel.CUH
- {MainHD}/Library/Preferences/com.corel.CUH.update
- {MainHD}/Library/Preferences/com.corel.Painter
- {MainHD}/Library/Preferences/com.corel.PCU2
- {MainHD}/Library/Preferences/Corel
Step 4:
Go to the 'Go to Folder...' option in the Finder menu and type "~/Library" without the quotation marks, then click 'Go'. Alternatively, you can click the Finder menu 'Go' while holding the option key to show the Library.
Step 5:
Remove the following files and folders:
- /Users/{username}/Library/Application Support/com.apple.sharedfilelist/com.apple.LSSharedFileList.ApplicationRecentDocuments/com.corel.painter.sfl2
- /Users/{username}/Library/Application Support/Corel/.
- /Users/{username}/Library/Application Support/CrashReporter/ "only things related to Corel"
- /Users/{username}/Library/Caches/com.corel.CUH
- /Users/{username}/Library/Caches/com.corel.dimexe
- /Users/{username}/Library/Caches/com.corel.Painter
- /Users/{username}/Library/Caches/com.corel.dwnld
- /Users/{username}/Library/Cookies/com.corel.CUH.binarycookies
- /Users/{username}/Library/Cookies/com.corel.Painter.binarycookies
- /Users/{username}/Library/LaunchAgents/com.corel.CorelUpdateHelperTask.agent.plist
- /Users/{username}/Library/LaunchAgents/update.log
- /Users/{username}/Library/Preferences/com.corel.CUH
- /Users/{username}/Library/Preferences/com.corel.CUH.update
- /Users/{username}/Library/Preferences/com.corel.dimexe
- /Users/{username}/Library/Preferences/com.corel.dwnld
- /Users/{username}/Library/Preferences/com.corel.Painter
- /Users/{username}/Library/Preferences/com.corel.Painter.plist
- /Users/{username}/Library/Preferences/com.corel.PCU2
- /Users/{username}/Library/Preferences/Corel
- /Users/{username}/Library/Receipts/com.corel.CUH.bom
- /Users/{username}/Library/Receipts/com.corel.CUH.plist
- /Users/{username}/Library/Receipts/com.corel.LaunchAgents.bom
- /Users/{username}/Library/Receipts/com.corel.LaunchAgents.plist
- /Users/{username}/Library/Receipts/com.corel.Messages.bom
- /Users/{username}/Library/Receipts/com.corel.Messages.plist
- /Users/{username}/Library/Receipts/com.corel.PCU2.bom
- /Users/{username}/Library/Receipts/com.corel.PCU2.plist
- /Users/{username}/Library/WebKit/com.corel.Painter
- /Users/{username}/Library/Saved Application State/com.corel.Painter.savedState
Hidden Cameras: Are Your TV's Watching You?
You may want to see also

Removing Corel Camera Plugin on Ubuntu Linux
Step 1: Access the Ubuntu Software Center
Click on the suitcase icon in the Unity Launcher to open the Ubuntu Software Center.
Step 2: View Installed Programs
Click on "Installed" on the toolbar at the top of the screen. This will display all the programs installed on your system.
Step 3: Locate the Corel Camera Plugin
Click on the right arrow to the left of the category under which the Corel Camera Plugin is located. You can also use the Search box in the top-right corner of the window to search for the plugin by name.
Step 4: View Program Details
Once you have found the Corel Camera Plugin, click on it to display the options. You can view more details about the program by clicking on "More Info".
Step 5: Remove the Program
When you are ready to remove the plugin, simply click on the "Remove" button. This will uninstall the Corel Camera Plugin from your system.
Alternatively, you can remove the Corel Camera Plugin by using the command line. Open the Terminal by clicking on Applications → System Tools → Terminal. Then, type in the following command:
Su -c 'yum remove application'
Make sure to replace "application" with the exact name of the Corel Camera Plugin. If you are unsure of the exact name, you can search your installed repositories for a keyword by using the following command:
Su -c 'yum search keyword'
Where "keyword" is the word you want to search for in the names and descriptions of the programs in the available repositories.
After using the "yum remove" command, you will be prompted to enter the computer's root password. Type in the password and press Enter. The terminal will display information about the application and then prompt you to confirm the removal. Type "y" and press Enter to continue with the removal process. The terminal will then delete the necessary files and complete the removal of the application.
Q-See Cameras: Why Black and White?
You may want to see also

Removing Corel Camera Plugin on Fedora Linux
Fedora Linux is a Linux distribution developed by the Fedora Project. It offers a range of features and tools for developers and users, including the Corel Camera Plugin. If you need to remove the Corel Camera Plugin from your Fedora Linux system, here's a step-by-step guide to help you through the process.
First, it's important to understand the package management system used by Fedora Linux. The system uses the RPM Package Manager (RPM) and the DNF package manager to manage installed software. DNF is a powerful tool that allows you to install, remove, and update software packages. It uses an external dependency resolver called libsolv to manage dependencies efficiently.
To remove the Corel Camera Plugin, follow these steps:
- Open a terminal: Start by opening a terminal on your Fedora Linux system. You can do this by pressing Ctrl + Alt + T or by searching for "terminal" in the Activities overview.
- Identify the plugin package: Use the DNF package manager to list all the installed packages on your system. You can do this by running the command `dnf list installed` in the terminal. This will display a list of all the packages installed on your system, including the Corel Camera Plugin.
- Remove the plugin package: Once you have identified the package name or names associated with the Corel Camera Plugin, you can proceed to remove it. Use the following command, replacing "plugin_package_name" with the actual name of the plugin package: `sudo dnf remove plugin_package_name`. You will be prompted to confirm the removal. Type 'y' and hit Enter to proceed.
- Confirm the removal: After the removal process is complete, you can verify that the Corel Camera Plugin has been successfully removed by running the `dnf list installed` command again. The plugin package should no longer appear in the list of installed packages.
By following these steps, you can easily remove the Corel Camera Plugin from your Fedora Linux system. Remember to exercise caution when removing packages, as it can affect the functionality of certain applications. Always make sure you have the necessary permissions and that you are removing the correct package to avoid any unintended consequences.
Additionally, if you are using Corel AfterShot Pro, the process of removing the plugin may vary slightly. AfterShot Pro allows users to access and install plugins directly within the software. To remove a plugin from AfterShot Pro, you simply need to remove the plugin folder from your AfterShot User Folder. You can locate the User Folder by opening the main application Preferences page and selecting "File -> Preferences" on Linux.
Stop TV Banding: Adjust Camera Settings for Better Quality
You may want to see also


