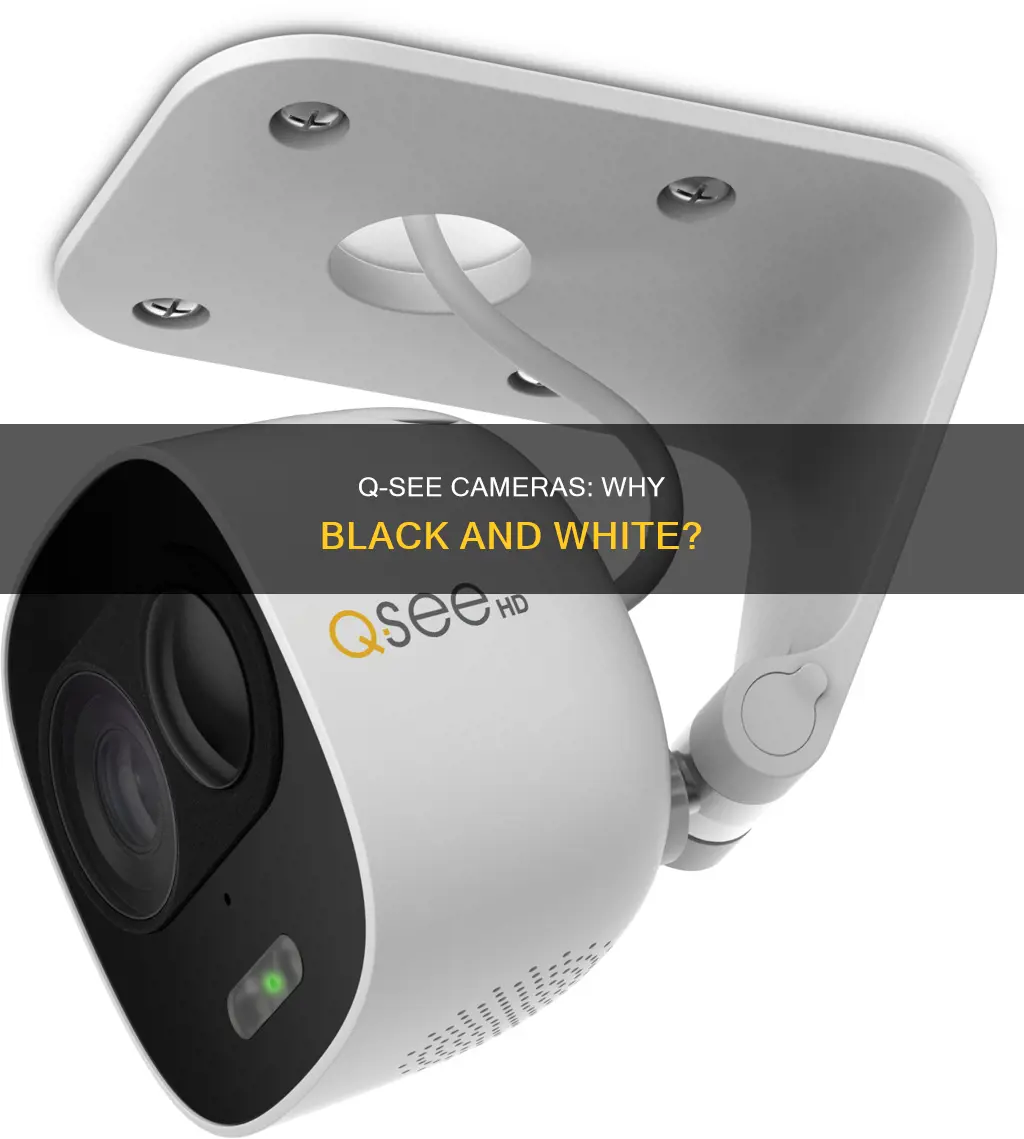
If your Q-See camera is showing black and white images instead of colour, it's likely that the camera's infrared mode is activated. In low-light situations, where the standard visible light sensor fails to capture enough light, the camera switches to infrared mode to brighten the field of view. This mode uses infrared lights and sensors to create a black and white image for the user, as the camera can no longer detect colours. If your camera is stuck in black and white despite ample lighting, you may need to adjust your infrared settings.
| Characteristics | Values |
|---|---|
| Problem | Q-See camera displaying in black and white when there is ample light |
| Cause | The infrared lights are stuck on |
| Solution | Power cycle the camera and video recorder, check the camera lens and sensor, test the cable and power supply, or change the infrared settings to automatic |
What You'll Learn

The infrared sensor is stuck on
If your Q-See camera is displaying in black and white despite there being ample light, it is likely that something is causing the infrared lights to stay on. This issue can be caused by a glitch that has caused the infrared sensors to remain in the "on" position.
To resolve this, you can try power cycling the camera by turning it off, waiting a few seconds, and then turning it back on. This may clear any erroneous settings that have prevented the camera from switching back to color. If this does not work, you can try power cycling the video recorder as well.
Another potential cause could be an obstruction blocking the sensor, such as dirt or debris on the camera lens. To address this, inspect the camera lens and wipe away any dirt or debris.
Additionally, the issue could be related to the power source or cable. To check this, unplug the camera and plug in one that is known to be working properly. If the other camera experiences the same issue, the problem may lie with the cable or power supply. In this case, it is recommended to consult a professional for further assistance.
If none of these troubleshooting steps resolve the issue, it may be necessary to have the camera repaired or replaced by the manufacturer. Checking the manufacturer's warranty can be a good starting point to determine if you are eligible for a repair or replacement.
Solving Camera After Effects: Track Your Progress
You may want to see also

Power cycle the camera and video recorder
If your Q-See camera is displaying in black and white, it may be due to a glitch that has caused the infrared sensors to get stuck in the "on" position. This can be resolved by power cycling your camera and video recorder. Power cycling is a troubleshooting technique that can help reset your device and its connections.
To power cycle your Q-See camera and video recorder, follow these steps:
Power off the camera and the video recorder:
\- Locate the power cord or cable connected to your camera and unplug it from the power source. If your camera is battery-powered, remove the batteries.
\- For the video recorder, unplug the power cord from the power outlet or power off the device using a power switch.
Wait for at least 10-15 seconds:
\- This step is crucial as it allows the device's memory and settings to clear.
Power on the camera and the video recorder:
\- Reconnect the power cord or cable to the camera and plug it back into the power source. If your camera uses batteries, reinsert them.
\- For the video recorder, plug the power cord back into the power outlet or turn on the device using the power switch.
Wait for the devices to reboot:
\- This may take a few seconds or up to a minute.
Verify that the camera and video recorder are working properly:
\- Check if the camera is connected and streaming in colour. You can also review the footage on the video recorder to ensure it is recording in colour.
Power cycling can be an effective way to resolve issues with your Q-See camera and video recorder. It is a simple process that can help clear any erroneous settings and improve the performance of your devices.
Infrared Camera Hack: See-Through Clothes Vision
You may want to see also

Inspect the camera lens and sensor
Inspecting the camera lens and sensor is an important step in troubleshooting black-and-white display issues. Here is a detailed guide to help you through the process:
Inspecting the Camera Lens:
- Visual Inspection: Start by carefully examining the lens for any scratches, cracks, or physical damage. Pay close attention to the glass surface, as scratches here can impact image quality. Also, check for coating problems or other imperfections on the front and back parts of the lens.
- Focus and Zoom Rings: Rotate the focus and zoom rings while looking through the lens. Observe if there is any dust inside the lens, as a small amount is normal, but excessive dust or larger debris like hair or dirt can be problematic.
- Zoom Mechanism: Ensure the zoom mechanism works correctly. When you zoom in and out, the barrel should smoothly extend and retract without any looseness or swaying.
- Mounting: Mount and dismount the lens from the camera multiple times. Ensure it goes on easily and securely, with no looseness or wiggling when mounted. The locking clasp should also catch and release smoothly when you press the dismount button.
- Lens Barrels and Junctions: Check the lens barrels for any loose screws or rattling parts. Examine the junctions under the rubber zoom and focusing rings, as well as the ends of the lens under the filter ring, for any signs of poor construction.
- Stability: Test the stability of the lens by gently tapping it on a hard surface or using a rock. Ensure that all the mounting holes contain screws and that the internal barrel moves smoothly during zooming and focusing.
Inspecting the Camera Sensor:
- Infrared Sensor: The infrared sensor is likely the cause of the black-and-white display. Check if the infrared LEDs around the lens are glowing red, indicating they are active. If so, power cycle the camera and video recorder to reset the sensor.
- Obstruction: Ensure nothing is obstructing the sensor, as this can cause the camera to think it's dark and keep the infrared lights on. Wipe away any dirt or debris from the sensor and lens.
- Cable and Power: If the issue persists, check the cable and power supply. Unplug the camera and plug in a working one to see if the problem remains. If it does, consult a professional, as it may be a cable or power supply issue.
By carefully inspecting the camera lens and sensor, you can identify any issues that may be causing the black-and-white display and take appropriate steps to resolve them.
Omnipresent Cameras: TV Show with No Secrets
You may want to see also

Test the cable and power supply
If your Q-See camera is displaying in black and white, it could be due to a faulty cable or power supply. Here are some detailed steps to test the cable and power supply:
Testing the Cable:
- Visual Inspection: Begin by visually inspecting the cable for any signs of physical damage, such as cracks, cuts, or other visible issues. If you notice any damage, it is recommended to replace the cable.
- Check Connectors: Ensure that the connectors are clean, free from corrosion, dirt, or moisture, and properly connected to both the camera and the recorder. If there is any damage or fault, consider replacing these connectors.
- Continuity Test: Use a multimeter to test the continuity of the cable. Set the multimeter to continuity or sound mode. Touch the probes together; you should hear a beep or see an indicator light. Next, touch the probes to the connector pins at each end of the cable. If there is no continuity, it indicates a potential issue with the cable.
- Voltage Drop Test: Use a voltage meter to measure the voltage at the camera end and the recorder end of the cable. The readings at these two points should be similar. A significant variation may suggest a cable fault or damaged connector.
- Signal Quality Test: Connect the camera to a monitor or video recorder and assess the image quality. If the image is unclear or distorted, it could be due to a cable fault, damaged connector, or an issue with the camera itself.
Testing the Power Supply:
- Identify Loaded Voltage: Use a Volt Ohm Meter (VOM) set to a Low DC scale to measure the voltage at the camera's power supply input terminals. Ensure the voltage is within the operating range for the camera. Record the readings for later comparison.
- Check for Camera Starvation: If the camera operates during the day but fails at night when infrared LEDs turn on, it may be due to "Camera Starvation" caused by under-voltage. This can be confirmed by checking if the voltage drops below the operating level when the infrared LEDs activate.
- Check for Over-voltage: A voltage level higher than the camera's specifications can lead to issues. It can cause components like PTC automatic resettable fuses to open up when they get hot. This may require resetting the power by turning it off and then on again.
- Check for Ground Loops: Use the VOM set to a low AC voltage scale. Disconnect the video coaxial cable at either end. Measure the AC voltage between the camera's ground and the DVR's ground using the cable run back to the DVR. If the voltage is larger than 1 Volt, it may indicate a camera lockout due to video overload.
- Check Video Levels: If you have test equipment like an oscilloscope or CM-2 Camera Master, check the video levels coming from the camera. Measure the Sync signal, which should be around 40 I.R.E. units, and the Luminance or White level, which should be 100 I.R.E. units and not exceed 120 I.R.E. units.
- Power Cycle: If the camera is still not functioning, cycle the power supply off and then back on again. Compare the voltage readings to the previous measurements. If there is a significant change, it may indicate overload or starvation, and you may need to use a larger power supply or move the power supply closer to the camera.
- Test Power Supply Wires for Continuity: Disconnect the power supply wires and measure the loop resistance using an Ohm meter. This can help identify any faulty power wiring that may be causing issues.
Philips 65-inch 4K TV: Where's the Camera?
You may want to see also

Have it repaired or replaced by the manufacturer
If you suspect that your Q-See camera needs to be replaced, you can check your manufacturer's warranty. While manufacturers often don't repair or replace cameras that have been damaged or installed improperly, a stuck infrared sensor is sometimes the result of a manufacturing defect.
Q-See Corporation, a California-based company that specialized in low-cost surveillance products, has gone out of business. In a public statement, Q-See attributed its closure to the COVID-19 pandemic, factory closures in China, uncertainty with tariffs, the political situation, and market changes.
If you are looking for Q-See camera replacements, CCTV Camera World and CCTV Camera Pros are two companies that can assist you in finding suitable alternatives. Both companies offer technical support to help you select the right replacement for your existing Q-See equipment.
When considering a replacement, it is important to gather information such as the model number of your Q-See camera or recorder, the type of camera (IP, HD Coaxial, or analog), and the video format and resolution supported by your system. This information will help ensure that you choose a compatible replacement.
Additionally, if you are upgrading your cameras to 4K resolution, you may need to upgrade your cables as well, as the existing cables may not support the higher resolution. It is recommended to test your cables to determine if they are compatible with the new system.
By following these steps and working with reputable companies that offer technical support, you can find a suitable replacement for your Q-See camera or system and ensure that your security needs are met.
Intoxalock's Cameras: Are They Really Watching You?
You may want to see also
Frequently asked questions
Your Q-See camera is likely displaying in black and white due to low-light conditions. The camera's infrared mode is designed to brighten the field of view in such situations, but it can only capture brightness and not colour, resulting in a black and white image.
If your Q-See camera is stuck in black and white, try power cycling the camera and video recorder. A simple glitch may be causing the infrared sensors to remain activated, and turning the camera off and on again can reset this.
Check the camera lens and sensor for any obstructions or dirt, as this could be causing the camera to remain in infrared mode. You should also inspect the cable and power supply, as inadequate power or communication from these sources could be the issue.


