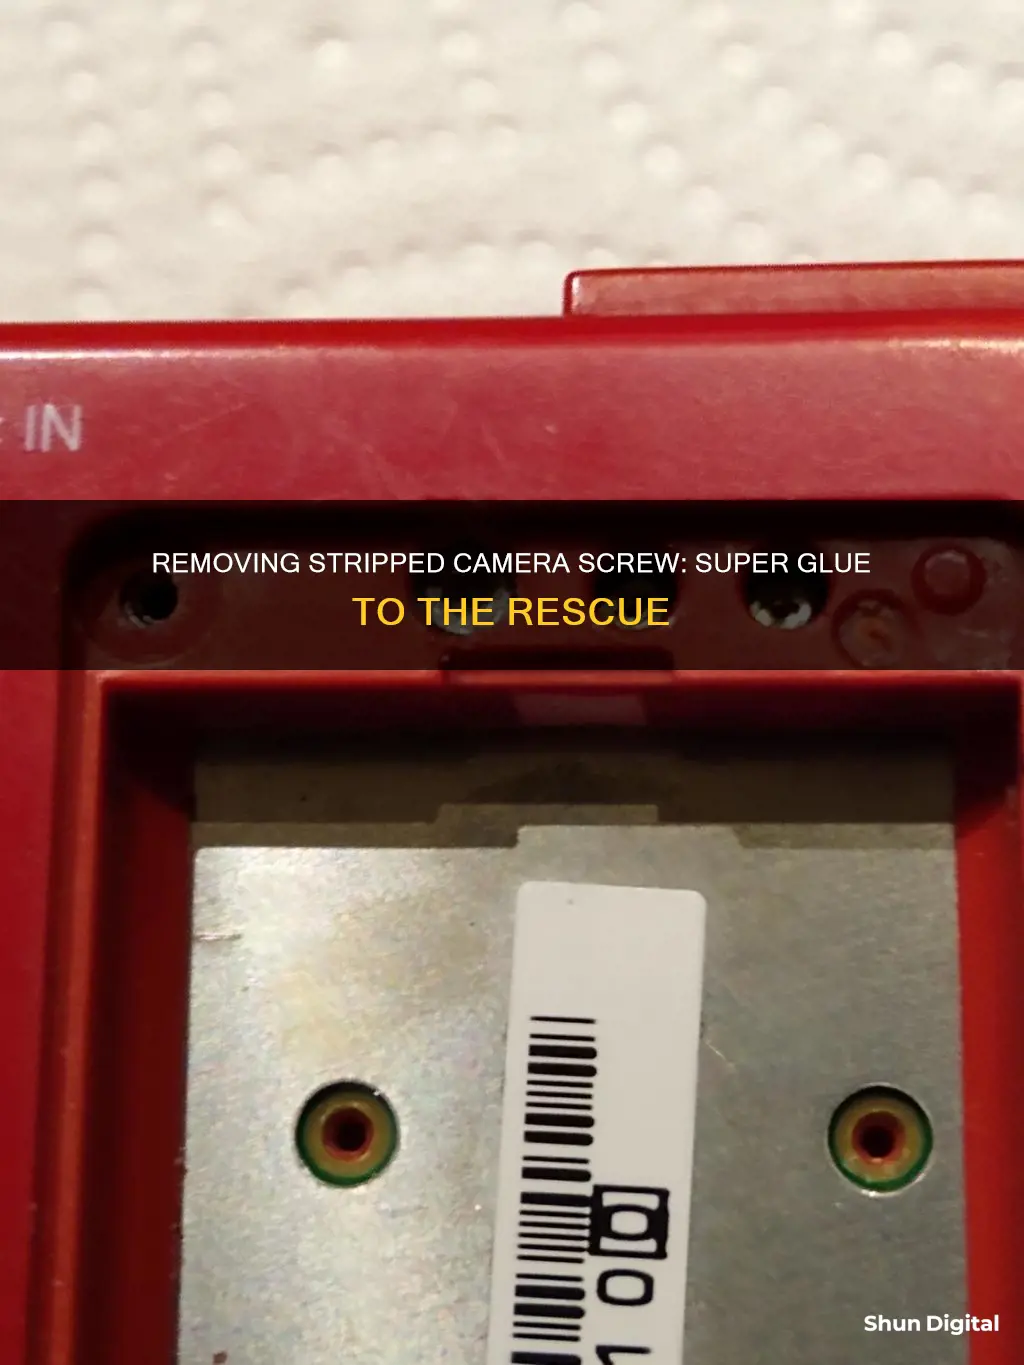
Removing a stripped camera screw can be a tricky task, but it is possible to do so without damaging the screw or the camera. One method is to use super glue: apply a small amount of low to medium-strength super glue to the head of the screw, gently insert a screwdriver and allow it to set, then slowly try to unscrew. This method can be used in conjunction with other techniques, such as using a rubber band to increase friction, or pliers to get a better grip.
| Characteristics | Values |
|---|---|
| Step | 1. Add a small amount of low to medium-strength super glue to the head of the screw. |
| 2. Gently insert the screwdriver or driver bit and allow it to set. | |
| 3. Once set, attempt to unscrew slowly, trying your best not to break the bond created by the super glue. | |
| Other methods | 1. Use a different screwdriver |
| 2. Use a rubber band | |
| 3. Use a pair of pliers | |
| 4. Use a rotary tool |
What You'll Learn

Apply a drop of super glue to the tip of the screwdriver
When dealing with a stripped camera screw, applying super glue to the tip of the screwdriver can be an effective method for removing it. Here are some detailed instructions to help you through the process:
Firstly, ensure you have the necessary tools and materials. You will need a suitable screwdriver, super glue, and some additional tools for clean-up. It is also recommended to wear protective gloves and work in a well-ventilated area when handling super glue. Place a soft cloth on your work surface to protect the camera from scratches.
Now, let's begin the process of removing the stripped screw. Select a screwdriver that fits snugly into the stripped screw head. If the screw is extremely stripped, you may need to use a screwdriver one size smaller. Gently apply a small drop of super glue to the tip of the screwdriver. Be careful not to apply too much glue, as you don't want it to overflow and bond with other parts of the camera.
Quickly insert the glued tip of the screwdriver into the stripped screw head and hold it there firmly. Maintain this position until the super glue sets and dries completely. This may take a few minutes, depending on the type of glue used. It is important to remain still during this time to ensure a strong bond forms between the screwdriver and the screw.
Once the glue has set, slowly and gently begin to turn the screwdriver counter-clockwise. Apply firm and steady pressure while twisting the screwdriver. The super glue bond should provide enough grip to allow the screwdriver to catch onto the stripped screw and begin to loosen it. Continue turning the screwdriver until the screw starts to come out of the camera.
Finally, grab the head of the screw with a pair of needle-nose pliers and carefully pull it out of the camera. Be careful not to drop the screw inside the camera. You may need to use a small brush or compressed air to clean any remaining glue from the screw hole.
It is important to note that this method may not work for severely stripped screws. Additionally, the screwdriver used for this process will likely be bonded to the screw, so it is recommended to use a disposable or inexpensive screwdriver. Always exercise caution and patience when performing these steps to avoid damaging your camera.
OLED TV Camera: Fact or Fiction?
You may want to see also

Press the screwdriver into the stripped screw
Pressing the screwdriver into the stripped screw is a crucial step when using super glue to remove a stripped camera screw. Here are some detailed instructions and tips to help you with this process:
Before applying any super glue, it is important to select the right screwdriver. Choose a screwdriver that is one size smaller than the stripped screw. This will ensure a snug fit and increase your chances of successfully removing the screw.
Now, gently press the screwdriver into the stripped screw's hole. Ensure that the screwdriver is firmly inserted into the screw head. This step is crucial as it creates the necessary contact and pressure between the screwdriver and the screw.
Once the screwdriver is firmly in place, it's time to apply the super glue. Add a small amount of low to medium-strength super glue to the head of the screw. Be careful not to use too much glue, as it may cause a mess. You can also try adding a drop of super glue to the tip of the screwdriver before inserting it into the screw head.
After applying the glue, hold the screwdriver in place and allow the glue to set. This may take a few moments, so be patient. During this time, maintain gentle downward pressure on the screwdriver to ensure it remains firmly in contact with the screw.
Finally, once the glue is set, slowly turn the screwdriver counter-clockwise while continuing to apply firm downward pressure. This action will initiate the process of unscrewing the stripped screw. Continue turning the screwdriver slowly and carefully to avoid breaking the bond created by the super glue.
If the screw still refuses to budge, you can try using a slightly larger screwdriver or adding more super glue. Remember to work slowly and carefully to avoid further damaging the screw or the surrounding camera components.
With patience and the right technique, you should be able to successfully remove the stripped camera screw using super glue and a firm press of the screwdriver.
Enhancing Photos: Adobe Camera Raw's Before and After Feature
You may want to see also

Hold it in place until the glue sets
When using super glue to remove a stripped camera screw, it is important to hold the screwdriver in place until the glue sets. This technique requires patience, but it can be effective in removing a stripped screw without damaging the screw or the camera. Here are some detailed instructions to ensure success:
Before attempting to remove the stripped screw, gather the necessary tools and materials: a soft cloth, a 100-watt lamp, a hands-free magnifying glass, a jeweler's screwdriver kit, needle-nose pliers, bonding glue or super glue, and a camel's hair brush. Place the soft cloth on your work surface to protect the camera. Position the lamp and magnifying glass so that you can clearly see the stripped screw without casting a shadow.
Select a screwdriver from the jeweler's kit that is one size smaller than the stripped screw. Gently press the screwdriver into the stripped screw's hole and hold it there firmly. While holding the screwdriver in place, apply a small amount of super glue to the tip of the screwdriver, ensuring that it fills the stripped hole. It is important to work quickly yet carefully during this step to prevent the glue from drying before you are ready.
Continue to hold the screwdriver in place, applying firm downward pressure. Allow the glue to set completely. This may take a few minutes, depending on the type of glue used. Be patient and avoid the temptation to rush this step, as it is crucial for the success of the procedure.
Once the glue has set, slowly turn the screwdriver counterclockwise while maintaining firm pressure. The glue should have created a strong bond between the screwdriver and the screw, allowing you to unscrew it. If the screw does not turn at first, apply more force gradually, being careful not to strip the screw further.
Finally, grab the head of the screw with needle-nose pliers and pull it out of the camera. You may need to wiggle the screw back and forth gently to loosen it completely before removing it. Be careful not to damage the surrounding camera components during this process.
By following these steps and holding the screwdriver in place until the glue sets, you can effectively remove a stripped camera screw using super glue.
Canada's Camera TV Show: How Long Did It Last?
You may want to see also

Turn the screwdriver slowly counter-clockwise
Removing a stripped screw can be a frustrating task. Here is a detailed, step-by-step guide on how to do it using super glue:
Firstly, select a screwdriver that is one size smaller than the stripped screw. Gently press the screwdriver into the stripped screw's hole. Now, for the crucial part: turn the screwdriver slowly counter-clockwise. Apply firm downward pressure while doing so. It is important to be patient and turn the screwdriver slowly to avoid further damaging the screw or the camera.
Continue turning the screwdriver counter-clockwise until the screw begins to come out. Once the screw starts to move, grab a pair of needle-nose pliers and pull the screw out of the hole completely. If the screw still refuses to budge, there is one more trick you can try with super glue.
Apply a small amount of super glue to the tip of the screwdriver and gently insert it into the stripped screw. Hold the screwdriver in place until the glue dries and sets. The glue will create a strong bond between the screwdriver and the screw. Once the glue is dry, slowly turn the screwdriver counter-clockwise again, applying firm downward pressure. The screw should start to come out, and you can use the needle-nose pliers to pull it out fully.
Finally, clean any remaining glue from the tip of your screwdriver with a suitable solvent. You may need to discard the screwdriver if the glue bond is too strong. Remember to replace the screw with a new one of the same size.
Unveiling Your Camera's Shutter Count: A Step-by-Step Guide
You may want to see also

Remove the screw with needle-nose pliers
Removing a stripped screw can be a frustrating experience, but with the right tools and techniques, it can be done. Here are some detailed instructions on how to use needle-nose pliers to remove a stripped camera screw:
Inspect the Screw:
Before attempting to remove the stripped screw, it is important to inspect it carefully. Check if the screw head is exposed and accessible for the pliers to grip onto. If the screw head is not exposed, you may need to remove some material around it to create a gripping point. However, this might not be possible on a metallic surface.
Grab the Screw with Needle-Nose Pliers:
Needle-nose pliers are an excellent tool for removing small screws in tight spaces. They provide a good grip and allow you to apply torque to turn the screw. When using needle-nose pliers, gently clamp the pliers onto the screw head, as close to the surface as possible. This will help you get a secure grip and maximize torque.
Turn the Pliers to Extract the Screw:
Once you have a firm grip on the screw with the needle-nose pliers, it's time to start turning. Gently twist the pliers in a counterclockwise direction to loosen the screw. Make small, half-turns until the screw starts to move, and then continue turning until the screw is completely removed. It is important to work slowly and gently to avoid snapping off the screw head or causing further damage.
Alternative Techniques:
If the screw does not turn at all or if you are unable to get a good grip with the needle-nose pliers, there are a few alternative techniques you can try:
- Rubber Band or Wire Wool: Place a piece of rubber band or wire wool on the stripped screw head, and then use a screwdriver to untighten it. The material will increase friction and provide a better grip for the screwdriver.
- Tape: If you don't have a rubber band or wire wool, you can use masking tape or electrical tape. Cover the screw head with the tape to increase friction and prevent the screwdriver from slipping.
- Super Glue: Add a small amount of super glue to the top of the screw and let it dry with the tip of a screwdriver inserted. This will create a bond between the screw and the screwdriver, allowing you to apply more force when turning.
- Dremel or Rotary Tool: If the above methods are unsuccessful, you can use a Dremel or rotary tool to cut a small slit in the screw head. This will allow you to use a flathead screwdriver to remove the screw. Always wear safety goggles when using power tools to protect yourself from debris and sparks.
Remember to work slowly and gently to avoid further damaging the screw or the surrounding area. With patience and the right tools, you should be able to successfully remove the stripped camera screw.
Woman Man Camera TV: Sarah Cooper's Guide to Chaos
You may want to see also
Frequently asked questions
First, try using a screwdriver that is one size smaller than the stripped screw. If that doesn't work, add a small amount of super glue to the head of the screw and let it set with the tip of a screwdriver inserted. Once it's set, slowly try to unscrew it.
You can try using a rubber band to provide extra grip. Place a wide rubber band on top of the stripped screw head and engage the tip of your screwdriver with the head of the screw, sandwiching the rubber band in between.
Yes, you can try using a left-handed drill bit, cutting a slot with a rotary tool, or attaching a nut to the top of the screw.


