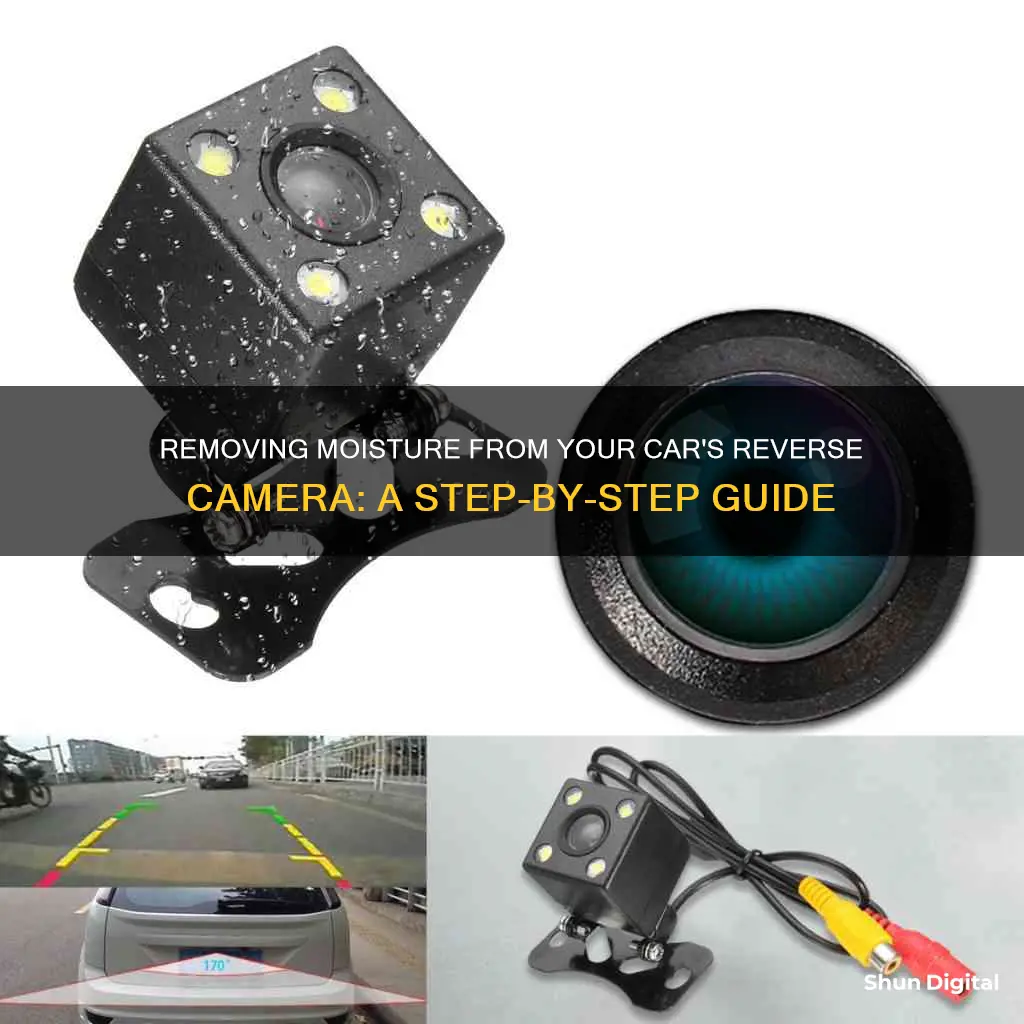
If your car's reverse camera is blurry, it could be due to a number of reasons, including hardware damage, dirt on the lens, loose connections, condensation, or camera error codes. To fix this issue, you can try some simple solutions like checking for exterior damage, cleaning the lens, addressing internal condensation, and fixing loose or faulty connections. If these don't work, you may need to consult the manual or consider replacing the camera with a new one.
What You'll Learn

Check for hardware damage
To check for hardware damage, start by examining the camera for any external damage, such as cracks, scratches, or dents on the camera body or lens. Pay close attention to the lens, as any damage to it can cause blurry images. Next, check the cable connection between the camera and the display screen. Ensure that the cables are not damaged or loose, as this can affect the power supply and data transmission.
If the camera is integrated with a dash camera, also inspect the power cords, processor chips, and peripheral device connection ports for any signs of damage. Additionally, check the camera's mounting to ensure it is securely attached to the vehicle. If the camera is not properly mounted, it may be vulnerable to vibrations or impacts that could damage its internal components.
In some cases, hardware damage may not be visible, and you may need to consult a professional to diagnose and repair the issue. However, if you notice any external damage, it is important to address it promptly to prevent further complications.
TV Cameras at NFL Games: How Many Are There?
You may want to see also

Clean the camera lens
To clean your car reverse camera lens, start by turning off the ignition and locating the camera lens near the rear license plate or on the back of the vehicle. You'll then need to remove the camera lens cover, which is usually made of plastic. Gently pry it off with a small flathead screwdriver or your fingernail. Be careful not to scratch the lens or the surrounding area.
Once the cover is off, use a soft, lint-free, or microfiber cloth to wipe the lens gently in a circular motion, removing any dirt or debris. If there are stubborn smudges or fingerprints, dampen the cloth with a small amount of water or a mild glass or lens cleaning solution. You can also use a lens cleaning pen or a cotton swab dipped in lens cleaning solution to carefully clean the lens, ensuring you clean both the outer and inner parts. Avoid using harsh chemicals or abrasive materials, like paper towels or tissues, as these can scratch the lens.
After cleaning, allow the lens to air dry or gently pat it dry with a clean, dry microfiber cloth. Once the lens is completely dry, snap the lens cover back into place.
It's important to regularly clean your car reverse camera lens to maintain clear visibility while reversing, and to be gentle and avoid applying excessive pressure during the cleaning process.
Troubleshooting Skype: Camera Not Detected
You may want to see also

Regulate airflow to reduce internal condensation
Regulating airflow to reduce internal condensation is a crucial step in preventing moisture buildup in your car's reverse camera. Here are some detailed instructions to help you achieve this:
Understand Condensation
Before learning how to regulate airflow, it's important to understand why condensation occurs. Condensation happens when there are dramatic changes in air temperature or humidity. When you move your car from a cold environment to a warm one, the temperature change can cause condensation on your camera lens and internal components.
Acclimate Your Camera Gradually
To prevent condensation, it's essential to acclimate your camera gradually to temperature changes. Before entering a different environment, ensure your camera is securely stored in your camera bag, and all zippers are closed. The padding in your camera bag acts as insulation, helping to regulate temperature changes and allowing your camera to adjust slowly. Depending on the temperature difference, you may need to leave your camera in the bag for several hours to fully acclimate.
Use a Plastic Bag
For added protection, place your camera inside a plastic ziplock bag before putting it into your camera bag. This creates an extra layer of protection, preventing warm or humid air from directly contacting your camera. This method is especially useful when moving from a cold to a warm environment, such as when entering a vehicle or a building after being outside in the cold.
Avoid Direct Heat
When acclimating your camera, avoid exposing it to direct heat sources, such as a heater or hairdryer. Instead, opt for gradual warming methods to prevent further condensation issues.
Use Silica Gel or Kitty Litter
Silica gel packets or ziplock bags of silicone kitty litter can be useful in absorbing moisture. Place your camera in your bag with a few silica gel packets or kitty litter tucked near the camera. This will help absorb any excess moisture in the air and prevent it from condensing on your camera.
Allow Time for Acclimation
Remember that acclimating your camera takes time. Depending on the temperature differences, you may need to leave your camera equipment in the bag for several hours to ensure complete acclimation. This waiting period is crucial in preventing condensation buildup.
Accessing Your Hikvision DVR: Viewing Your Cameras
You may want to see also

Check for loose or faulty connections
Checking for loose or faulty connections is an important step in troubleshooting a car's reverse camera that has moisture inside. Since the reverse camera is positioned at the back of the car but connected to the screen on the dashboard, there is a possibility of loose or faulty connections causing the issue. Here are some detailed steps to check and address these connections:
Step 1: Inspect the Connections
Begin by visually inspecting all the connections related to the reverse camera. This includes the wires connecting the camera to the screen, as well as any other relevant connections. Look for any signs of damage, corrosion, or loose fittings.
Step 2: Disconnect and Reconnect
If you notice any issues with the connections, carefully disconnect and reconnect them. Ensure that all connections are secure and appropriately tightened. This can help improve conductivity and reduce the chances of signal interference.
Step 3: Test the Camera
Once you've reconnected the wires, test the reverse camera to see if the issue has been resolved. This will help you determine if the problem was indeed related to loose or faulty connections. If the camera is now functioning properly, you've successfully addressed the issue.
Step 4: Check for Other Issues
If the camera is still not working properly, it's possible that the connections were not the root cause of the problem. In this case, you may need to investigate other potential issues, such as hardware damage, a dirty lens, or condensation. Refer to your car's manual for additional troubleshooting tips and guidance.
Step 5: Seek Professional Assistance
If you're unable to identify or resolve the issue on your own, it's best to seek professional assistance. A certified technician will have the expertise and tools to diagnose and repair any issues with your car's reverse camera, ensuring that it functions optimally and safely.
Troubleshooting Facetime: Camera Visibility Issues
You may want to see also

Consult the camera's instruction manual
If your reverse camera is blurry or foggy, it could be due to moisture inside the camera lens. This is a common issue, especially if your car has been left in the rain, or if there has been a snowstorm.
Before attempting to fix the issue, consult your camera's instruction manual. This will provide you with important information on how to properly clean and maintain your camera. It will also include specific instructions on how to address moisture-related issues.
The manual will guide you through the process of checking for external faults, such as moisture or dust on the lens. It will also instruct you on how to safely clean the lens using a soft, dry cloth, and how to remove dust particles with a brush or cotton swabs.
Additionally, the manual will provide steps to address interior condensation. This includes removing the camera from the car, drying it with uncooked rice, or using a blow dryer on a medium setting for 2-3 minutes.
Furthermore, the manual will help you check for any issues with the cables and electric connections. It will guide you through the process of turning on the vehicle and reverse camera display to identify any potential problems. It will also provide instructions on checking the fuse box for any blown fuses.
By following the instructions in the manual, you can effectively address moisture-related issues with your reverse camera and ensure it functions optimally.
Mobile Cameras and Solar Eclipse: Safe or Not?
You may want to see also
Frequently asked questions
If you notice that the camera lens is dirty, foggy, or has water droplets on it, then it likely has moisture in it.
Try to keep the camera lens clean and free of any dirt, rain, snow, or other debris. Regularly wipe the lens with a microfiber cloth, and if necessary, use a cleansing solution to remove stubborn stains.
Internal condensation can occur due to rain or high humidity. Regulate the airflow in your car to reduce condensation, and if your camera is damaged, try drying it by placing it in a bowl of uncooked rice or exposing it to sunlight.
First, check for any external damage to the camera and its hardware. If the camera is still under warranty, consider getting it replaced. You can also try cleaning the lens with a microfiber cloth and a cleansing solution.
Aside from moisture, several factors could be causing your car reverse camera to malfunction, including hardware damage, loose connections, power failure, or software-related issues. Try consulting the camera's manual to troubleshoot common problems.


