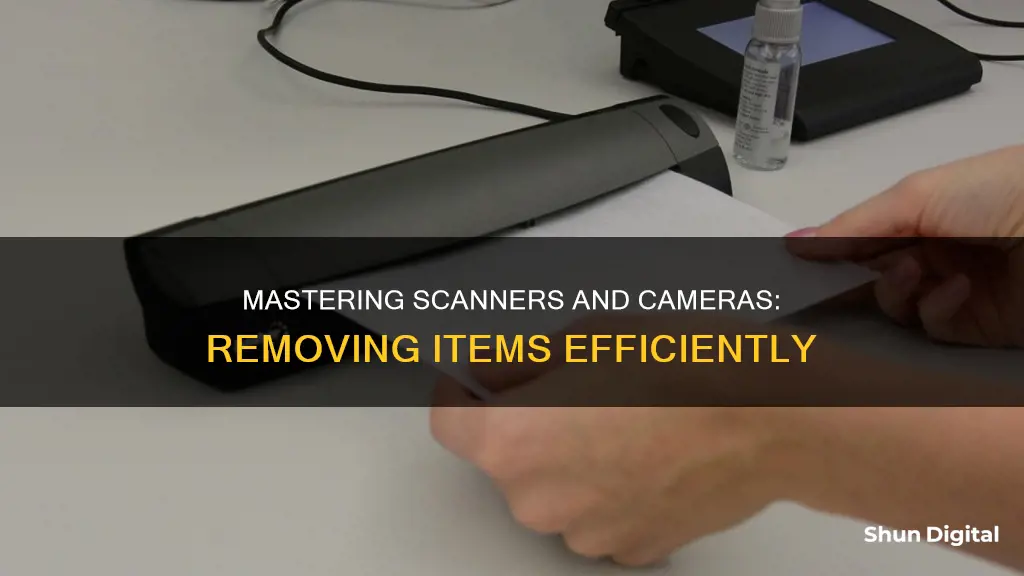
Removing items from scanners and cameras can be done in several ways, depending on the device and operating system. For Windows 8, users can go to the Devices section of the PC Settings utility, where they can select the device they want to remove and confirm the action. Alternatively, the Device Manager utility can be used to uninstall devices by selecting Imaging Devices, right-clicking on the desired device, and confirming the uninstallation. On a Mac, users can go to System Preferences, select Printers and Scanners, unlock the settings with their system password, and then click on the item they wish to delete. For specific devices, such as Google Nest cameras, users can delete their entire video history and snapshots at any time through the Google Home app.
What You'll Learn

Removing scanners and cameras from a computer
To remove scanners and cameras from a computer, the process will depend on the operating system of the computer.
Windows 8
Windows 8 has a PC Settings utility that allows you to remove devices such as cameras and scanners. To do this, follow these steps:
- Move your cursor to the upper- or lower-right corner of the computer screen.
- Click the "Settings" charm to open the Settings sidebar.
- Click "Change PC Settings" to open the PC Settings screen.
- Click "Devices", then click the scanner or camera in the Devices list that you want to remove.
- Click the "-" button and then click "Remove" to confirm that you want to remove the device.
Alternatively, you can use the Device Manager utility:
- Press the "X" and "Windows Logo" keys on the keyboard simultaneously to open the Quick Link menu.
- Select "Device Manager" to open the Device Manager window.
- Double-click "Imaging Devices" to open the list of imaging devices.
- Right-click on the scanner or camera and select "Uninstall."
- Click "OK" to confirm that you want to uninstall the device from your computer.
Mac
On a Mac, go into System Preferences and select Printers and Scanners. Click on the lock button (usually in the bottom-left) and unlock it using your system password. Then, click on the item you wish to delete and then click on the minus icon to remove it.
You may need to reboot your computer to complete the removal process.
Troubleshoot Avast Blocking Your Camera: A Quick Guide
You may want to see also

Removing duplicate scanners from Microsoft Fax and Scan
If you are facing issues with duplicate scanners on Microsoft Fax and Scan, there are a few troubleshooting steps you can try to resolve the issue. Here are detailed instructions on how to remove duplicate scanners from Microsoft Fax and Scan:
- Disconnect and Reconnect the Scanner: Start by disconnecting the scanner from your computer and then reconnecting it. This simple step can sometimes resolve the issue without further intervention.
- Run the Hardware and Devices Troubleshooter:
- Click on the search bar next to the Start Menu.
- Type "Troubleshooting" and click on it.
- Click on "View All" on the left panel of the screen.
- Select "Hardware and Devices".
- Click on "Next" and follow the prompts to run the troubleshooter.
Install Latest Windows Updates:
- In the search bar, type "Windows Updates".
- Click on "Windows Updates".
- Select "Check for updates" and install any available updates.
Perform a Clean Boot and Uninstall the Scanner Driver:
- Press the "Windows Key + X" key combination and select "Run".
- Type "msconfig" in the Run box and hit Enter.
- On the "Services" tab, select the "Hide all Microsoft services" checkbox, then click "Disable all".
- Go to the "Startup" tab and click "Open Task Manager".
- In the Task Manager, select each startup item one by one and click "Disable".
- Click "OK" on the "Startup" tab, then restart your computer.
- After restarting, press "Windows Key + X" and type "Device Manager" in the search box.
- Right-click on the scanner driver you want to remove and select "Uninstall".
- Restart your computer once the driver has been uninstalled.
Use Device Manager:
- Press the "X" and "Windows Logo" keys simultaneously to open the Quick Link menu.
- Select "Device Manager" to open the Device Manager window.
- Double-click on "Imaging Devices" to view the list of imaging devices.
- Right-click on the duplicate scanner you want to remove and select "Uninstall".
- Click "OK" to confirm the uninstallation.
Use PC Settings (Windows 8 only):
- Move your cursor to the upper-right or lower-right corner of the screen.
- Click on the "Settings" charm to open the Settings sidebar.
- Click on "Change PC Settings" to open the PC Settings screen.
- Select "Devices", then click on the scanner you want to remove from the Devices list.
- Click the "-" button and then click "Remove" to confirm.
Remember to try each step one by one and check if the issue is resolved after each step. If none of these methods work, you may need to seek further assistance or explore other troubleshooting options.
Hooking Up Night Owl Cameras: TV Connection Guide
You may want to see also

Removing ghost cameras from Microsoft Teams
If you're encountering ghost cameras in Microsoft Teams, there are a few steps you can take to remove them.
Firstly, open the Device Manager by pressing the "X" and "Windows Logo" keys on your keyboard simultaneously to open the Quick Link menu. From there, select "Device Manager".
In the Device Manager window, locate and double-click on "Imaging Devices" to reveal a list of imaging devices. Identify the ghost cameras you want to remove and right-click on each one, selecting "Uninstall". Confirm the uninstallation by clicking "OK".
Alternatively, you can use the Registry Editor (Regedit) to remove ghost cameras. Open Regedit and search (Ctrl + F) for the following keys:
- Computer\HKEY_CLASSES_ROOT\CLSID\{860BB310-5D01-11d0-BD3B-00A0C911CE86}
- Computer\HKEY_CLASSES_ROOT\CLSID\{A3FCE0F5-3493-419F-958A-ABA1250EC20B}
Under these keys, you'll find subkey instances containing all your devices, including obsolete ones. Simply remove the entries for the ghost cameras, and they should disappear from Microsoft Teams.
If you're encountering issues with the Ghost Inspector app for Microsoft Teams, there are separate steps you can take to address them. Firstly, ensure that your Microsoft Teams account doesn't have a policy restricting third-party apps. To do this, go to the App Permission Policies screen in the Microsoft Teams Admin Center and change "Third-party apps" to "Allow specific apps" or "Allow all apps".
If you're unable to find the Ghost Inspector app, try using a direct link to open it. If it still can't be found, your administrator may have restricted which apps you can install. In this case, you'll need to contact them to release the restriction.
If you encounter any problems during the removal process, it may be necessary to reboot your device to ensure that the changes take effect and that old traces of the software are removed.
Activating Your Camera on Ome TV: A Quick Guide
You may want to see also

Deleting video history and snapshots from Google Nest cameras
Using the Google Home App:
- Open the Google Home app on your smartphone or computer.
- Select the "Cameras" icon near the top of the user interface.
- Choose the camera you want to delete the video history for.
- Tap or click on the gear-shaped settings icon located in the top right corner of the UI.
- At the bottom of the resulting menu, select "Delete video history."
- Confirm your selection by tapping "Delete" or choosing "Cancel" to exit without deleting.
- Repeat these steps for any additional footage you wish to erase.
Using the Nest App:
- Open the Nest app on your mobile device or tablet.
- On the homepage, select the camera feed for which you want to delete the footage.
- Tap the gear-shaped Settings icon in the top right corner of the camera feed UI to access the camera's Settings menu.
- Scroll down to the bottom of the Settings page.
- Select "Delete video history."
- Confirm your choice by selecting "Delete History" or "Don't Delete" to cancel and keep the video history.
- Repeat these steps for any other camera footage you need to delete.
Using the Nest Website:
- Open a web browser on your computer, laptop, tablet, or smart device and go to home.nest.com.
- Once signed in, select the Nest camera you want to delete the video history for.
- Click on the gear-shaped icon in the top right corner of the page.
- From the left sidebar menu, choose the "About" option.
- Select "Delete video history."
- Confirm your choice by selecting "Delete history" or "Don't delete."
Note that deleting your camera's video history will erase all video history and snapshots recorded up to that point, and this action cannot be undone as Google does not keep backups. Additionally, as of now, Nest and Google do not provide a way to delete individual clips; you can only delete the entire video history for Nest devices.
Removing Camera Noise: Pixel 2's Easy Fix Guide
You may want to see also

Removing scanners from the Adobe list
If you want to remove scanners from the Adobe list on your Mac, you'll need to first go into System Preferences and select "Printers and Scanners". Click on the lock button in the bottom-left corner to unlock it using your system password. Then, simply click on the scanner you want to delete and then click on the minus icon.
You may need to reboot your system for the changes to take effect and for the scanner to be removed from other applications' awareness. If you still see the scanner in the list, then a reboot is necessary.
For Microsoft Windows, the best way to remove proprietary software is by using the printer utility software that came with your device. Follow the recommended guidelines from the printing device manufacturer's website before manually uninstalling from the control panel. A few reboots may be necessary to get rid of old traces of the software.
With newer devices, you may be required to perform the uninstall while your device is connected to the PC with an active internet connection.
Mastering Camera Perspective in Maya: A Guide
You may want to see also
Frequently asked questions
Go into System Preferences and select Printers and Scanners. Click on the lock button in the bottom left corner and unlock it using your system password. Then, click on the item you wish to delete and then click on the minus icon.
Press the "X" and "Windows Logo" keys on the keyboard simultaneously to open the Quick Link menu. Select "Device Manager" to open the Device Manager window. Double-click "Imaging Devices" to open the list of imaging devices. Right-click on the scanner and select "Uninstall." Click "OK" to confirm.
Move your cursor to the upper- or lower-right corner of the computer screen. Click the "Settings" charm to open the Settings sidebar. Click "Change PC Settings" to open the PC Settings screen. Click "Devices" and then click the camera in the Devices list that you want to remove. Click the "-" button and then click "Remove" to confirm.
Open the Google Home app and tap and hold your device's tile. Tap Settings, then "Delete video history." Tap "Delete" to confirm—all of your camera's video history and snapshots will be permanently deleted and cannot be recovered.


